Cisco WVC80N User Guide - Page 22
Setup > Status, System Status, Network, Wireless - firmware
 |
View all Cisco WVC80N manuals
Add to My Manuals
Save this manual to your list of manuals |
Page 22 highlights
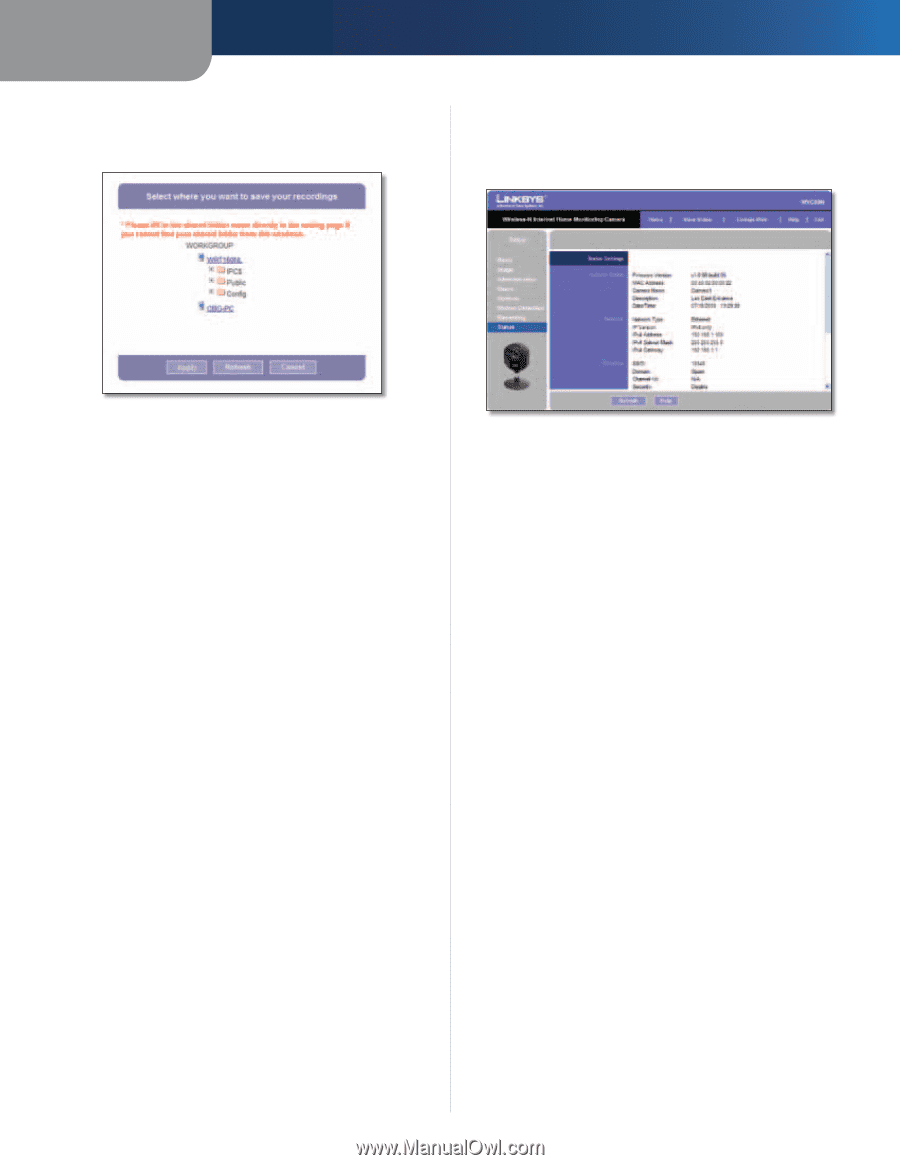
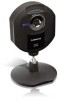
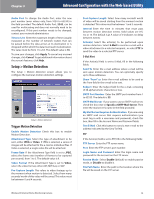
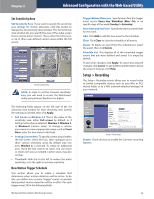
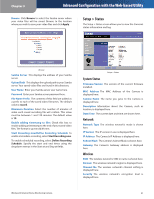
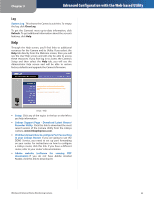
Chapter 3 Advanced Configuration with the Web-based Utility Browse Click Browse to select the Samba server where your video files will be saved. Browse to the location where you wish to save your video files and click Apply. Setup > Status The Setup > Status screen allows you to view the Camera's status information and log. Browse Samba Server This displays the address of your Samba server. Upload Path This displays the upload path to your Samba server. Your saved video files are found in this directory. User Name Enter your Samba server user name here. Password Enter your Samba server password here. File Name Prefix The contents of this field are added as a prefix to each of the saved video filenames. The default value is record. Maximum Duration Select the number of minutes of video each saved recording file will contain. This value must be between 1 and 120 minutes. The default value is 10. Enable adding timestamp to files Check this box to enable adding a timestamp to the end of your saved video files. The format is yy:mm:dd:hh:mm. Start Recording now/Define Recording Schedule To enable immediate recording, select Start Recording now. To enable scheduled recording, select Define Recording Schedule. Specify the start and end times using the dropdown menus in the Start at and Stop at fields. Setup > Status System Status Firmware Version The version of the current firmware installed. MAC Address The MAC Address of the Camera is displayed here. Camera Name The name you gave to the Camera is displayed here. Description Information about the Camera, such as location, is displayed here. Date/Time The current date and time are shown here. Network Network Type The wireless network's mode is shown here. IP Version The IP version in use is displayed here. IP Address The Camera's IP Address is displayed here. Subnet Mask The Camera's Subnet Mask is shown here. Gateway The Camera's Gateway address is displayed here. Wireless SSID The wireless network's SSID or name is shown here. Domain The wireless network's region is displayed here. Channel No The wireless network's channel setting is displayed here. Security The wireless network's encryption level is displayed here. Wireless-N Internet Home Monitoring Camera 21
-
 1
1 -
2
-
3
-
4
-
5
-
6
-
7
-
8
-
9
-
10
-
11
-
12
-
13
-
14
-
15
-
16
-
 17
17 -
 18
18 -
 19
19 -
 20
20 -
 21
21 -
 22
22 -
 23
23 -
 24
24 -
 25
25 -
 26
26 -
 27
27 -
28
-
29
-
30
-
31
-
32
-
33
-
34
-
35
-
36
-
37
-
38
-
39
-
40
-
41
-
42
-
43
-
44
-
45
-
46
-
47
-
48
-
49
-
50
-
51
-
52
-
53
-
54
-
55
-
56
-
57
-
58
-
59
-
60
-
61
-
62
-
63
-
64
-
65
-
66
 |
 |