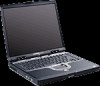
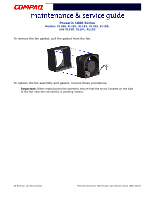
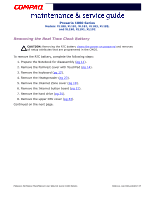
Compaq Presario 1800 Presario 1800XL Series Maintenance and Service Guide - Page 108
and lift the diskette drive from the chassis., To replace the diskette drive
 |
View all Compaq Presario 1800 manuals
Add to My Manuals
Save this manual to your list of manuals |
Page 108 highlights
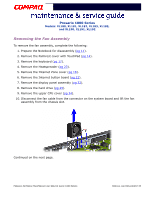
Presario 1800 Series Models: XL180, XL181, XL182, XL183, XL185, and XL190, XL191, XL192 12. Remove the screw that connects the diskette drive bracket to the chassis. 13. Disconnect the diskette drive data cable from the ZIF Connector on the system board and lift the diskette drive from the chassis. To replace the diskette drive, reverse these procedures. Ä CAUTION: When replacing the diskette drive, ensure that the Diskette Drive Ribbon Cable is placed in its proper location during the reassembly process. Improper cable placement can damage the Notebook. 40 REMOVAL AND REPLACEMENT PRESARIO NOTEBOOK MAINTENANCE AND SERVICE GUIDE 1800 SERIES
-
 1
1 -
2
-
3
-
4
-
5
-
6
-
7
-
8
-
9
-
10
-
11
-
12
-
13
-
14
-
15
-
16
-
17
-
18
-
19
-
20
-
21
-
22
-
23
-
24
-
25
-
26
-
27
-
28
-
29
-
30
-
31
-
32
-
33
-
34
-
35
-
36
-
37
-
38
-
39
-
40
-
41
-
42
-
43
-
44
-
45
-
46
-
47
-
48
-
49
-
50
-
51
-
52
-
53
-
54
-
55
-
56
-
57
-
58
-
59
-
60
-
61
-
62
-
63
-
64
-
65
-
66
-
67
-
68
-
69
-
70
-
71
-
72
-
73
-
74
-
75
-
76
-
77
-
78
-
79
-
80
-
81
-
82
-
83
-
84
-
85
-
86
-
87
-
88
-
89
-
90
-
91
-
92
-
93
-
94
-
95
-
96
-
97
-
98
-
99
-
100
-
101
-
102
-
 103
103 -
 104
104 -
 105
105 -
 106
106 -
 107
107 -
 108
108 -
 109
109 -
 110
110 -
 111
111 -
 112
112 -
 113
113 -
114
-
115
-
116
-
117
-
118
-
119
-
120
-
121
-
122
-
123
-
124
-
125
 |
 |
40 R
EMOVAL
AND
R
EPLACEMENT
P
RESARIO
N
OTEBOOK
M
AINTENANCE
AND
S
ERVICE
G
UIDE
1800 S
ERIES
Presario 1800 Series
Models: XL180, XL181, XL182, XL183, XL185,
and XL190, XL191, XL192
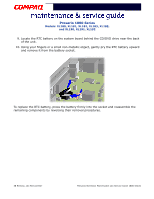
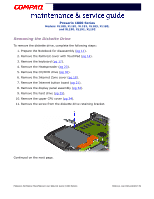
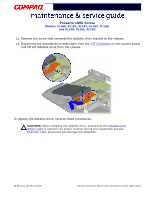
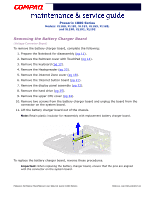
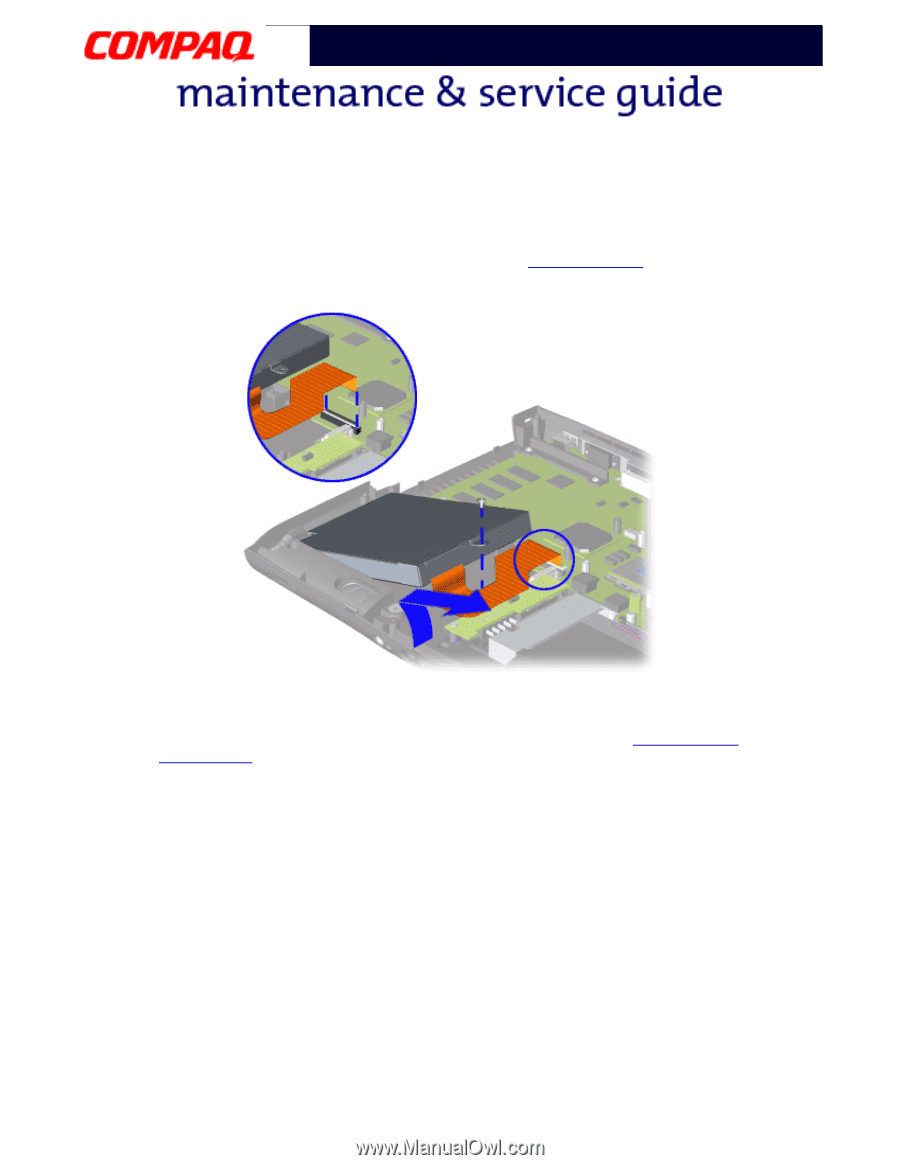
12. Remove the screw that connects the diskette drive bracket to the chassis.
13. Disconnect the diskette drive data cable from the
ZIF Connector
on the system board
and lift the diskette drive from the chassis.
To replace the diskette drive, reverse these procedures.
Ä
CAUTION:
When replacing the diskette drive, ensure that the
Diskette Drive
Ribbon Cable
is placed in its proper location during the reassembly process.
Improper cable placement can damage the Notebook.