Compaq Presario 1800 Presario 1800XL Series Maintenance and Service Guide - Page 87
Notebook that secure the Internet Zone cover to the chassis. - hinge
 |
View all Compaq Presario 1800 manuals
Add to My Manuals
Save this manual to your list of manuals |
Page 87 highlights
Presario 1800 Series Models: XL180, XL181, XL182, XL183, XL185, and XL190, XL191, XL192 3. Remove two innermost screws from the display hinges that secure the Internet Zone cover to the chassis. 4. Turn the unit upside down and remove the two screws located near the back of the Notebook that secure the Internet Zone cover to the chassis. Continued on the next page. PRESARIO NOTEBOOK MAINTENANCE AND SERVICE GUIDE 1800 SERIES REMOVAL AND REPLACEMENT 19
-
 1
1 -
2
-
3
-
4
-
5
-
6
-
7
-
8
-
9
-
10
-
11
-
12
-
13
-
14
-
15
-
16
-
17
-
18
-
19
-
20
-
21
-
22
-
23
-
24
-
25
-
26
-
27
-
28
-
29
-
30
-
31
-
32
-
33
-
34
-
35
-
36
-
37
-
38
-
39
-
40
-
41
-
42
-
43
-
44
-
45
-
46
-
47
-
48
-
49
-
50
-
51
-
52
-
53
-
54
-
55
-
56
-
57
-
58
-
59
-
60
-
61
-
62
-
63
-
64
-
65
-
66
-
67
-
68
-
69
-
70
-
71
-
72
-
73
-
74
-
75
-
76
-
77
-
78
-
79
-
80
-
81
-
 82
82 -
 83
83 -
 84
84 -
 85
85 -
 86
86 -
 87
87 -
 88
88 -
 89
89 -
 90
90 -
 91
91 -
 92
92 -
93
-
94
-
95
-
96
-
97
-
98
-
99
-
100
-
101
-
102
-
103
-
104
-
105
-
106
-
107
-
108
-
109
-
110
-
111
-
112
-
113
-
114
-
115
-
116
-
117
-
118
-
119
-
120
-
121
-
122
-
123
-
124
-
125
 |
 |
P
RESARIO
N
OTEBOOK
M
AINTENANCE
AND
S
ERVICE
G
UIDE
1800 S
ERIES
R
EMOVAL
AND
R
EPLACEMENT
19
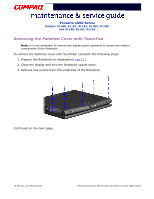
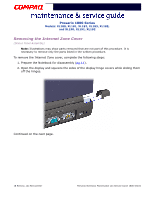
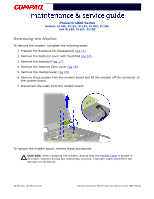
Presario 1800 Series
Models: XL180, XL181, XL182, XL183, XL185,
and XL190, XL191, XL192
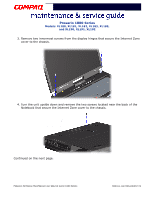
3. Remove two innermost screws from the display hinges that secure the Internet Zone
cover to the chassis.
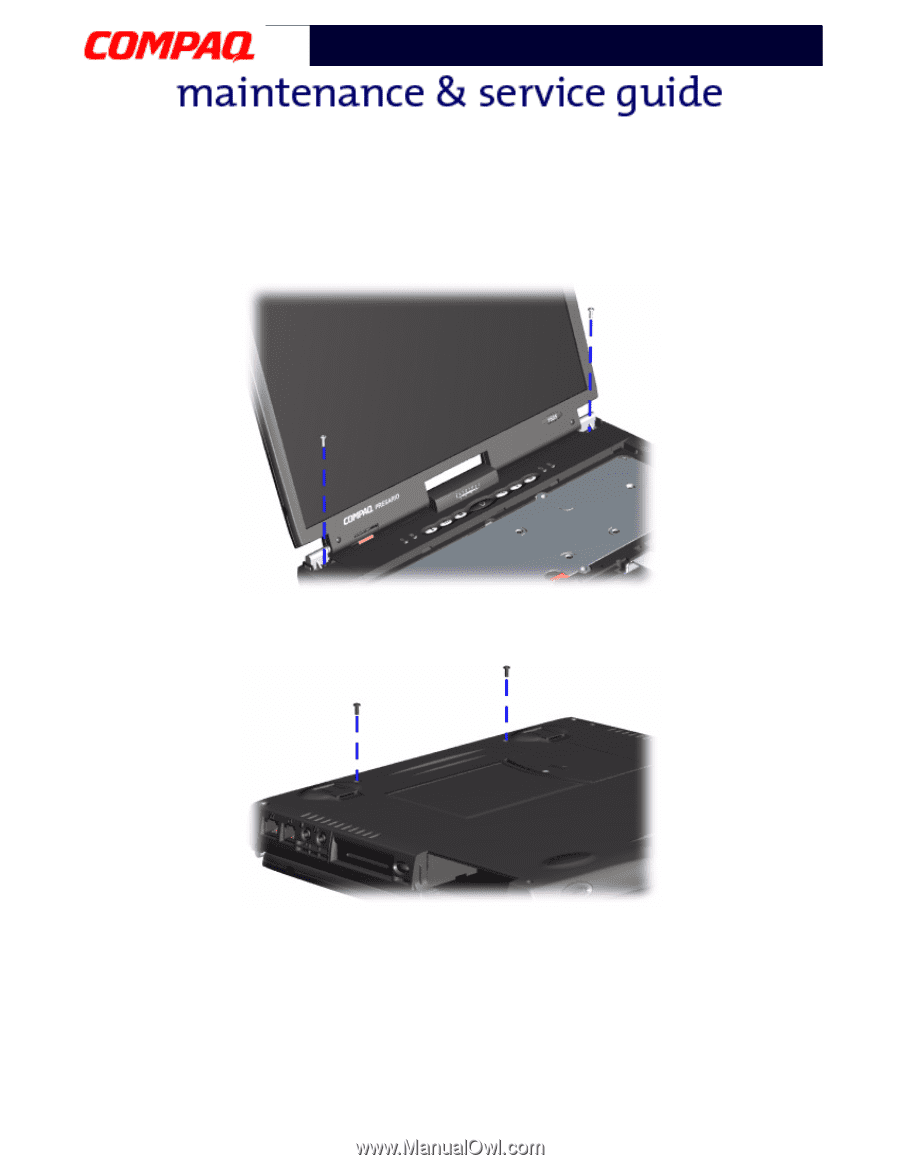
4. Turn the unit upside down and remove the two screws located near the back of the
Notebook that secure the Internet Zone cover to the chassis.
Continued on the next page.