Dell Inspiron 4150 Owner's Manual - Page 21
Left Side View, PC Card slot, hard drive, security cable slot, speaker - support
 |
UPC - 609525176278
View all Dell Inspiron 4150 manuals
Add to My Manuals
Save this manual to your list of manuals |
Page 21 highlights
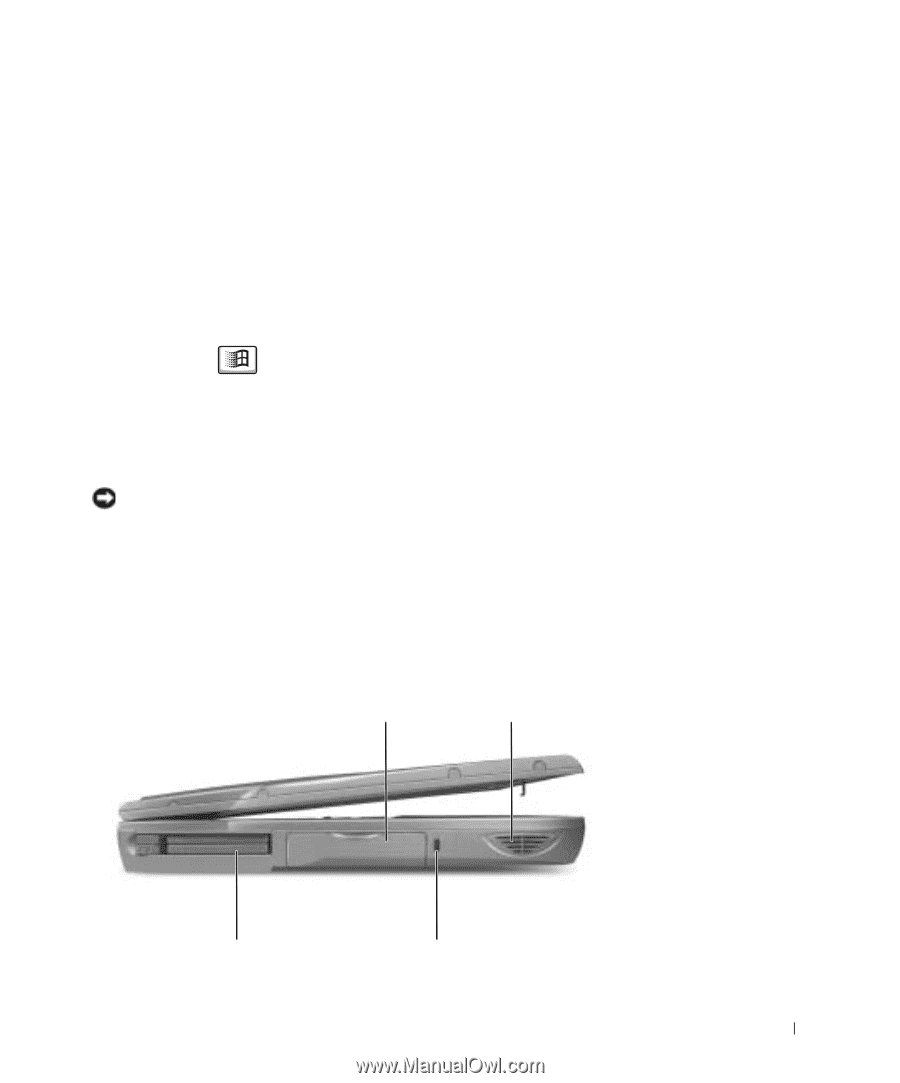
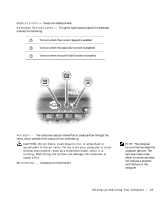
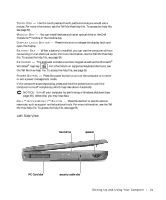
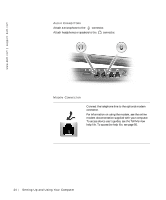
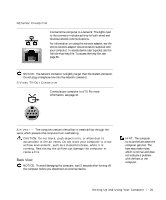
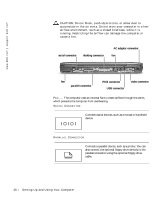
TO UC H PA D - Use the touch pad and touch pad buttons as you would use a mouse. For more information, see the Tell Me How help file. To access the help file, see page 56. MO D UL E BA Y - You can install devices such as an optical drive or the Dell TravelLite™ module in the module bay. D IS PL A Y L A T CH BU T T O N - Press this button to release the display latch and open the display. B AT T ER Y BA Y - When a battery is installed, you can use the computer without connecting it to an electrical outlet. For more information, see the Tell Me How help file. To access the help file, see page 56. KE Y BO A R D - The keyboard includes a numeric keypad as well as the Microsoft® Windows® logo key . For information on supported keyboard shortcuts, see the Tell Me How help file. To access the help file, see page 56. PO W E R B U T T O N - Press the power button to turn on the computer or to enter or exit a power management mode. If the computer stops responding, press and hold the power button until the computer turns off completely (which may take about 4 seconds). NOTICE: Turn off your computer by performing a Windows shutdown (see page 38). Otherwise, you may lose data. D E L L ™ A C C E S S D I R E C T ™ B U T T O N - Press this button to launch various resources, such as support and educational tools. For more information, see the Tell Me How help file. To access the help file, see page 56. Left Side View hard drive speaker PC Card slot security cable slot Setting Up and Using Yo ur Comput er 21
-
 1
1 -
2
-
3
-
4
-
5
-
6
-
7
-
8
-
9
-
10
-
11
-
12
-
13
-
14
-
15
-
 16
16 -
 17
17 -
 18
18 -
 19
19 -
 20
20 -
 21
21 -
 22
22 -
 23
23 -
 24
24 -
 25
25 -
 26
26 -
27
-
28
-
29
-
30
-
31
-
32
-
33
-
34
-
35
-
36
-
37
-
38
-
39
-
40
-
41
-
42
-
43
-
44
-
45
-
46
-
47
-
48
-
49
-
50
-
51
-
52
-
53
-
54
-
55
-
56
-
57
-
58
-
59
-
60
-
61
-
62
-
63
-
64
-
65
-
66
-
67
-
68
-
69
-
70
-
71
-
72
-
73
-
74
-
75
-
76
-
77
-
78
-
79
-
80
-
81
-
82
-
83
-
84
-
85
-
86
-
87
-
88
-
89
-
90
-
91
-
92
-
93
-
94
-
95
-
96
-
97
-
98
-
99
-
100
-
101
-
102
-
103
-
104
-
105
-
106
-
107
-
108
-
109
-
110
-
111
-
112
-
113
-
114
-
115
-
116
-
117
-
118
-
119
-
120
-
121
-
122
-
123
-
124
-
125
-
126
-
127
-
128
-
129
-
130
-
131
-
132
-
133
-
134
-
135
-
136
-
137
-
138
-
139
-
140
-
141
-
142
-
143
-
144
 |
 |