Dell Inspiron 4150 Owner's Manual - Page 79
Creating a Restore Point, Turn off System Restore
 |
UPC - 609525176278
View all Dell Inspiron 4150 manuals
Add to My Manuals
Save this manual to your list of manuals |
Page 79 highlights
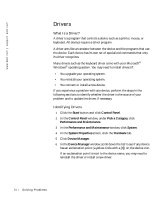
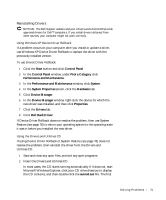
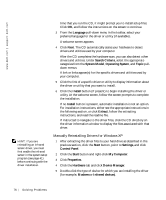
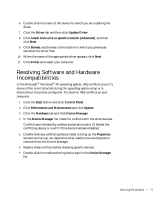
NOTICE: It is important to make regular backups of your data files. System Restore does not monitor changes to or recover your data files. If the original data on the hard disk is accidentally erased or overwritten, or if it becomes inaccessible because of a hard disk malfunction, use your backup files to recover the lost or damaged data. System Restore is enabled on your new computer. However, if you reinstall Windows XP with less than 200 MB of free hard-disk space available, System Restore is automatically disabled. Before you use System Restore, confirm that it is enabled. 1 Click the Start button and click Control Panel. 2 Click the Performance and Maintenance. 3 Click System. 4 Click the System Restore tab. 5 Ensure that Turn off System Restore is not checked. Creating a Restore Point In Windows XP, you can either use the System Restore Wizard or manually create a restore point. Using the System Restore Wizard To use the System Restore Wizard, click the Start button, click Help and Support, click System Restore, and then follow the instructions in the System Restore Wizard window. You can also create and name a restore point if you are logged on as the computer administrator or a user with administrator rights. Manually Creating a Restore Point 1 Click the Start button, point to All Programs→ Accessories→ System Tools, and then click System Restore. 2 Click Create a restore point. 3 Click Next. 4 Type a name for the new restore point in the Restore point description field. The present date and time are automatically added to the description of the new restore point. So l vi n g Pro b l em s 79
-
 1
1 -
2
-
3
-
4
-
5
-
6
-
7
-
8
-
9
-
10
-
11
-
12
-
13
-
14
-
15
-
16
-
17
-
18
-
19
-
20
-
21
-
22
-
23
-
24
-
25
-
26
-
27
-
28
-
29
-
30
-
31
-
32
-
33
-
34
-
35
-
36
-
37
-
38
-
39
-
40
-
41
-
42
-
43
-
44
-
45
-
46
-
47
-
48
-
49
-
50
-
51
-
52
-
53
-
54
-
55
-
56
-
57
-
58
-
59
-
60
-
61
-
62
-
63
-
64
-
65
-
66
-
67
-
68
-
69
-
70
-
71
-
72
-
73
-
 74
74 -
 75
75 -
 76
76 -
 77
77 -
 78
78 -
 79
79 -
 80
80 -
 81
81 -
 82
82 -
 83
83 -
 84
84 -
85
-
86
-
87
-
88
-
89
-
90
-
91
-
92
-
93
-
94
-
95
-
96
-
97
-
98
-
99
-
100
-
101
-
102
-
103
-
104
-
105
-
106
-
107
-
108
-
109
-
110
-
111
-
112
-
113
-
114
-
115
-
116
-
117
-
118
-
119
-
120
-
121
-
122
-
123
-
124
-
125
-
126
-
127
-
128
-
129
-
130
-
131
-
132
-
133
-
134
-
135
-
136
-
137
-
138
-
139
-
140
-
141
-
142
-
143
-
144
 |
 |