Dell S560P Interactive Projector Users Guide - Page 29
Interactive Touch Calibration
 |
View all Dell S560P manuals
Add to My Manuals
Save this manual to your list of manuals |
Page 29 highlights
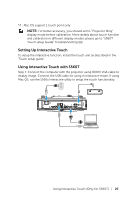
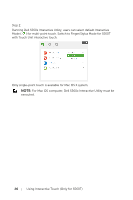
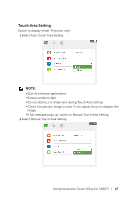
Interactive Touch Calibration 1 Switch to display mode "Projector only". 2 Perform touch calibration on S560P using the S560x interactive utility (Win, Mac). 3 Select auto-calibration while running the S560X interactive utility. NOTE: If the fail message pops up, follow below steps to troubleshoot and do Auto Calibration again. •Close all software application •Reduce ambient light •Do not obstruct or shake lens during calibration •Check if projection image is clear, if not, adjust focus to sharpen the image If auto-calibration fails, setup using 'manual calibration'. 4 Select Manual Calibration, and follow the steps for calibration. Manual Calibration is suggested to get a better accuracy. Using Interactive Touch (Only for S560T) 29
-
 1
1 -
2
-
3
-
4
-
5
-
6
-
7
-
8
-
9
-
10
-
11
-
12
-
13
-
14
-
15
-
16
-
17
-
18
-
19
-
20
-
21
-
22
-
23
-
 24
24 -
 25
25 -
 26
26 -
 27
27 -
 28
28 -
 29
29 -
 30
30 -
 31
31 -
 32
32 -
 33
33 -
 34
34 -
35
-
36
-
37
-
38
-
39
-
40
-
41
-
42
-
43
-
44
-
45
-
46
-
47
-
48
 |
 |
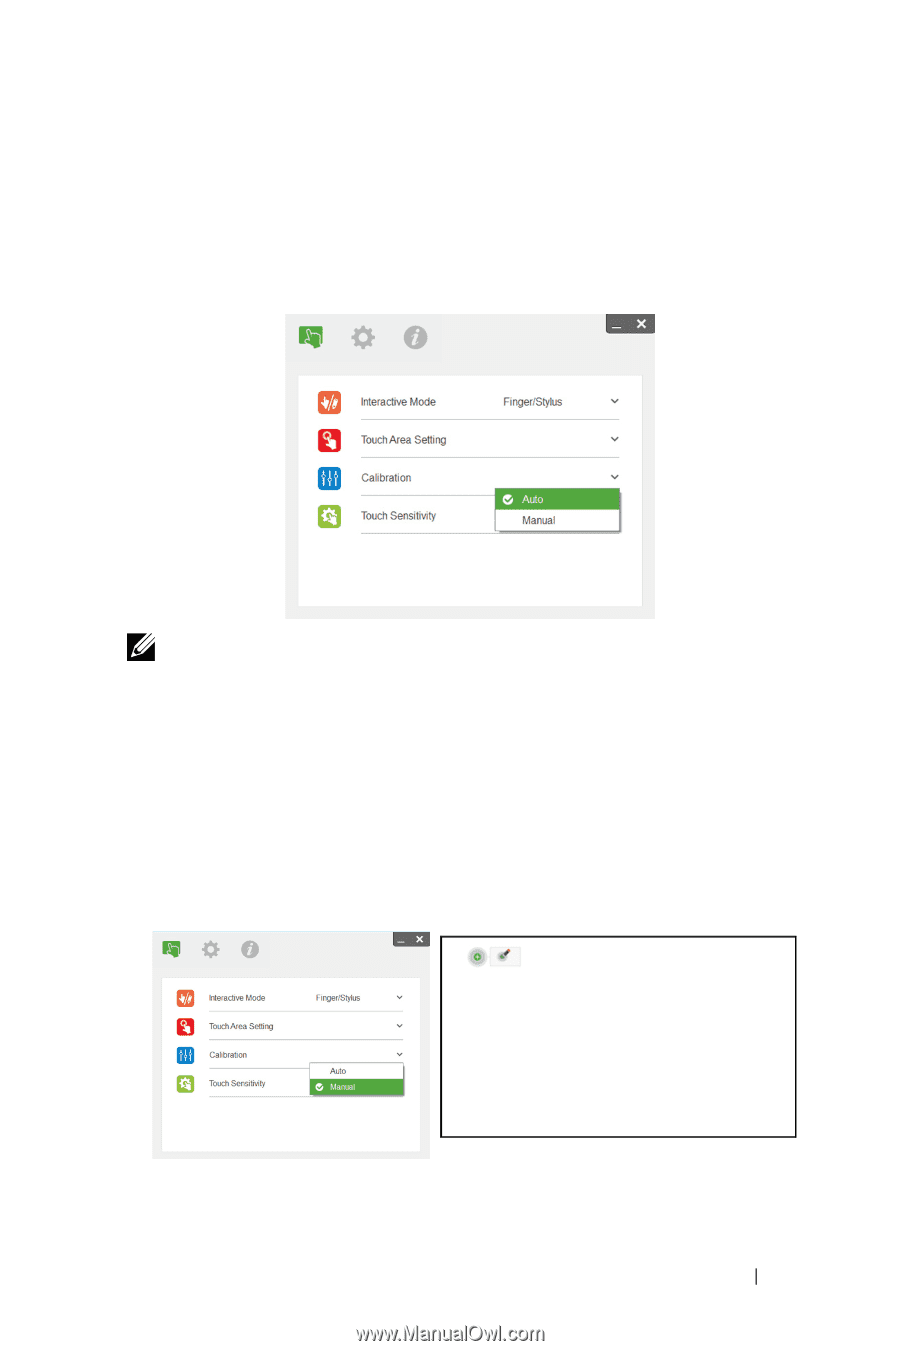
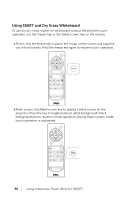
Using Interactive Touch (Only for S560T)
29
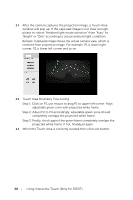
Interactive Touch Calibration
1
Switch to display mode "Projector only".
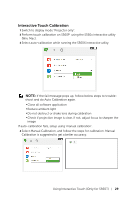
2
Perform touch calibration on S560P
using the S560x interactive utility
(Win, Mac).
3
Select auto-calibration while running the S560X interactive utility.
NOTE:
If the fail message pops up, follow below steps to trouble-
shoot and do Auto Calibration again.
•
Close all software application
•
Reduce ambient light
•
Do not obstruct or shake lens during calibration
•
Check if projection image is clear, if not, adjust focus to sharpen the
image
If auto-calibration fails, setup using 'manual calibration'.
4
Select Manual Calibration, and follow the steps for calibration. Manual
Calibration is suggested to get a better accuracy.