Epson PictureMate Charm - PM 225 Basics - Page 27
When you see the Bonus Software Installation, After a moment, you see this screen
 |
View all Epson PictureMate Charm - PM 225 manuals
Add to My Manuals
Save this manual to your list of manuals |
Page 27 highlights
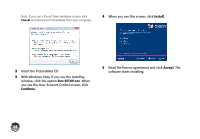
After a moment, you see this screen: Your PictureMate software is installed. Note: If you see a screen like this one, remove your memory card and click the X in the corner to close it. 6 Connect the USB cable to any open USB port on your computer. Then connect the other end to the USB port on the back of PictureMate. Note: PictureMate is automatically set as your default printer. If you have another printer, you can change this setting in the Windows Control Panel. 7 When you see the Bonus Software Installation screen, select the items you want and click Install. 25
-
 1
1 -
2
-
3
-
4
-
5
-
6
-
7
-
8
-
9
-
10
-
11
-
12
-
13
-
14
-
15
-
16
-
17
-
18
-
19
-
20
-
21
-
 22
22 -
 23
23 -
 24
24 -
 25
25 -
 26
26 -
 27
27 -
 28
28 -
 29
29 -
 30
30 -
 31
31 -
 32
32 -
33
-
34
-
35
-
36
-
37
-
38
-
39
-
40
-
41
-
42
-
43
-
44
-
45
-
46
-
47
-
48
-
49
-
50
-
51
-
52
-
53
-
54
-
55
-
56
-
57
-
58
-
59
-
60
-
61
-
62
-
63
-
64
-
65
-
66
 |
 |
25
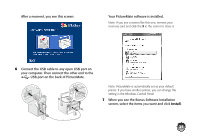
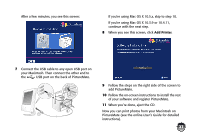
After a moment, you see this screen:
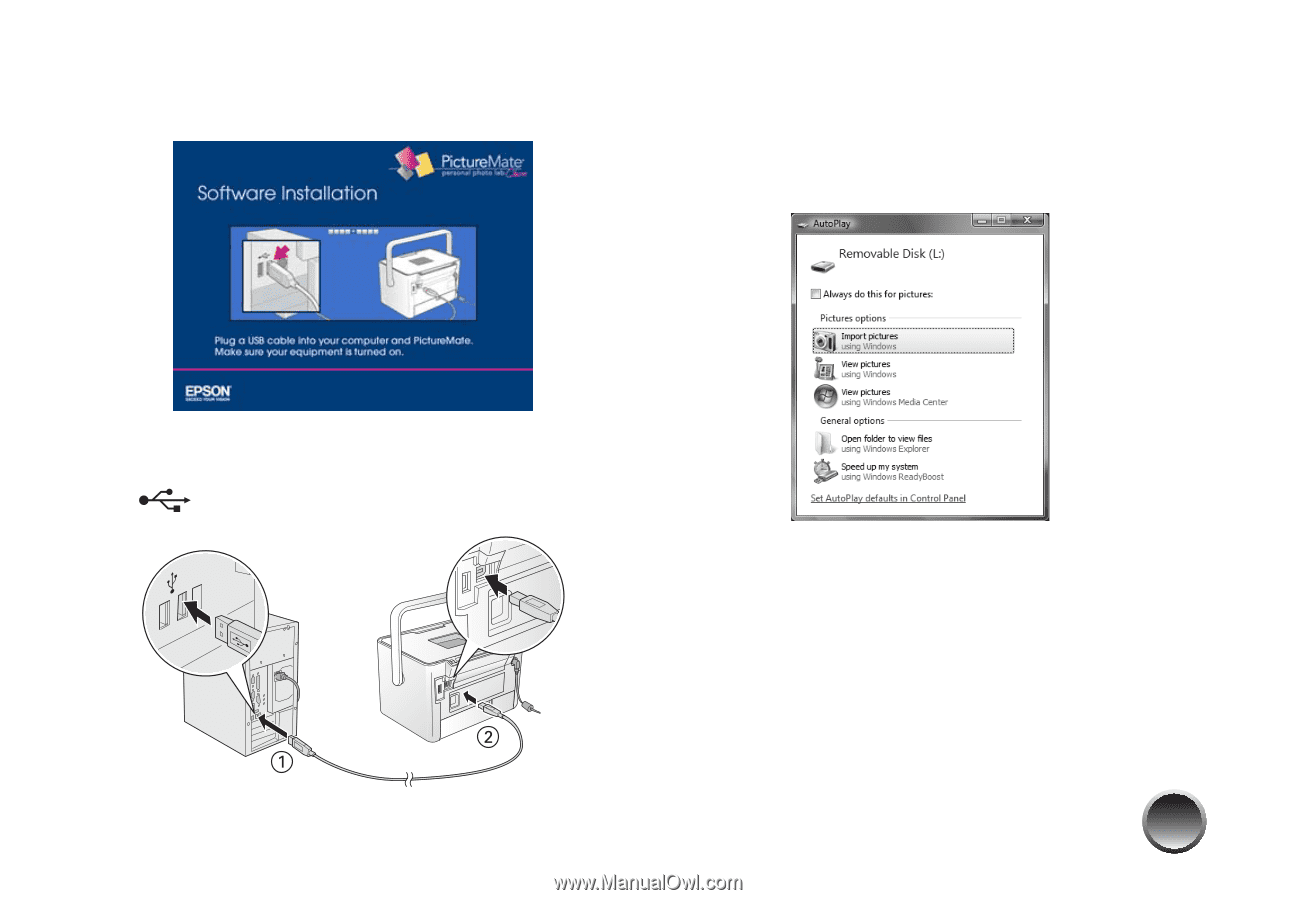
6
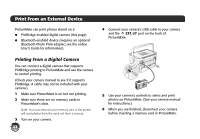
Connect the USB cable to any open USB port on
your computer. Then connect the other end to the
USB port on the back of PictureMate.
Your PictureMate software is installed.
Note: If you see a screen like this one, remove your
memory card and click the
X
in the corner to close it.
Note: PictureMate is automatically set as your default
printer. If you have another printer, you can change this
setting in the Windows Control Panel.
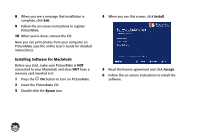
7
When you see the Bonus Software Installation
screen, select the items you want and click
Install
.