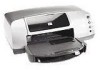
HP 7150 HP Photosmart 7150 printer - (English) Basic Guide - Page 17
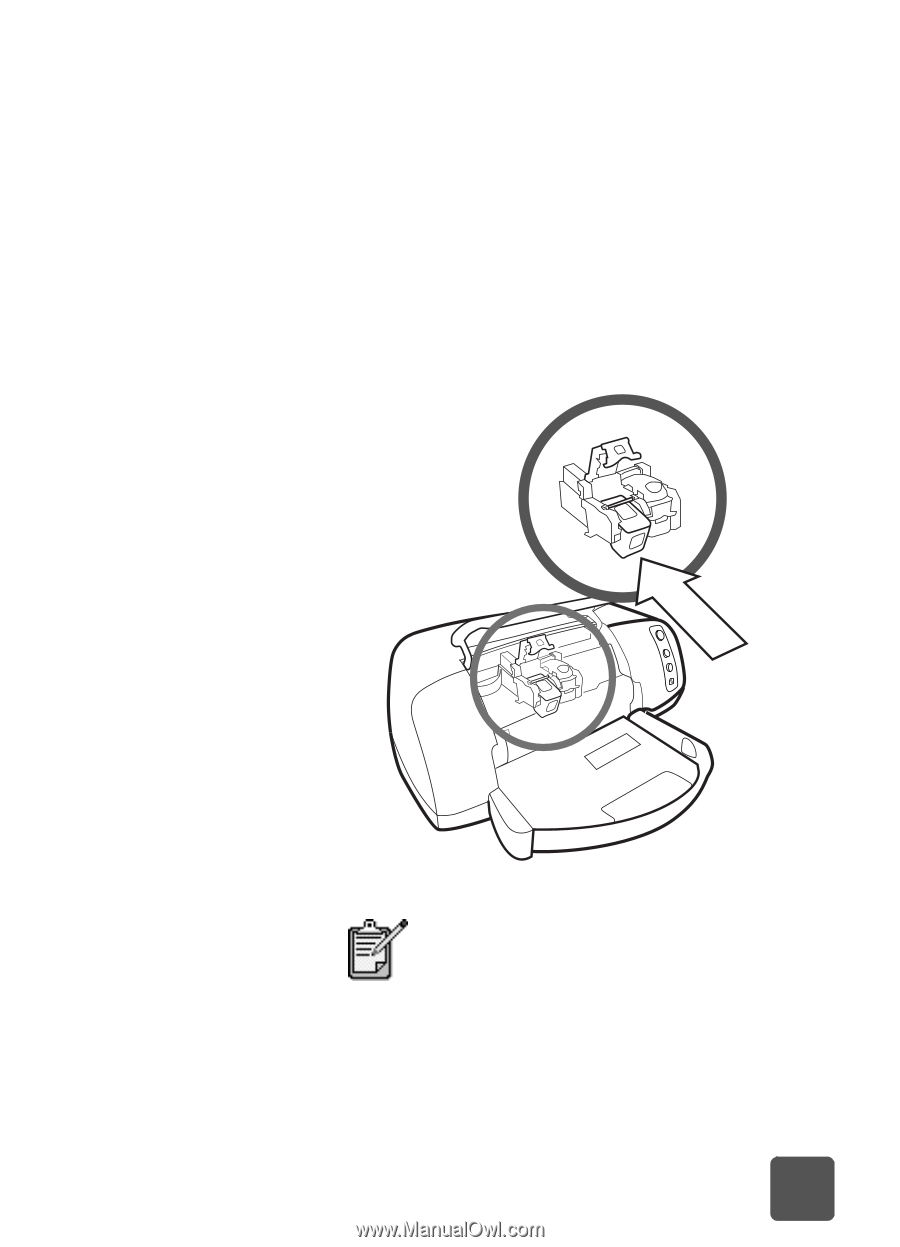
get started: print cartridge information, latch and hold it forward while pushing the latch down. - printer cartridge
 |
UPC - 808736231657
View all HP 7150 manuals
Add to My Manuals
Save this manual to your list of manuals |
Page 17 highlights
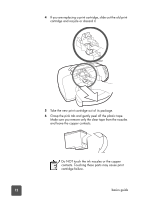
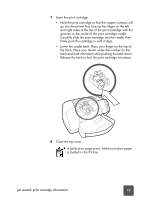
7 Insert the print cartridge: • Hold the print cartridge so that the copper contacts will go into the printer first. Line up the ridges on the left and right sides of the top of the print cartridge with the grooves on the inside of the print cartridge cradle. Carefully slide the print cartridge into the cradle, then firmly push the cartridge in until it stops. • Lower the cradle latch. Place your finger on the top of the latch. Place your thumb under the number on the latch and hold it forward while pushing the latch down. Release the latch to lock the print cartridge into place. 8 Close the top cover. A calibration page prints. Make sure plain paper is loaded in the IN tray. get started: print cartridge information 13
-
 1
1 -
2
-
3
-
4
-
5
-
6
-
7
-
8
-
9
-
10
-
11
-
 12
12 -
 13
13 -
 14
14 -
 15
15 -
 16
16 -
 17
17 -
 18
18 -
 19
19 -
 20
20 -
 21
21 -
 22
22 -
23
-
24
-
25
-
26
-
27
-
28
-
29
-
30
-
31
-
32
-
33
-
34
-
35
-
36
-
37
-
38
-
39
-
40
-
41
-
42
-
43
-
44
-
45
-
46
-
47
-
48
 |
 |
get started: print cartridge information
13
7
Insert the print cartridge:
•
Hold the print cartridge so that the copper contacts will
go into the printer first. Line up the ridges on the left
and right sides of the top of the print cartridge with the
grooves on the inside of the print cartridge cradle.
Carefully slide the print cartridge into the cradle, then
firmly push the cartridge in until it stops.
•
Lower the cradle latch. Place your finger on the top of
the latch. Place your thumb under the number on the
latch and hold it forward while pushing the latch down.
Release the latch to lock the print cartridge into place.
8
Close the top cover.
A calibration page prints. Make sure plain paper
is loaded in the IN tray.