HP MFP S900 Quick Start Guide - Page 20
Manual Finishing
 |
View all HP MFP S900 manuals
Add to My Manuals
Save this manual to your list of manuals |
Page 20 highlights
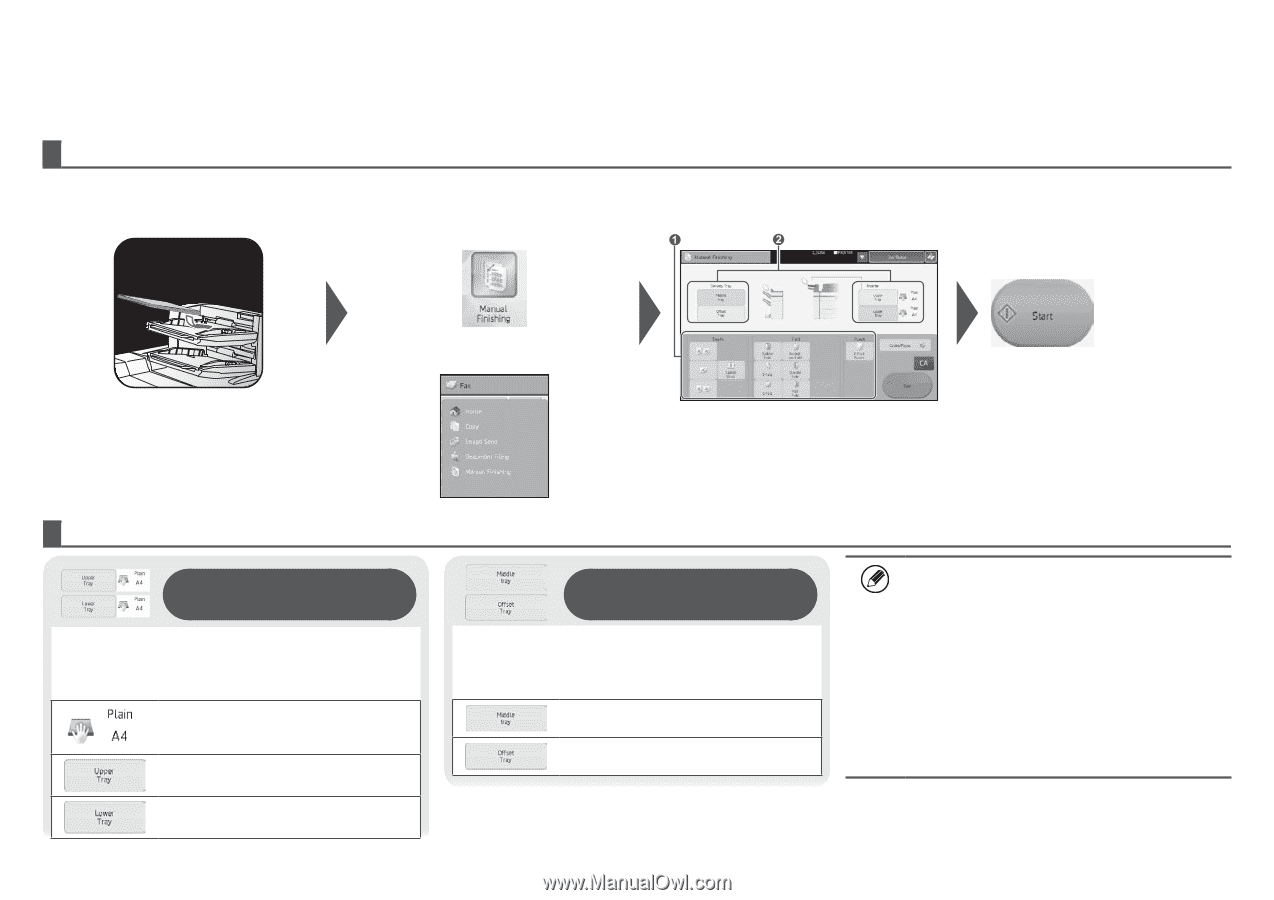
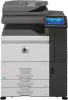
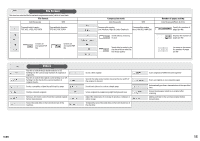
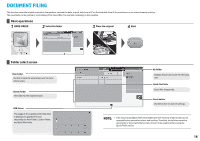
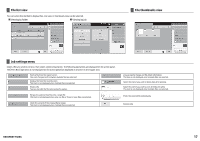
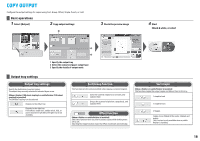
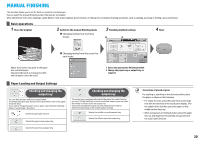
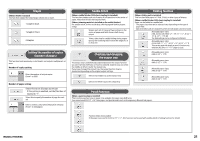
MANUAL FINISHING This function allows you to set for finish on copied or printed pages. You can select the manual finishing mode if the inserter is installed. When the finisher (100-sheet stapling), saddle finisher (100-sheet stapling), punch module, or folding unit is installed, finishing operations, such as stapling, punching or folding, can be performed. Basic operations 1 Place the original 2 Switch to the manual finishing mode � Changing modes from the Home Screen 3 Finishing method settings  4 Start � Changing modes from the screen for each mode Adjust the inserter tray guide to the paper size, and load paper. (Special media such as transparency film and tab paper cannot be used.) 1 Select the appropriate finishing method 2 Change the paper tray or output tray as required Paper Loading and Output Settings Checking and changing the output tray You can check the type and size of paper loaded. As needed, the paper type and size can be specified for each of the upper and lower trays. If you wish to change the paper sizes or types, select [System Settings] > [Paper Tray Settings] > [Inserter]. Check the paper type and size Selects the upper tray as paper tray Selects the lower tray as paper tray Checking and changing the output tray The output tray is automatically selected based on the output function you set. If Z-Fold, Half Fold, or Punch is selected, however, you can select the middle or offset tray for the output tray. If you have changed the output tray, the output function may be deselected depending on the original output settings. Selects the middle tray as the output tray Selects the offset tray as the output tray Orientation of placed original For stapling or punching on the desired position, place the paper as shown in the following: • For staple function, place the paper face up and align text with the direction of the touch panel display. (For the saddle-stitch function, place the paper so that middle surface faces up. • When using punch or folding function, place the paper face up, and align text horizontally and upward with the scan (right) direction. 20
-
 1
1 -
2
-
3
-
4
-
5
-
6
-
7
-
8
-
9
-
10
-
11
-
12
-
13
-
14
-
 15
15 -
 16
16 -
 17
17 -
 18
18 -
 19
19 -
 20
20 -
 21
21 -
 22
22 -
 23
23 -
 24
24 -
 25
25 -
26
-
27
-
28
-
29
-
30
-
31
-
32
 |
 |