HP P1005 HP LaserJet P1000 and P1500 Series - Software Technical Reference - Page 79
Installing the printer driver only, Printer-driver installation for Windows 2000 or Windows XP - laserjet driver xp
 |
UPC - 883585164172
View all HP P1005 manuals
Add to My Manuals
Save this manual to your list of manuals |
Page 79 highlights
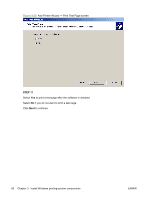
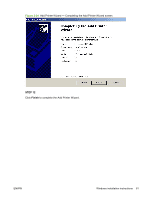
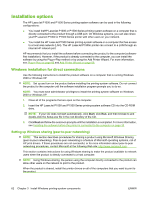
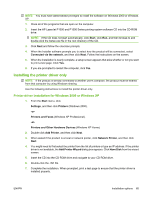
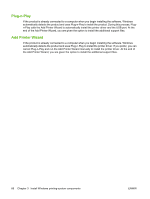
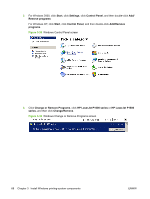
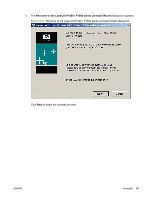
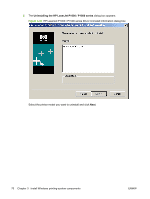
NOTE: You must have administrator privileges to install the software on Windows 2000 or Windows XP. 1. Close all of the programs that are open on the computer. 2. Insert the HP LaserJet P1000 and P1500 Series printing-system software CD into the CD-ROM drive. NOTE: If the CD does not start automatically, click Start, click Run, and then browse to and double-click the Setup.exe file in the root directory of the CD. 3. Click Next and follow the onscreen prompts. 4. When the Installer software prompts you to select how the product will be connected, select Connected via the network, and then click Next. Follow the instructions on the screen. 5. When the installation is nearly complete, a setup screen appears that asks whether or not you want to print a test page. Click Yes. 6. If you are prompted to restart the computer, click Yes. Installing the printer driver only NOTE: If the product is directly connected to another user's computer, the product must be shared from that computer by using Windows sharing. Use the following instructions to install the printer driver only. Printer-driver installation for Windows 2000 or Windows XP 1. From the Start menu, click Settings, and then click Printers (Windows 2000). -or- Printers and Faxes (Windows XP Professional). -or- Printers and Other Hardware Devices (Windows XP Home). 2. Double-click Add Printer, and then click Next. 3. When asked if the product is a local or network printer, click Network Printer, and then click Next. 4. You might need to first select the printer from the list of printers or type an IP address. If the printer driver is not available, the Add Printer Wizard dialog box appears. Click Have Disk from the wizard screen. 5. Insert the CD into the CD-ROM drive and navigate to your CD-ROM drive. 6. Double-click the .INF file. 7. Complete the installation. When prompted, print a test page to ensure that the printer driver is installed properly. ENWW Installation options 65
-
 1
1 -
2
-
3
-
4
-
5
-
6
-
7
-
8
-
9
-
10
-
11
-
12
-
13
-
14
-
15
-
16
-
17
-
18
-
19
-
20
-
21
-
22
-
23
-
24
-
25
-
26
-
27
-
28
-
29
-
30
-
31
-
32
-
33
-
34
-
35
-
36
-
37
-
38
-
39
-
40
-
41
-
42
-
43
-
44
-
45
-
46
-
47
-
48
-
49
-
50
-
51
-
52
-
53
-
54
-
55
-
56
-
57
-
58
-
59
-
60
-
61
-
62
-
63
-
64
-
65
-
66
-
67
-
68
-
69
-
70
-
71
-
72
-
73
-
 74
74 -
 75
75 -
 76
76 -
 77
77 -
 78
78 -
 79
79 -
 80
80 -
 81
81 -
 82
82 -
 83
83 -
 84
84 -
85
-
86
-
87
-
88
-
89
-
90
-
91
-
92
-
93
-
94
-
95
-
96
-
97
-
98
-
99
-
100
-
101
-
102
-
103
-
104
-
105
-
106
-
107
-
108
-
109
-
110
-
111
-
112
-
113
-
114
-
115
-
116
-
117
-
118
-
119
-
120
-
121
-
122
-
123
-
124
-
125
-
126
-
127
-
128
-
129
-
130
-
131
-
132
-
133
-
134
-
135
-
136
-
137
-
138
-
139
-
140
-
141
-
142
-
143
-
144
-
145
-
146
-
147
-
148
-
149
-
150
-
151
-
152
-
153
-
154
 |
 |