HP P1006 Service Guide - Page 56
Top Cover, Front Cover, on Control panel, Side Covers, Back Cover
 |
UPC - 883585164479
View all HP P1006 manuals
Add to My Manuals
Save this manual to your list of manuals |
Page 56 highlights
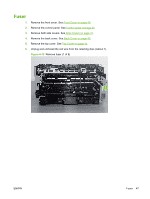
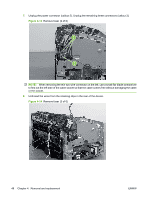
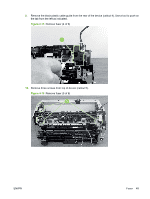
4. Remove one grounding screw (callout 1). Figure 4-7 Remove back cover (1 of 2) 5. Lift plate in three of the four corners (callout 2) to pop the plate off. Use a small flat blade screwdriver to get leverage on each of the corners. Figure 4-8 Remove back cover (2 of 2) Top Cover 1. Remove the front cover. See Front Cover on page 40. 2. Remove the control panel. See Control panel on page 40. 3. Remove both side covers. See Side Covers on page 41. 4. Remove the back cover. See Back Cover on page 43. 44 Chapter 4 Removal and replacement ENWW
-
 1
1 -
2
-
3
-
4
-
5
-
6
-
7
-
8
-
9
-
10
-
11
-
12
-
13
-
14
-
15
-
16
-
17
-
18
-
19
-
20
-
21
-
22
-
23
-
24
-
25
-
26
-
27
-
28
-
29
-
30
-
31
-
32
-
33
-
34
-
35
-
36
-
37
-
38
-
39
-
40
-
41
-
42
-
43
-
44
-
45
-
46
-
47
-
48
-
49
-
50
-
 51
51 -
 52
52 -
 53
53 -
 54
54 -
 55
55 -
 56
56 -
 57
57 -
 58
58 -
 59
59 -
 60
60 -
 61
61 -
62
-
63
-
64
-
65
-
66
-
67
-
68
-
69
-
70
-
71
-
72
-
73
-
74
-
75
-
76
-
77
-
78
-
79
-
80
-
81
-
82
-
83
-
84
-
85
-
86
-
87
-
88
-
89
-
90
-
91
-
92
-
93
-
94
-
95
-
96
-
97
-
98
-
99
-
100
-
101
-
102
-
103
-
104
-
105
-
106
-
107
-
108
-
109
-
110
-
111
-
112
-
113
-
114
-
115
-
116
-
117
-
118
-
119
-
120
-
121
-
122
-
123
-
124
-
125
-
126
-
127
-
128
-
129
-
130
-
131
-
132
-
133
-
134
-
135
-
136
-
137
-
138
-
139
-
140
-
141
-
142
-
143
-
144
-
145
-
146
-
147
-
148
 |
 |
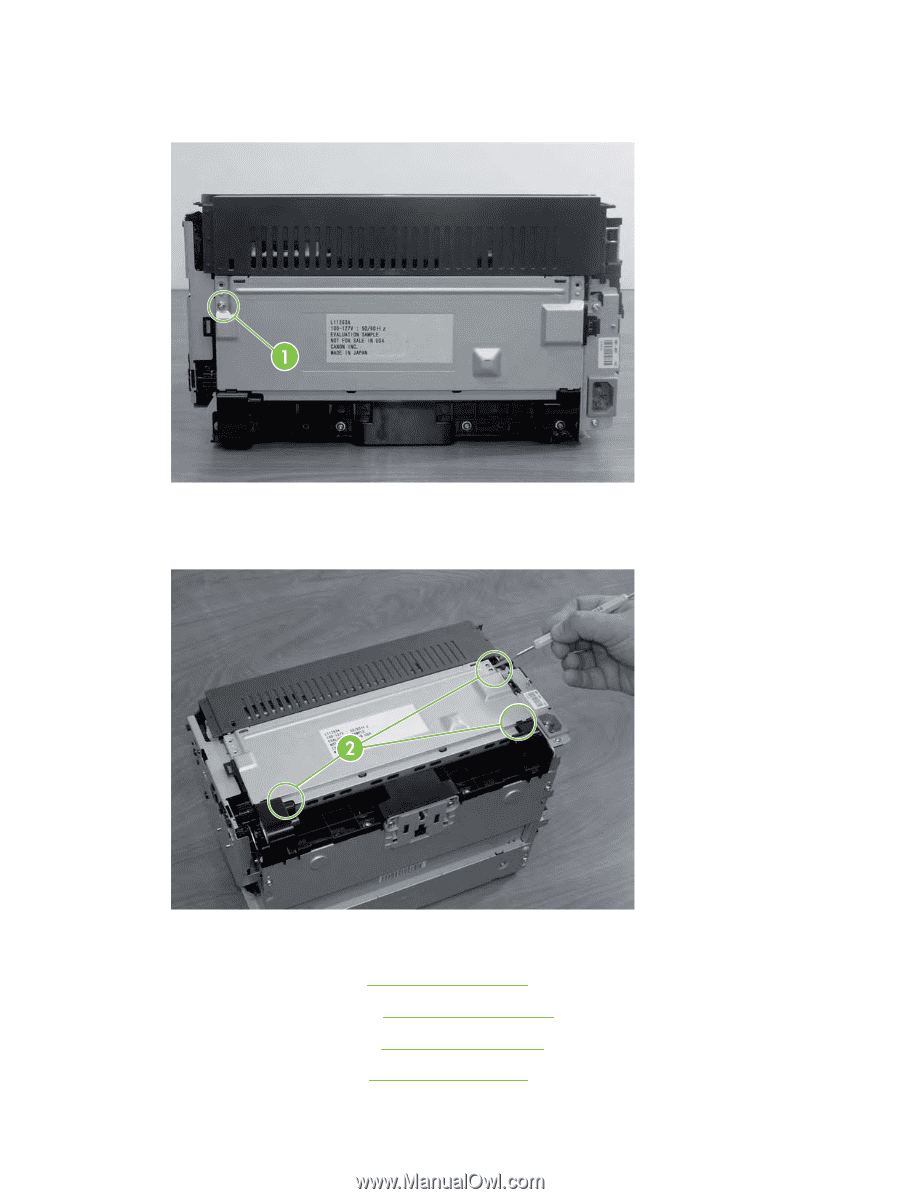
4.
Remove one grounding screw (callout 1).
Figure 4-7
Remove back cover (1 of 2)
5.
Lift plate in three of the four corners (callout 2) to pop the plate off. Use a small flat blade screwdriver
to get leverage on each of the corners.
Figure 4-8
Remove back cover (2 of 2)
Top Cover
1.
Remove the front cover. See
Front Cover
on page
40
.
2.
Remove the control panel. See
Control panel
on page
40
.
3.
Remove both side covers. See
Side Covers
on page
41
.
4.
Remove the back cover. See
Back Cover
on page
43
.
44
Chapter 4
Removal and replacement
ENWW