HP P1006 Service Guide - Page 58
Formatter
 |
UPC - 883585164479
View all HP P1006 manuals
Add to My Manuals
Save this manual to your list of manuals |
Page 58 highlights
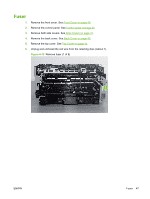
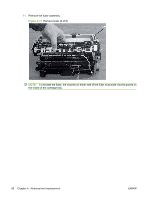
Formatter 1. Remove the front cover. See Front Cover on page 40. 2. Remove the control panel. See Control panel on page 40. 3. Remove the left side cover. See Side Covers on page 41. 4. Remove four screws (callout 1) and unplug the cable (callout 2). Figure 4-10 Remove formatter (1 of 2) 5. Remove the formatter board. Figure 4-11 Remove formatter (2 of 2) NOTE: When reinstalling the formatter board, place the board on the support bracket first and align holes before attaching it with the screws. 46 Chapter 4 Removal and replacement ENWW
-
 1
1 -
2
-
3
-
4
-
5
-
6
-
7
-
8
-
9
-
10
-
11
-
12
-
13
-
14
-
15
-
16
-
17
-
18
-
19
-
20
-
21
-
22
-
23
-
24
-
25
-
26
-
27
-
28
-
29
-
30
-
31
-
32
-
33
-
34
-
35
-
36
-
37
-
38
-
39
-
40
-
41
-
42
-
43
-
44
-
45
-
46
-
47
-
48
-
49
-
50
-
51
-
52
-
 53
53 -
 54
54 -
 55
55 -
 56
56 -
 57
57 -
 58
58 -
 59
59 -
 60
60 -
 61
61 -
 62
62 -
 63
63 -
64
-
65
-
66
-
67
-
68
-
69
-
70
-
71
-
72
-
73
-
74
-
75
-
76
-
77
-
78
-
79
-
80
-
81
-
82
-
83
-
84
-
85
-
86
-
87
-
88
-
89
-
90
-
91
-
92
-
93
-
94
-
95
-
96
-
97
-
98
-
99
-
100
-
101
-
102
-
103
-
104
-
105
-
106
-
107
-
108
-
109
-
110
-
111
-
112
-
113
-
114
-
115
-
116
-
117
-
118
-
119
-
120
-
121
-
122
-
123
-
124
-
125
-
126
-
127
-
128
-
129
-
130
-
131
-
132
-
133
-
134
-
135
-
136
-
137
-
138
-
139
-
140
-
141
-
142
-
143
-
144
-
145
-
146
-
147
-
148
 |
 |
Formatter
1.
Remove the front cover. See
Front Cover
on page
40
.
2.
Remove the control panel. See
Control panel
on page
40
.
3.
Remove the left side cover. See
Side Covers
on page
41
.
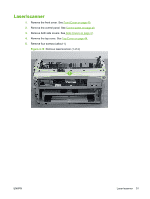
4.
Remove four screws (callout 1) and unplug the cable (callout 2).
Figure 4-10
Remove formatter (1 of 2)
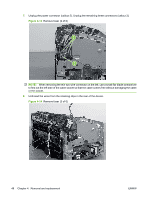
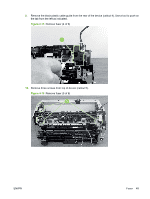
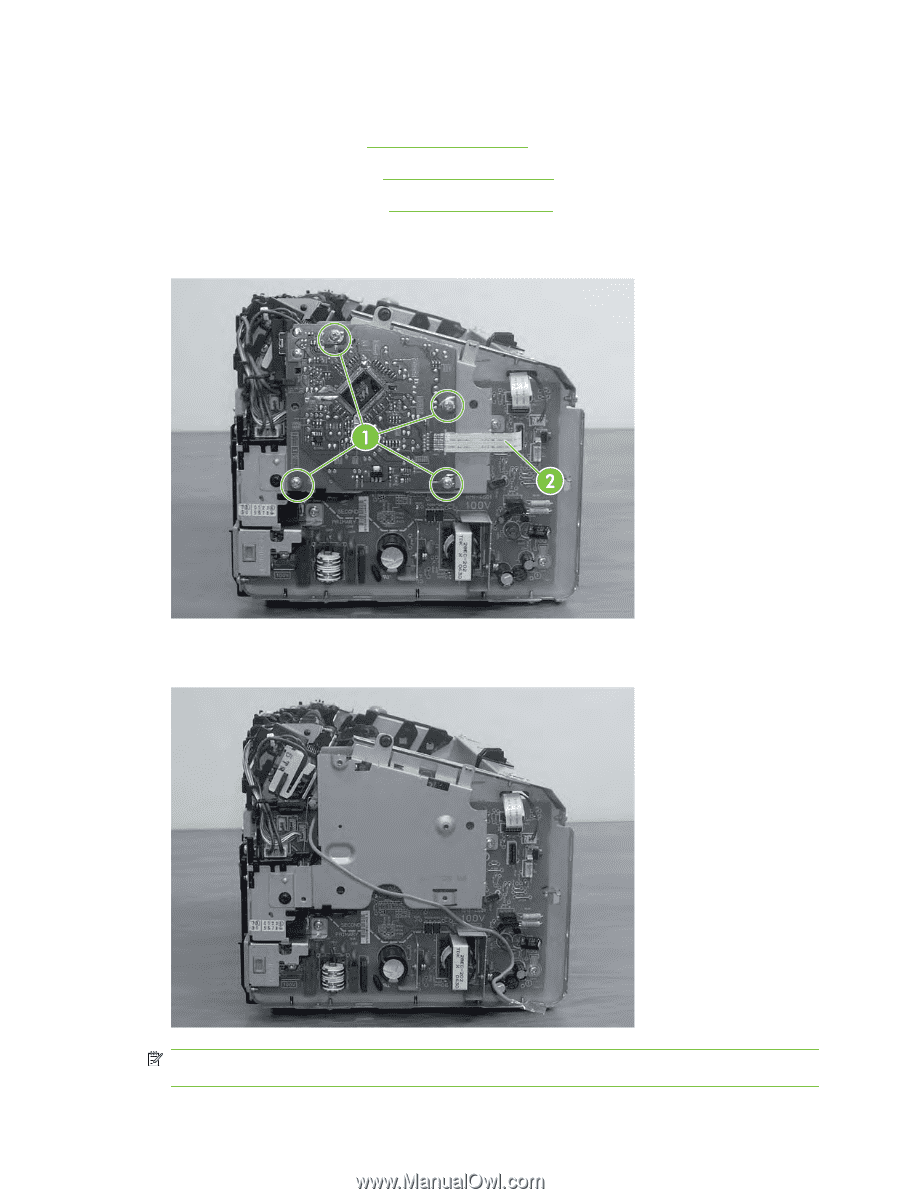
5.
Remove the formatter board.
Figure 4-11
Remove formatter (2 of 2)
NOTE:
When reinstalling the formatter board, place the board on the support bracket first and
align holes before attaching it with the screws.
46
Chapter 4
Removal and replacement
ENWW