HP P1006 Service Guide - Page 57
HP P1006 - LaserJet B/W Laser Printer Manual
 |
UPC - 883585164479
View all HP P1006 manuals
Add to My Manuals
Save this manual to your list of manuals |
Page 57 highlights
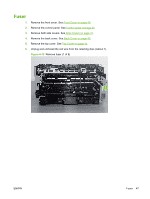
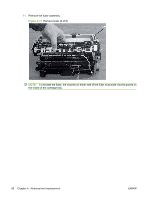
5. Separate the tabs (callout 1) and lift the top cover off of the device. Figure 4-9 Remove top cover (1 of 1) NOTE: There are two link arms that slide through slots in the top cover. They are disengaged when the cover is removed. Be sure to feed the link arms back through the slots when reinstalling the top cover. ENWW Covers 45
-
 1
1 -
2
-
3
-
4
-
5
-
6
-
7
-
8
-
9
-
10
-
11
-
12
-
13
-
14
-
15
-
16
-
17
-
18
-
19
-
20
-
21
-
22
-
23
-
24
-
25
-
26
-
27
-
28
-
29
-
30
-
31
-
32
-
33
-
34
-
35
-
36
-
37
-
38
-
39
-
40
-
41
-
42
-
43
-
44
-
45
-
46
-
47
-
48
-
49
-
50
-
51
-
 52
52 -
 53
53 -
 54
54 -
 55
55 -
 56
56 -
 57
57 -
 58
58 -
 59
59 -
 60
60 -
 61
61 -
 62
62 -
63
-
64
-
65
-
66
-
67
-
68
-
69
-
70
-
71
-
72
-
73
-
74
-
75
-
76
-
77
-
78
-
79
-
80
-
81
-
82
-
83
-
84
-
85
-
86
-
87
-
88
-
89
-
90
-
91
-
92
-
93
-
94
-
95
-
96
-
97
-
98
-
99
-
100
-
101
-
102
-
103
-
104
-
105
-
106
-
107
-
108
-
109
-
110
-
111
-
112
-
113
-
114
-
115
-
116
-
117
-
118
-
119
-
120
-
121
-
122
-
123
-
124
-
125
-
126
-
127
-
128
-
129
-
130
-
131
-
132
-
133
-
134
-
135
-
136
-
137
-
138
-
139
-
140
-
141
-
142
-
143
-
144
-
145
-
146
-
147
-
148
 |
 |
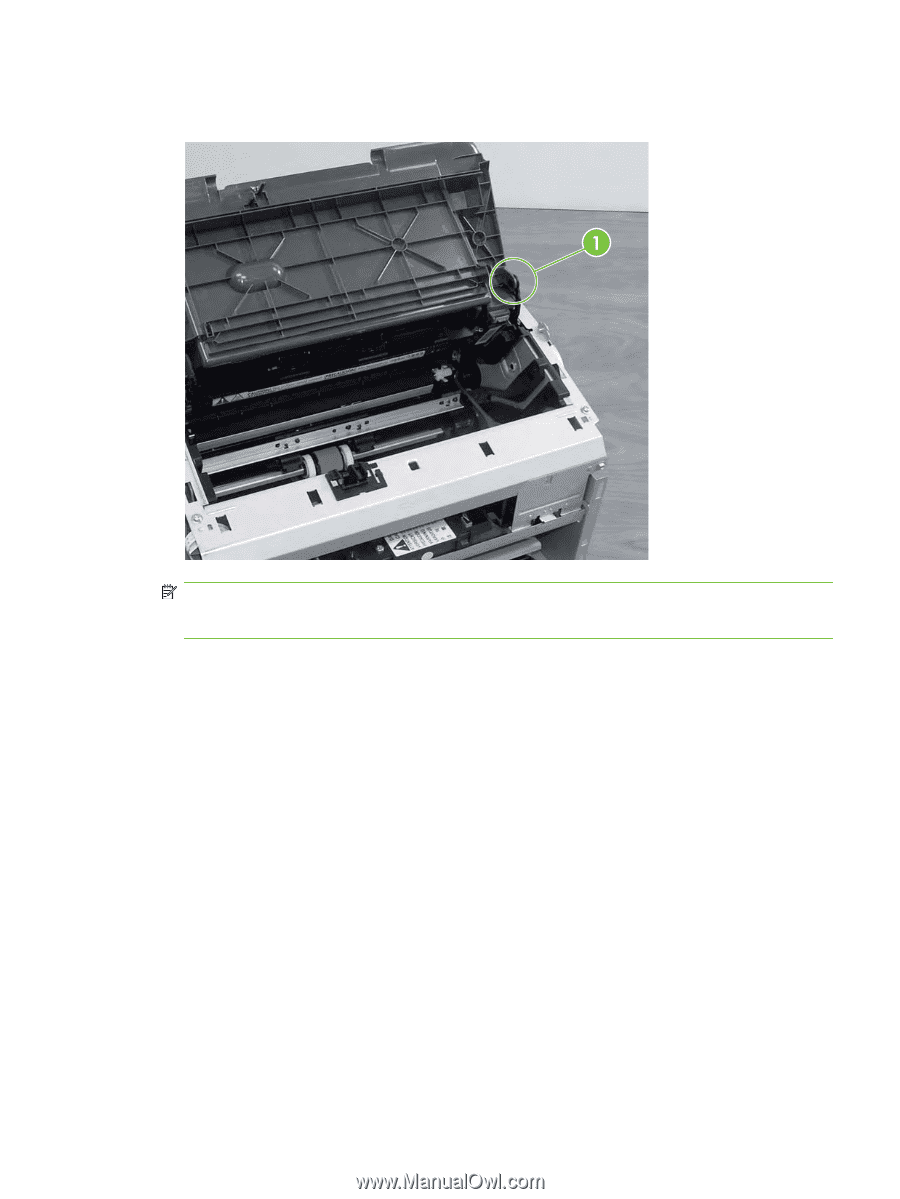
5.
Separate the tabs (callout 1) and lift the top cover off of the device.
Figure 4-9
Remove top cover (1 of 1)
NOTE:
There are two link arms that slide through slots in the top cover. They are disengaged
when the cover is removed. Be sure to feed the link arms back through the slots when reinstalling
the top cover.
ENWW
Covers
45