HP Photosmart R727 User Guide - Page 16
Red eye, Using the shooting modes
 |
View all HP Photosmart R727 manuals
Add to My Manuals
Save this manual to your list of manuals |
Page 16 highlights
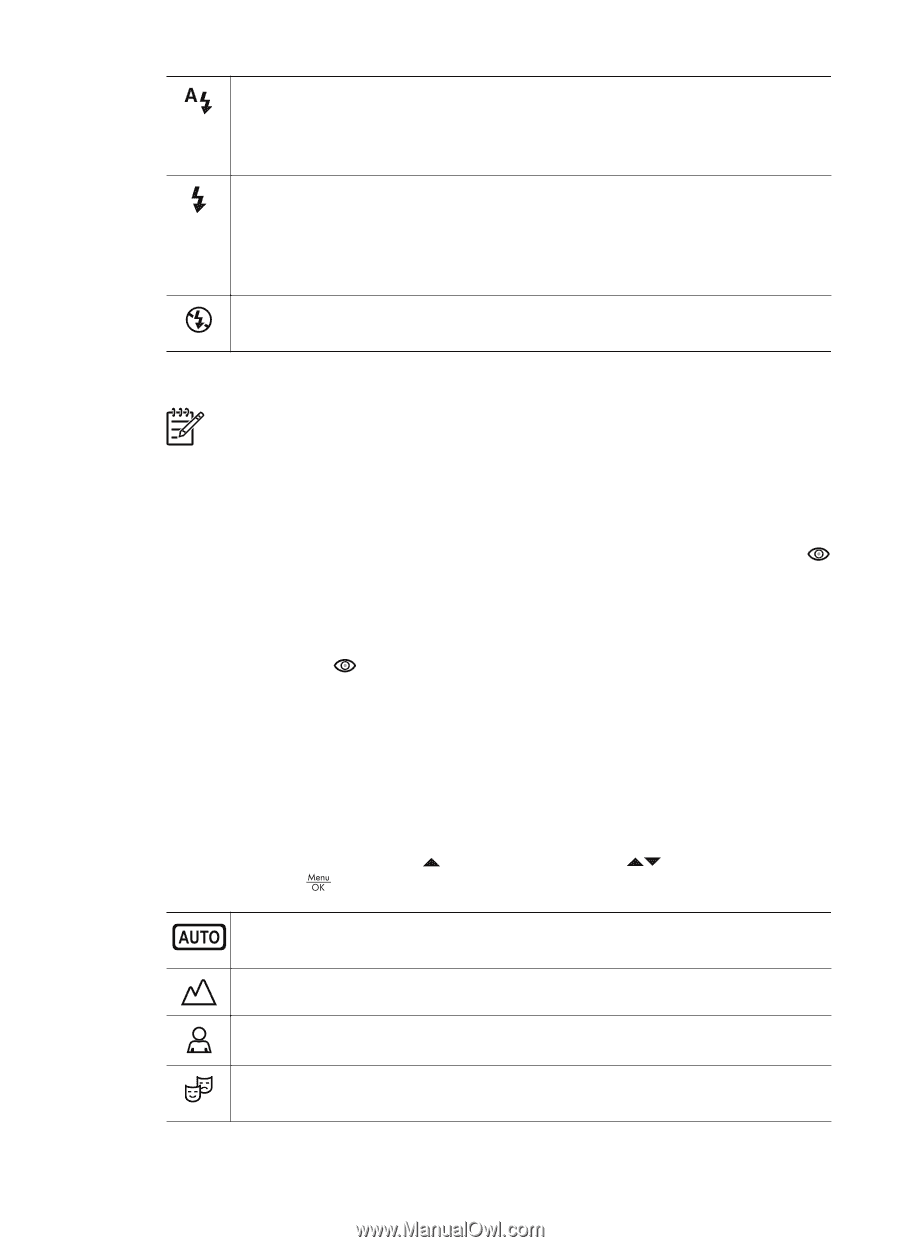
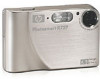
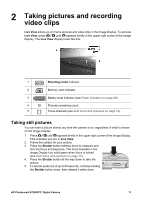
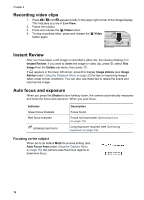
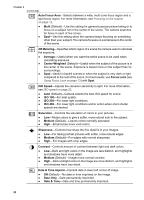
Chapter 2 Auto Flash (Default)-The camera uses the flash, if necessary. If you want the camera to remove red eyes if they exist in images, turn on Red-Eye Removal (see Red-Eye Removal under Using the Capture Menu on page 18). For information about red eye, see Red eye on page 16. Flash On-The camera always uses flash. If the light is behind your subject, use this setting to increase the light on the front of your subject. If you want the camera to remove red eyes if they exist in images, turn on Red-Eye Removal (see Red-Eye Removal under Using the Capture Menu on page 18). Flash Off-The camera does not use flash. Use this setting to capture poorly lit subjects beyond the flash range or to capture scenes with the existing light. The Flash setting remains in effect until it is changed again, or you turn off the camera. Note The flash is not available in Document, Landscape, Night Scenery, Panorama, Sunset, or Theatre shooting modes, with the Burst setting, nor while recording video clips. In Night Portrait shooting mode, the flash is set to On. Red eye The red-eye phenomenon is caused when light from the flash reflects off the subjects' eyes, which can make human eyes appear red in the captured image. If you turn on Red-Eye Removal (see Red-Eye Removal under Using the Capture Menu on page 18), the camera examines the image after taking it. If the camera detects red eyes, it then processes the image to remove them. This examination and processing takes additional time. If you find the additional time too long, you can turn off Red-Eye Removal and remove the red eyes after you have captured the image, using either Remove Red Eyes (see Remove Red Eyes under Using the Design Gallery Menu on page 29) or the HP Photosmart Software that came with your camera. Using the shooting modes Shooting modes are predefined settings for everyday situations. They are optimized for particular types of scenes or shooting situations. To select a shooting mode, press while in Live View, use mode, then press . to highlight a shooting Auto Mode (Default)-For taking good shots quickly, when you do not have time to select a special shooting mode. Landscape-For scenes with deep perspective, such as mountain scenes. Portrait-For pictures that have one or more people as their primary subject. Theatre-For capturing images at school programs, concerts, or indoor sporting events without using flash. 16
-
 1
1 -
2
-
3
-
4
-
5
-
6
-
7
-
8
-
9
-
10
-
 11
11 -
 12
12 -
 13
13 -
 14
14 -
 15
15 -
 16
16 -
 17
17 -
 18
18 -
 19
19 -
 20
20 -
 21
21 -
22
-
23
-
24
-
25
-
26
-
27
-
28
-
29
-
30
-
31
-
32
-
33
-
34
-
35
-
36
-
37
-
38
-
39
-
40
-
41
-
42
-
43
-
44
-
45
-
46
-
47
-
48
-
49
-
50
-
51
-
52
-
53
-
54
-
55
-
56
 |
 |