Kenwood C-V751 User Manual - Page 27
Playing music
 |
View all Kenwood C-V751 manuals
Add to My Manuals
Save this manual to your list of manuals |
Page 27 highlights
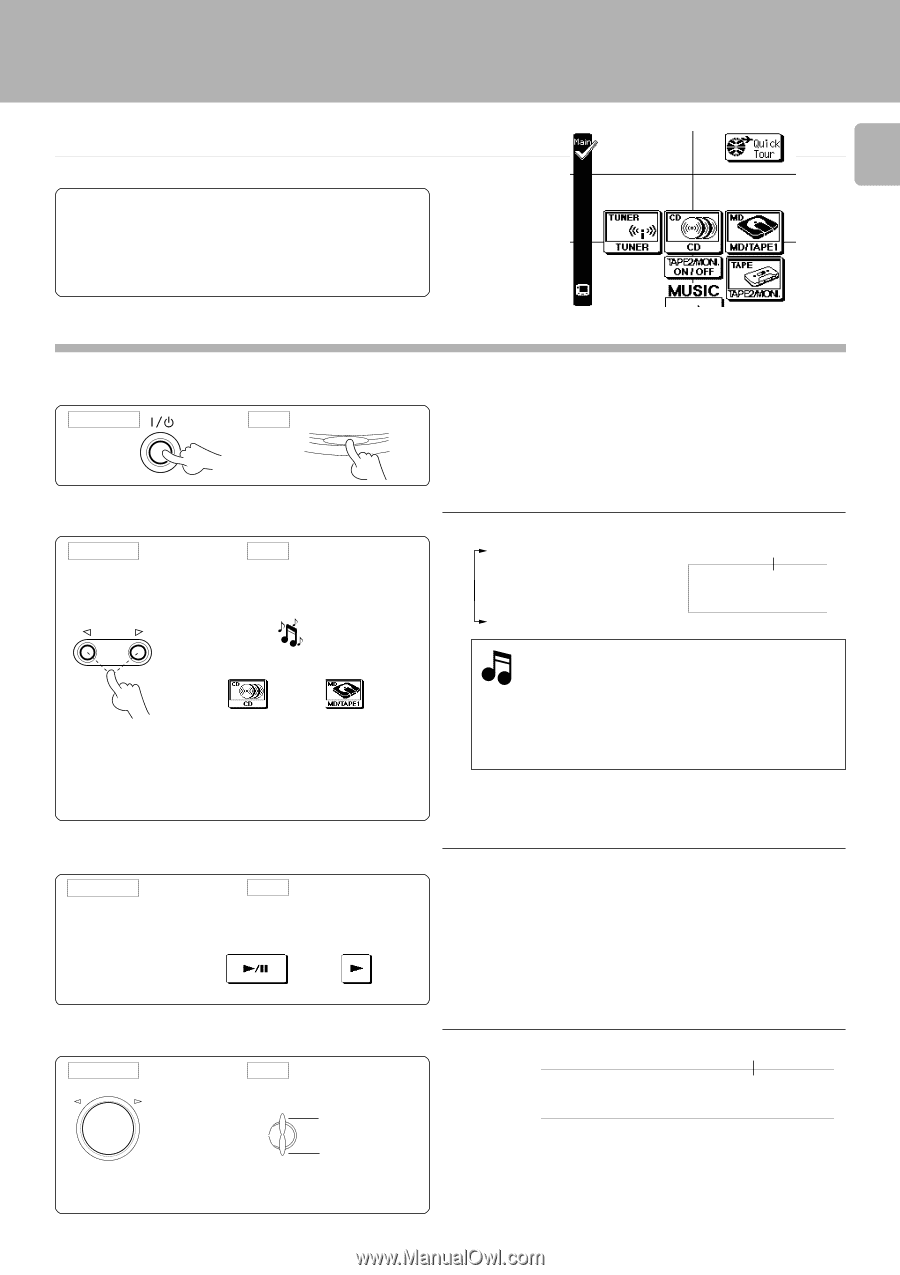
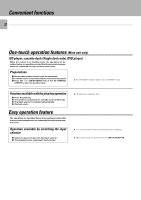
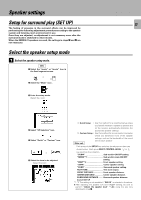
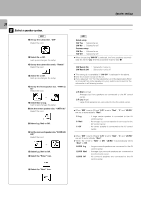
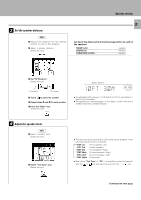
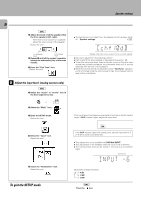
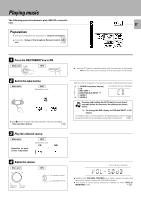
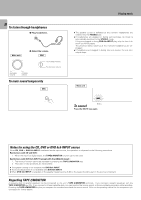
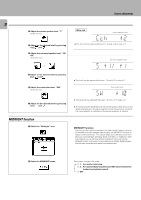
Playing music The following procedure allows to play a MD,CD or cassette tape. Preparations ÷ Connect components as described in "System connection". 5 ÷ Complete "Setup of the Graphical Remote Control (GRC) unit". @ Sound adjustment 27 1 Press the ON/STANDBY key to ON. Main unit GRC ON/STANDBY ON/STANDBY 2 Select the input source. Main unit GRC (Select the icon) INPUT musi c or ÷ Step 3 can be omitted if the easy operation feature is available. "Easy operation feature" ™ 3 Play the selected source. Main unit Operation on each source component GRC (Select the icon) CD MD or ÷ Load the CD player or cassette deck with the software to be played. \Read the instruction manuals of the associated components. With the main unit operation, the input sources are switched as shown below. 1 TUNER (frequency display) 2 CD 3 MD/TAPE 1 4 DVD/DVD 6ch INPUT *1 5 VIDEO 1 6 VIDEO 2 The selected source is displayed. C D AUTO STEREO MEMO.TUNED F M RDS EON TP A M PTY TA NEWS MW MUTE CLIP LW Pressing and holding the AUTO key for more than 2 seconds allows the source to be switched as shown below. *1: To change the DVD display to DVD 6ch INPUT or LD display To enable system-control operation, the displayed information should be set according to the actually connected components. 0 4 Adjust the volume. Main unit VOLUME CONTROL DOWN To decrease volume UP To increase volume GRC VOL UP UME DOWN To increase volume To decrease volume Volume level is displayed. V O L _ 5 ) AUTO STEREO MEMO.TUNED F M RDS EON TP A M PTY TA NEWS MW MUTE CLIP LW dB AUTO SOUND DIGITAL DTS DOLBY DIGITAL PRO LOGIC 3 ST MHz SLEEP DOWN KHz TIMER 1 2 TAPE2/M ÷ Rotating the VOLUME CONTROL at a higher speed increases the amount of volume change (AI VOLUME function). ÷ The sound of input source cannot be listened to while TAPE 2/ MONITOR is ON. •
-
 1
1 -
2
-
3
-
4
-
5
-
6
-
7
-
8
-
9
-
10
-
11
-
12
-
13
-
14
-
15
-
16
-
17
-
18
-
19
-
20
-
21
-
 22
22 -
 23
23 -
 24
24 -
 25
25 -
 26
26 -
 27
27 -
 28
28 -
 29
29 -
 30
30 -
 31
31 -
 32
32 -
33
-
34
-
35
-
36
-
37
-
38
-
39
-
40
-
41
-
42
-
43
-
44
-
45
-
46
-
47
-
48
-
49
-
50
-
51
-
52
-
53
-
54
-
55
-
56
-
57
-
58
-
59
-
60
-
61
-
62
-
63
-
64
 |
 |