Kenwood DNX7140 Owner's Manual (pdf) - Page 62
Position
 |
UPC - 019048182494
View all Kenwood DNX7140 manuals
Add to My Manuals
Save this manual to your list of manuals |
Page 62 highlights
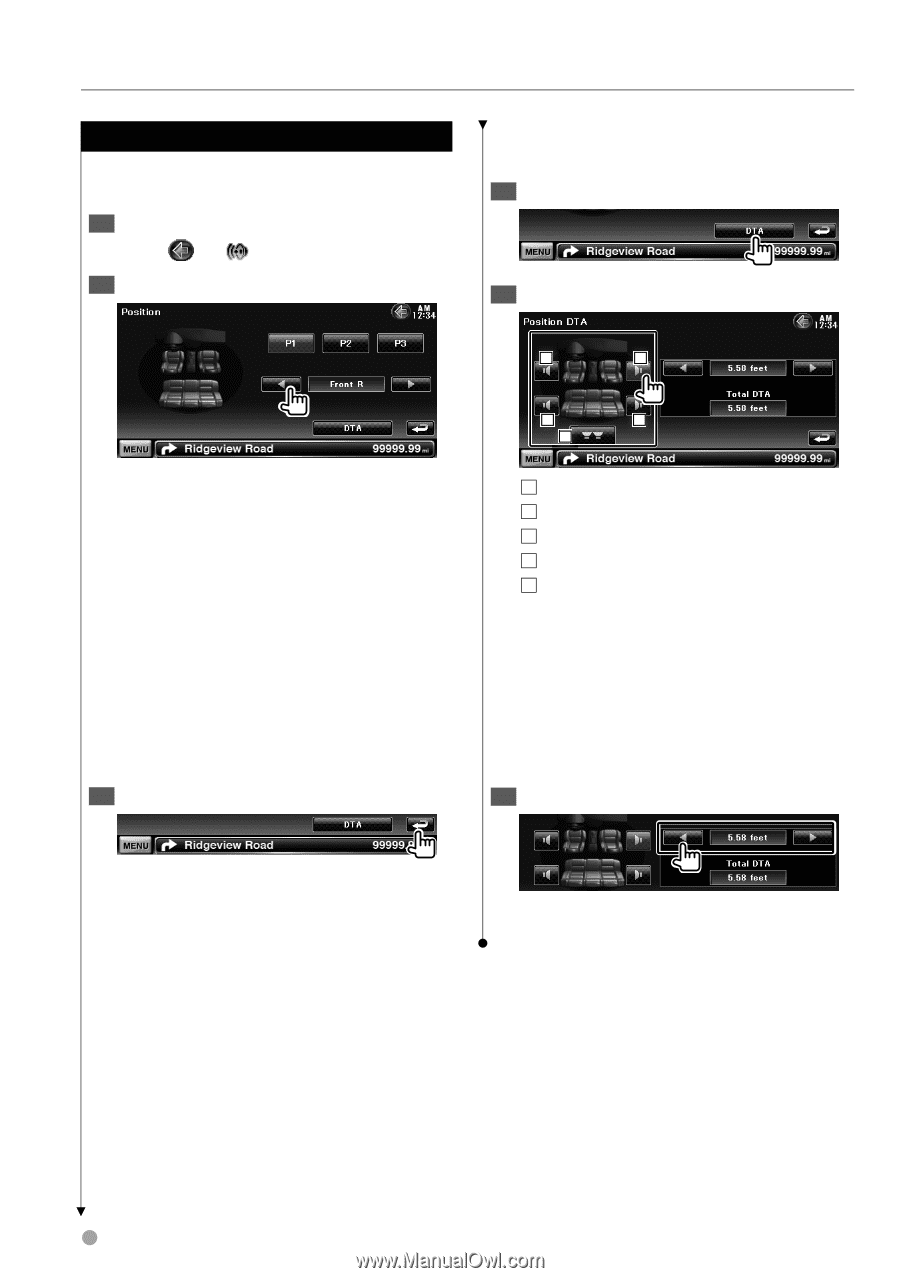
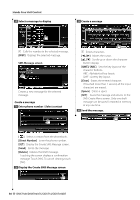
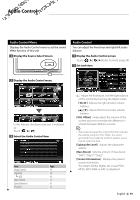
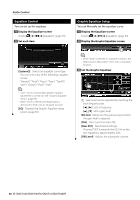
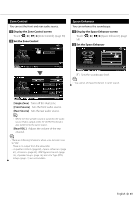
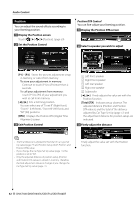
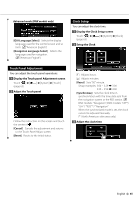
Audio Control Position You can adjust the sound effects according to your listening position. 1 Display the Position screen Touch Position]. (page 59) 2 Set the Position Control Position DTA Control You can fine-adjust your listening position. 1 Display the Position DTA screen 2 Select a speaker you wish to adjust 1 2 [P1] - [P3] Stores the present adjustment setup in memory, or calls it from memory. To store your adjustment in memory: Continue to touch [P1] to [P3] more than 2 seconds. To call your adjustment from memory: Touch [P1] to [P3] of your adjustment you wish to call from memory. [2], [3] Sets a listening position. You can select any of "Front R" (Right front), "Front L" (Left front), "Front All" (All front), and "All" (All) positions. [DTA] Displays the Position DTA (Digital Time Alignment) screen. 3 Exit Position Control 3 4 5 1 Left front speaker 2 Right front speaker 3 Left rear speaker 4 Right rear speaker 5 Subwoofer [2], [3] Finely adjusts the value set with the Position function. [Total DTA] Indicates setup distance. The adjusted distance (Position and Position DTA values), and the total of the distance adjusted by Car Type Set Up (page 77) and the adjustment distance for position setup are indicated. 3 Finely adjust the distance ⁄ • The final distance is adjusted to the total of Car Type Set Up value (page 77) and Position Setup (both Position and Position DTA) value. • If you change the Car Type Set Up value (page 77), the position is set to "All". • Only the adjusted distance of position setup (Position and Position DTA values) is stored in memory. Therefore, the final adjustment distance changes if you change the Car Type Set Up value (page 77). Finely adjust the value set with the Position function. 62 DNX7140/DNX7000EX/DDX714/DDX7034BT
-
 1
1 -
2
-
3
-
4
-
5
-
6
-
7
-
8
-
9
-
10
-
11
-
12
-
13
-
14
-
15
-
16
-
17
-
18
-
19
-
20
-
21
-
22
-
23
-
24
-
25
-
26
-
27
-
28
-
29
-
30
-
31
-
32
-
33
-
34
-
35
-
36
-
37
-
38
-
39
-
40
-
41
-
42
-
43
-
44
-
45
-
46
-
47
-
48
-
49
-
50
-
51
-
52
-
53
-
54
-
55
-
56
-
 57
57 -
 58
58 -
 59
59 -
 60
60 -
 61
61 -
 62
62 -
 63
63 -
 64
64 -
 65
65 -
 66
66 -
 67
67 -
68
-
69
-
70
-
71
-
72
-
73
-
74
-
75
-
76
-
77
-
78
-
79
-
80
-
81
-
82
-
83
-
84
-
85
-
86
-
87
-
88
-
89
-
90
-
91
-
92
-
93
-
94
-
95
-
96
-
97
-
98
-
99
-
100
 |
 |