Kyocera FS 1128 FS-1028MFP/1128MFP Setup Guide Rev-1 - Page 20
Enabling SMB Function, Submit, Scanner, Sender Address, Signature, Domain Restriction, Description - printer
 |
UPC - 632983012352
View all Kyocera FS 1128 manuals
Add to My Manuals
Save this manual to your list of manuals |
Page 20 highlights
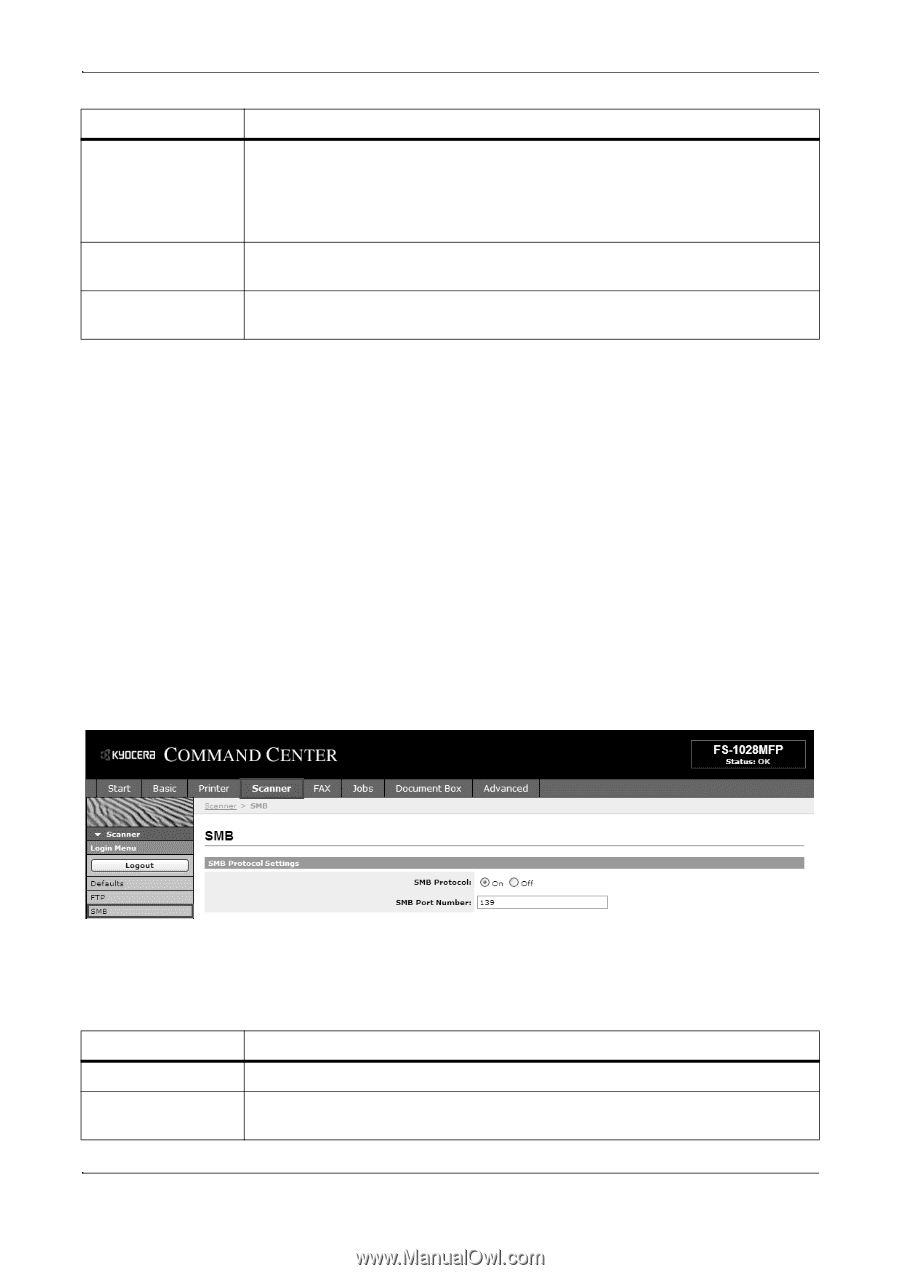
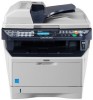
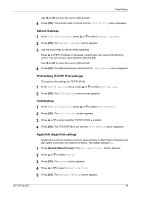
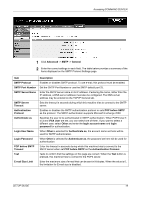
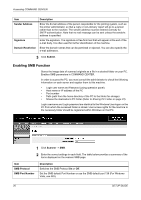
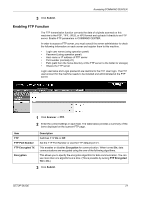
Accessing COMMAND CENTER Item Sender Address Signature Domain Restriction Description Enter the E-mail address of the person responsible for the printing system, such as the printer administrator, so that a reply or non-delivery report will go to a person rather than to the machine. The sender address must be entered correctly for SMTP authentication. Note that no mail message can be sent unless the sender's address is specified. Enter the signature. The signature is free form text that will appear at the end of the e-mail body. It is often used for further identification of the machine. Enter the domain names that can be permitted or rejected. You can also specify the e-mail addresses. 3 Click Submit. Enabling SMB Function Stores the image data of scanned originals as a file in a desired folder on your PC. Enables SMB parameters in COMMAND CENTER. In order to access the PC, you must consult the administrator to check the following information on each server and register them to this machine. • Login user name and Password (using operation panel) • Host name or IP address of the PC • Port number • Path (path from the home directory of the PC to the folder for storage) • Shares the destination's PC folder (Refer to Sharing PC Folder on page 23) Login username and Login password are identical to the Windows User logon on the PC from which the accessed folder is stored. User access rights for the machine to the necessary folder should be registered within Windows on that PC. 1 Click Scanner -> SMB. 2 Enter the correct settings in each field. The table below provides a summary of the items displayed on the scanner SMB page. Item SMB Protocol SMB Port Number Description Switches the SMB Protocol On or Off. Set the SMB default Port Number or use the SMB default port 139 (For Windows Vista, use 445). 20 SETUP GUIDE
-
 1
1 -
2
-
3
-
4
-
5
-
6
-
7
-
8
-
9
-
10
-
11
-
12
-
13
-
14
-
 15
15 -
 16
16 -
 17
17 -
 18
18 -
 19
19 -
 20
20 -
 21
21 -
 22
22 -
 23
23 -
 24
24 -
 25
25 -
26
-
27
-
28
-
29
-
30
-
31
-
32
-
33
-
34
-
35
-
36
 |
 |