Kyocera KM-3530 Fax System C Operation Guide - Page 85
Other Features of this Fax, Modifying Registered Information, Turning Fax Forwarding ON/
 |
View all Kyocera KM-3530 manuals
Add to My Manuals
Save this manual to your list of manuals |
Page 85 highlights
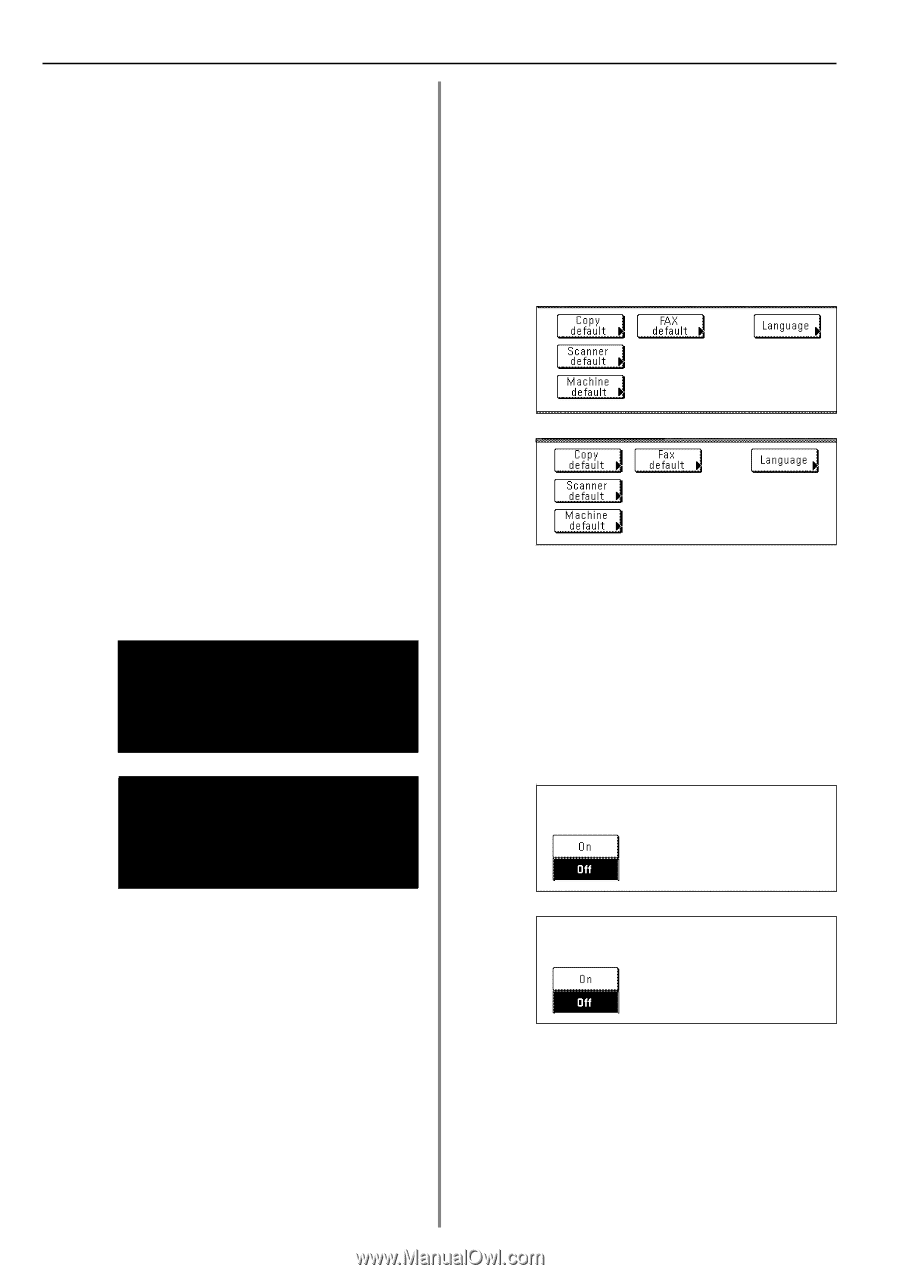
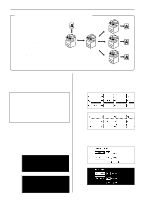
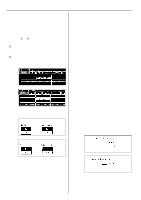
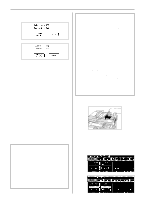
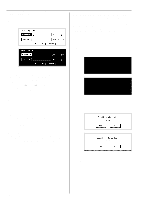
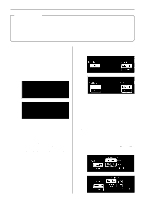
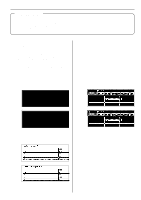
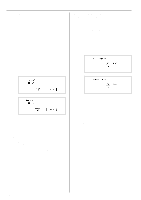
Section 4 Other Features of this Fax 8. Touch the "Shut-off Time" key and use the keypad to enter the desired time for Fax Forwarding to end. 9. Touch the "Next" key. The currently registered information will be displayed. (3) Turning Fax Forwarding ON/OFF In order to use Fax Forwarding, it is necessary to turn it ON in advance. * If you want to cancel the procedure part way through, press the Reset key. The touch panel will return to the initial mode settings. 10. Check that information and touch the key that corresponds to any item that you want to modify. 11. Touch the "OK" key. The message display will return to the same screen as was displayed in step 2. If you are finished making settings, press the Reset key. 1. Press the Default key. The Default Setting screen will appear. (Inch) (2) Modifying Registered Information Perform the following procedure in order to modify information already registered for Fax Forwarding. * If you want to cancel the procedure part way through, press the Reset key. The touch panel will return to the initial mode settings. (Metric) 1. Touch the "Register" ["Registration"] key. The Registration Select screen will appear. (Inch) 2. Touch the "Fax default setting" key. 3. Touch the "w" cursor key until "Fax Forwarding" is highlighted. (Metric) 4. Touch the "Change #" key. (Inch) 2. Touch the "Fax Forwarding" key. The currently registered information will be displayed. (Metric) 3. Check that information and touch the key that corresponds to any item that you want to modify. Refer to "(1) Registering" on page 421 in order to modify that information. 5. To turn Fax Forwarding ON, touch the "ON" key. 4. Once you are finished modifying information, touch the "OK" key. The message display will return to the same screen as was displayed in step 2. If you are finished making settings, press the Reset key. 6. Touch the "Close" key. If you are finished making settings, press the Reset key. 4-22
-
 1
1 -
2
-
3
-
4
-
5
-
6
-
7
-
8
-
9
-
10
-
11
-
12
-
13
-
14
-
15
-
16
-
17
-
18
-
19
-
20
-
21
-
22
-
23
-
24
-
25
-
26
-
27
-
28
-
29
-
30
-
31
-
32
-
33
-
34
-
35
-
36
-
37
-
38
-
39
-
40
-
41
-
42
-
43
-
44
-
45
-
46
-
47
-
48
-
49
-
50
-
51
-
52
-
53
-
54
-
55
-
56
-
57
-
58
-
59
-
60
-
61
-
62
-
63
-
64
-
65
-
66
-
67
-
68
-
69
-
70
-
71
-
72
-
73
-
74
-
75
-
76
-
77
-
78
-
79
-
 80
80 -
 81
81 -
 82
82 -
 83
83 -
 84
84 -
 85
85 -
 86
86 -
 87
87 -
 88
88 -
 89
89 -
 90
90 -
91
-
92
-
93
-
94
-
95
-
96
-
97
-
98
-
99
-
100
-
101
-
102
-
103
-
104
-
105
-
106
-
107
-
108
-
109
-
110
-
111
-
112
-
113
-
114
-
115
-
116
-
117
-
118
-
119
-
120
-
121
-
122
-
123
-
124
-
125
-
126
-
127
-
128
-
129
-
130
-
131
-
132
-
133
-
134
-
135
-
136
-
137
-
138
 |
 |