Lenovo ThinkPad i Series 1300 ThinkPad 130, 1200, 1300 - Hardware Maintenance - Page 45
Exit Diag, testing 802.11b with PC-Doctor DOS, please
 |
View all Lenovo ThinkPad i Series 1300 manuals
Add to My Manuals
Save this manual to your list of manuals |
Page 45 highlights
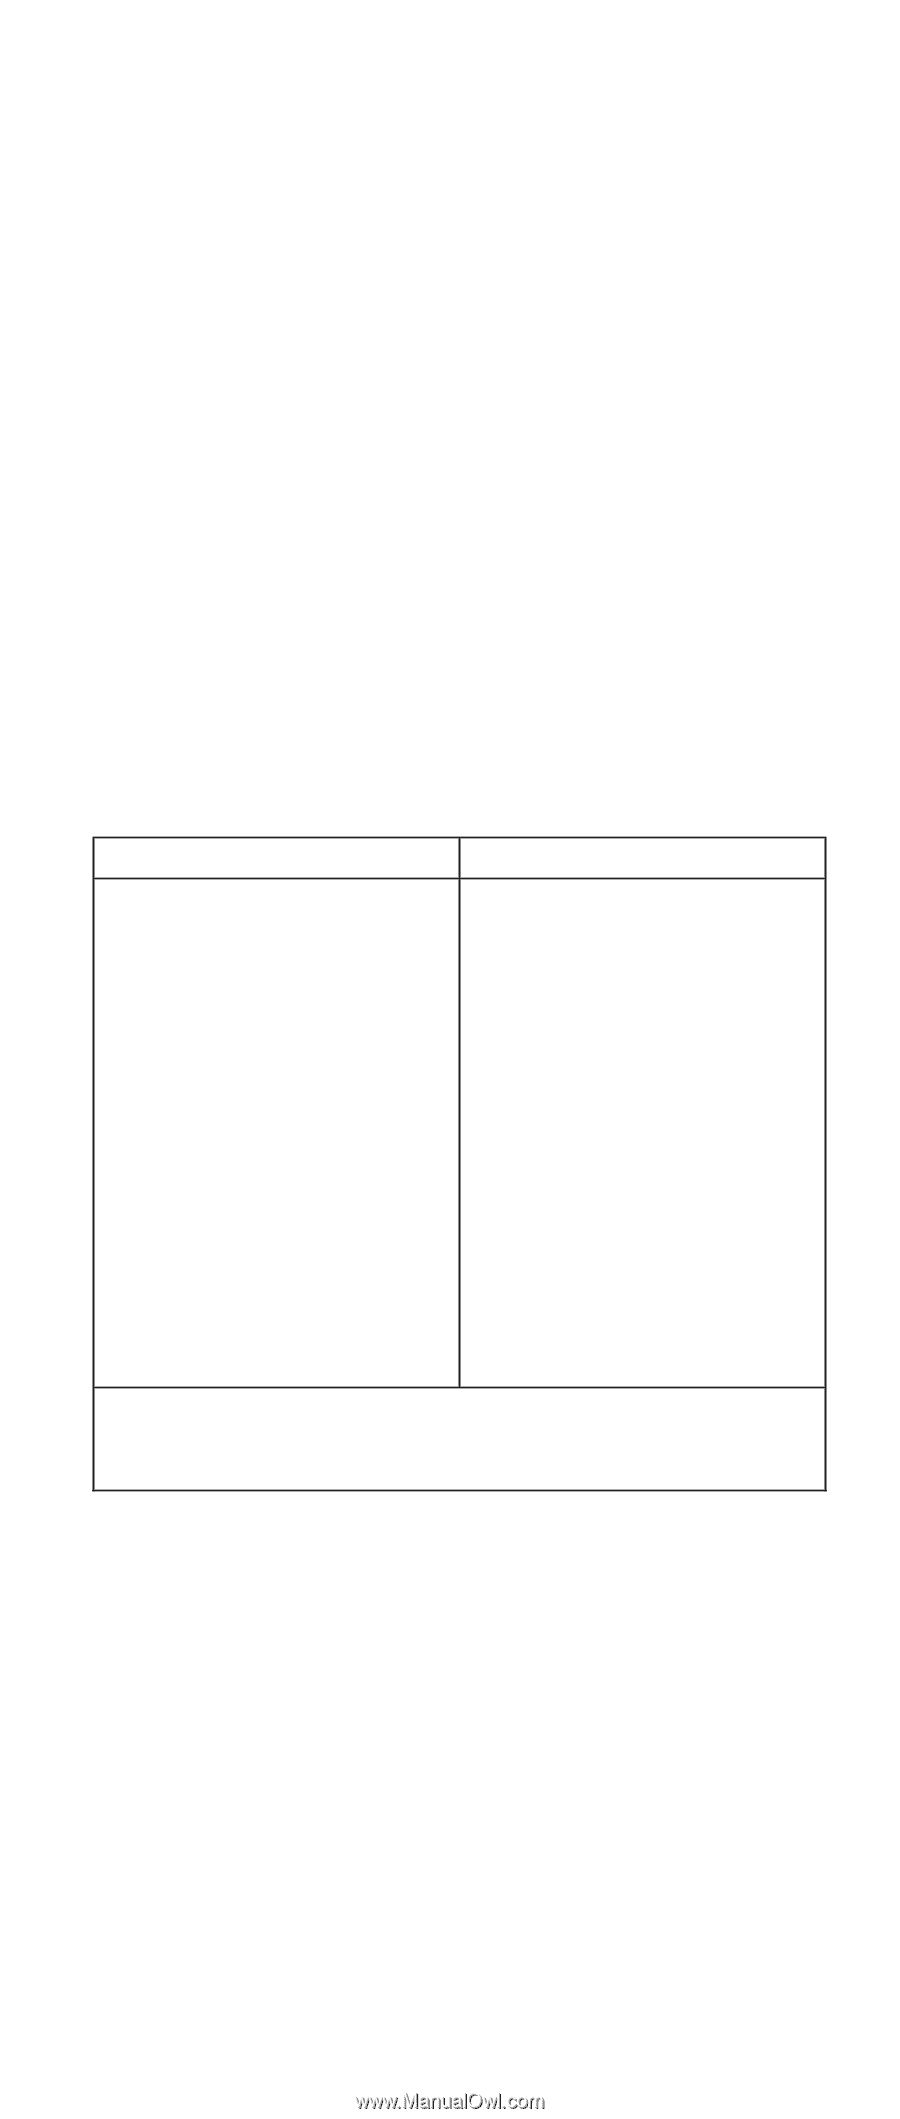
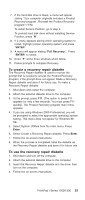
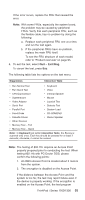
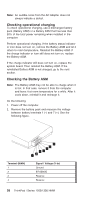
If the error recurs, replace the FRU that caused the error. Note: With some FRUs, especially the system board, the problem may be caused by peripheral FRUs. Verify that each peripheral FRU, such as the flexible cable, has no problem by doing the following: a. Replace each peripheral FRU one at a time, and run the test again. b. If the peripheral FRUs have no problem, replace the main FRU itself. To see the FRU structure of each model, refer to "Product overview" on page 95. 6. To exit the test, select Quit - Exit Diag. To cancel the test, press Esc. The following table lists the options on the test menu. Diagnostics Interactive Tests v Run Normal Test v Keyboard v Run Quick Test v Video v CPU/Coprocessor v Internal Speaker v Systemboard v Mouse v Video Adapter v Joystick Test v Serial Port v Diskette Test v Parallel Port v System Load v Fixed Disks v CD-ROM/DVD v Diskette Drives v Stereo Speaker v Other Devices v Memory Test - Full v Memory Test - Quick Note: In Keyboard test within Interactive Tests, the Fn key is scanned only once. Each key should be pressed for at least 2 seconds; otherwise, it cannot be sensed. Note: The testing of 802.11b requires an Access Point properly prepared prior to conducting the test. When testing 802.11b with PC-Doctor DOS, please confirm the following points: 1. An OBI's Access Point is located about 3 meters from the system. 2. The encryption is disabled on the Access Point. If the distance between the Access Point and the system is too far, the test may report failure even if the device is properly working. If the encryption is enabled on the Access Point, the test program ThinkPad i Series 1200/1300 35
-
 1
1 -
2
-
3
-
4
-
5
-
6
-
7
-
8
-
9
-
10
-
11
-
12
-
13
-
14
-
15
-
16
-
17
-
18
-
19
-
20
-
21
-
22
-
23
-
24
-
25
-
26
-
27
-
28
-
29
-
30
-
31
-
32
-
33
-
34
-
35
-
36
-
37
-
38
-
39
-
 40
40 -
 41
41 -
 42
42 -
 43
43 -
 44
44 -
 45
45 -
 46
46 -
 47
47 -
 48
48 -
 49
49 -
 50
50 -
51
-
52
-
53
-
54
-
55
-
56
-
57
-
58
-
59
-
60
-
61
-
62
-
63
-
64
-
65
-
66
-
67
-
68
-
69
-
70
-
71
-
72
-
73
-
74
-
75
-
76
-
77
-
78
-
79
-
80
-
81
-
82
-
83
-
84
-
85
-
86
-
87
-
88
-
89
-
90
-
91
-
92
-
93
-
94
-
95
-
96
-
97
-
98
-
99
-
100
-
101
-
102
-
103
-
104
-
105
-
106
-
107
-
108
-
109
-
110
-
111
-
112
-
113
-
114
-
115
-
116
-
117
-
118
-
119
-
120
-
121
-
122
-
123
-
124
-
125
-
126
-
127
-
128
-
129
-
130
-
131
-
132
-
133
-
134
-
135
-
136
-
137
-
138
-
139
-
140
-
141
-
142
-
143
-
144
-
145
-
146
-
147
-
148
-
149
-
150
-
151
-
152
-
153
-
154
-
155
-
156
-
157
-
158
-
159
-
160
-
161
-
162
-
163
-
164
-
165
-
166
-
167
-
168
-
169
-
170
-
171
-
172
-
173
-
174
-
175
-
176
-
177
-
178
-
179
-
180
-
181
-
182
-
183
-
184
-
185
-
186
-
187
-
188
-
189
-
190
-
191
-
192
-
193
-
194
-
195
-
196
-
197
-
198
-
199
-
200
-
201
-
202
-
203
-
204
-
205
-
206
-
207
-
208
-
209
-
210
-
211
-
212
-
213
-
214
-
215
-
216
-
217
-
218
-
219
-
220
-
221
-
222
-
223
-
224
-
225
-
226
-
227
-
228
-
229
-
230
-
231
-
232
-
233
 |
 |