Pioneer PRO 111FD Owner's Manual - Page 44
Quick Start for Watching Television - 60
 |
UPC - 012562887111
View all Pioneer PRO 111FD manuals
Add to My Manuals
Save this manual to your list of manuals |
Page 44 highlights
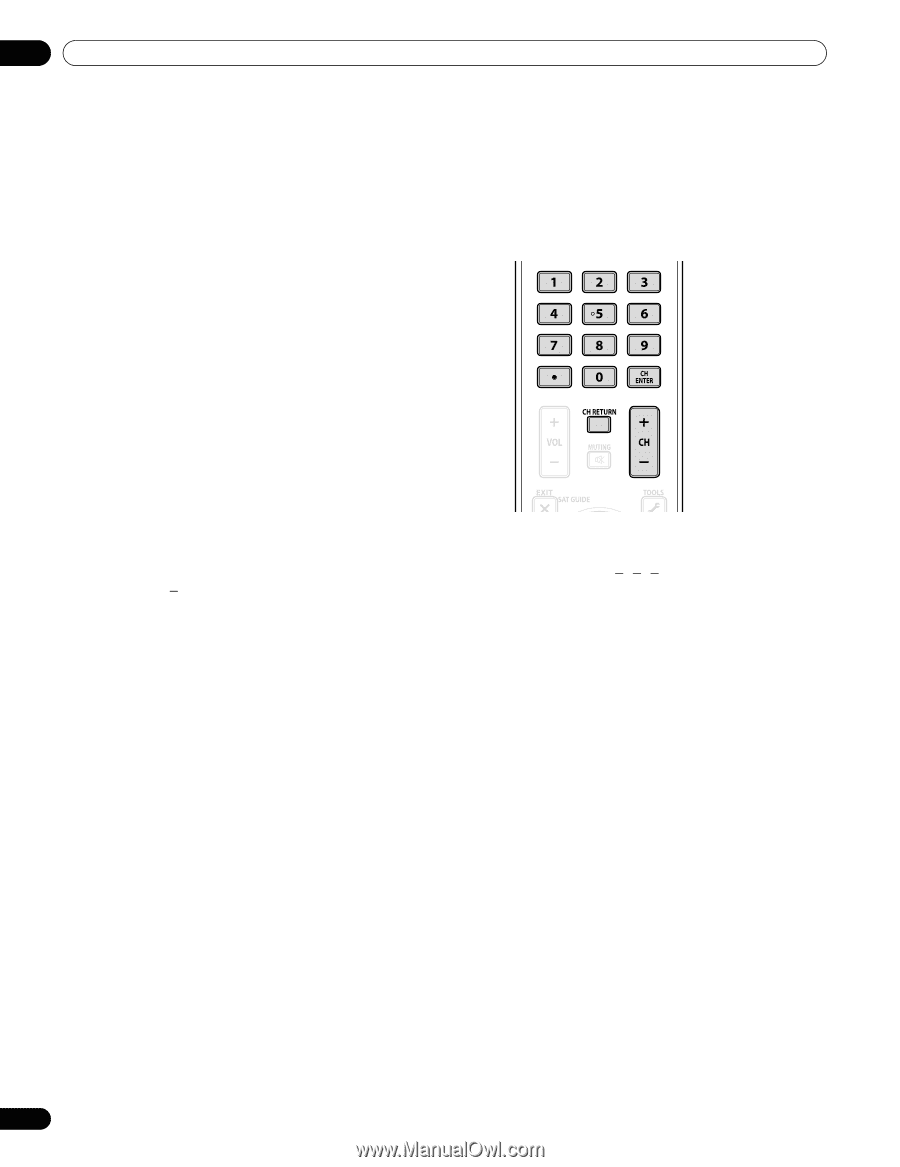
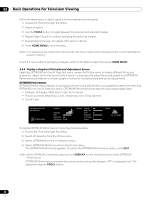
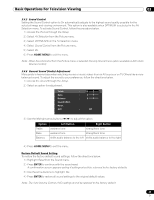
03 Basic Operations For Television Viewing 3.3 Quick Start for Watching Television Your flat panel TV has many functions and features, some of which you may simply lack the time to set when first installing the panel. To begin watching TV quickly, refer to the basic information within this section. However, when it is convenient, we strongly suggest going through the rest of this manual and learning all that your flat panel TV can do. 3.3.1 Change the Channel/Sub-Channel With the remote control pointed at the panel's remote sensor, press the CH + button to sequentially change to the next highest available channel. The CH - button sequentially changes down to the next lowest available channel. Each press of CH + or CH - causes the channel to change sequentially from station to station. To return to the previous channel, press CH RETURN. To toggle between the two channels, press CH RETURN again. Each press of this button switches the channel between these two stations. Another option for changing the channel is to use the number buttons (0 through 9). Simply press the number buttons in the order needed for that channel. For example, enter Channel 231 as 2 - 3 - 1 or Channel 4 as the single number, 4. A recent addition to TV viewing is the Sub-channel. A digital channel can be split in to multiple signals. Each signal, called a sub-channel, can carry a different program. To watch a sub-channel, use a combination of number buttons and the dot (.) button. For example, if Channel 5 is digital and has three active sub-channels, enter 5 . 2 to reach the second sub-channel. Note: To tune in a program more quickly, enter the channel or sub-channel then press CH ENTER. 3.3.2 Adjust the Volume/Sound With the remote control pointed at the panel's remote sensor, press and hold VOL+ to increase the sound volume gradually. Holding down VOL- decreases the volume at the same rate. A single press of VOL+ or VOL- causes the volume to adjust by minor increments. To silence all sound, press MUTING. The muting symbol ( e ) appears on screen. To return the volume to the previous level, press MUTING again. Pressing VOL+ once also increases the volume one step higher than the current level and cancels the muting mode. If the panel's default sound level is too loud or too soft, refer to "3.4.6 General Sound (Audio) Adjustment." 3.3.3 Turn On the Sleep Timer To save energy and to maximize the life of your flat panel TV, try using the Sleep Timer for occasions when the panel may be left on by accident. The Sleep Timer places the panel in Standby when the selected time elapses. The Sleep Timer provides time periods of 30, 60, 90, or 120 minutes. When the Timer is down to five minutes, a reminder appears on screen each minute until the time has elapsed. To set the Sleep Timer, follow the steps below. 1 ) Access the Sleep Timer through the Setup. 2 ) Select the desired time period. Select between 30 minutes and 2 hours (120 minutes). 3 ) Press HOME MENU to exit the menu. 44 En
-
 1
1 -
2
-
3
-
4
-
5
-
6
-
7
-
8
-
9
-
10
-
11
-
12
-
13
-
14
-
15
-
16
-
17
-
18
-
19
-
20
-
21
-
22
-
23
-
24
-
25
-
26
-
27
-
28
-
29
-
30
-
31
-
32
-
33
-
34
-
35
-
36
-
37
-
38
-
 39
39 -
 40
40 -
 41
41 -
 42
42 -
 43
43 -
 44
44 -
 45
45 -
 46
46 -
 47
47 -
 48
48 -
 49
49 -
50
-
51
-
52
-
53
-
54
-
55
-
56
-
57
-
58
-
59
-
60
-
61
-
62
-
63
-
64
-
65
-
66
-
67
-
68
-
69
-
70
-
71
-
72
-
73
-
74
-
75
-
76
-
77
-
78
-
79
-
80
-
81
-
82
-
83
-
84
-
85
-
86
-
87
-
88
-
89
-
90
-
91
-
92
-
93
-
94
-
95
-
96
-
97
-
98
-
99
-
100
-
101
-
102
-
103
-
104
-
105
-
106
-
107
-
108
-
109
-
110
-
111
-
112
-
113
-
114
-
115
-
116
-
117
-
118
-
119
-
120
-
121
-
122
-
123
-
124
-
125
-
126
-
127
-
128
-
129
-
130
-
131
-
132
-
133
-
134
-
135
-
136
-
137
-
138
-
139
-
140
-
141
-
142
-
143
-
144
-
145
-
146
-
147
-
148
-
149
-
150
-
151
-
152
-
153
-
154
-
155
-
156
-
157
-
158
-
159
-
160
-
161
-
162
-
163
-
164
-
165
-
166
-
167
 |
 |