Seagate Maxtor Fusion User Guide - Page 10
Importing Using the Local Network - installation cd
 |
View all Seagate Maxtor Fusion manuals
Add to My Manuals
Save this manual to your list of manuals |
Page 10 highlights
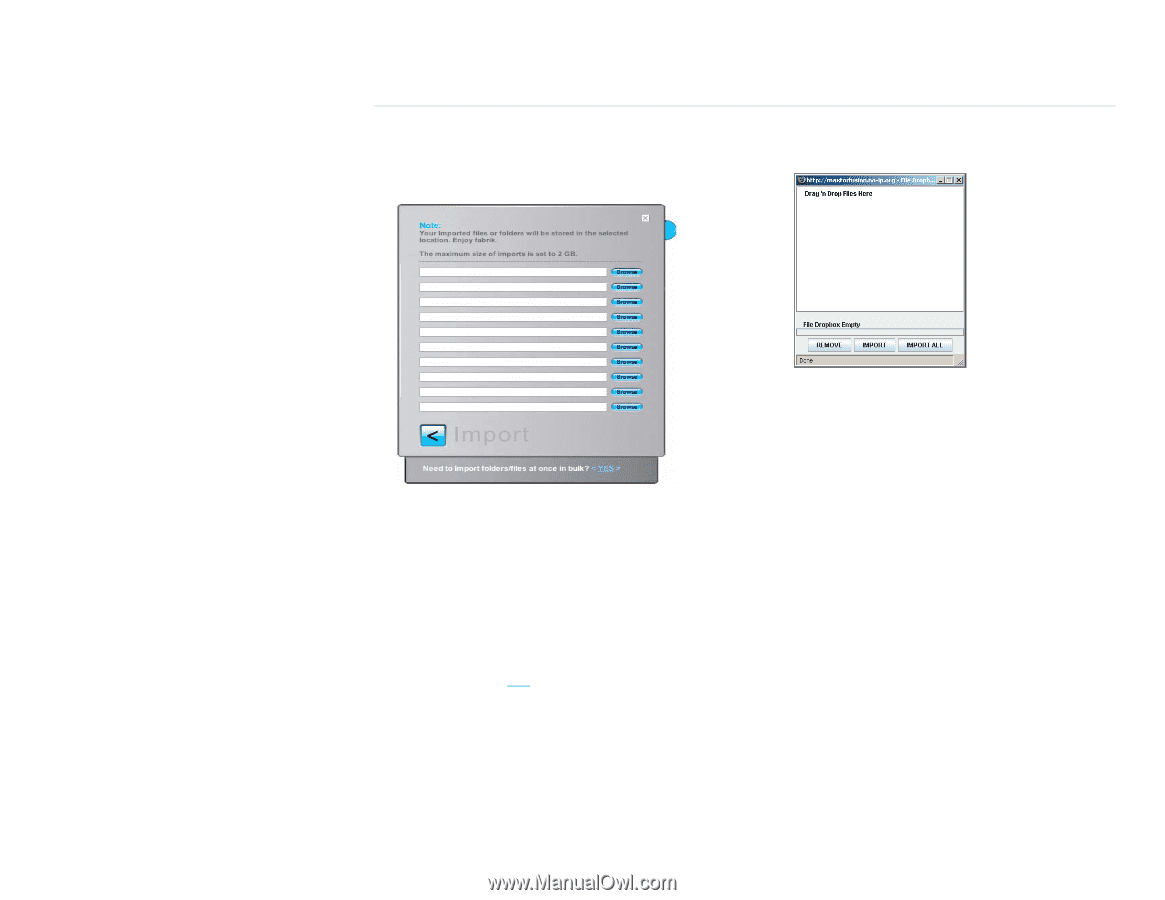
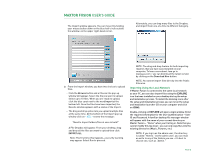
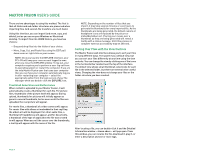
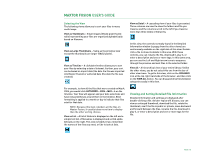
MAXTOR FUSION USER'S GUIDE The Import window appears. You can move it by holding your mouse button down on the blue half-circle outside the window, on the upper right-hand corner. Alternately, you can drag many files to the Dropbox, and import them one at a time to different Category. 3. From the Import window, you have two choices to upload files: - Click the Browse button and a Choose File pop-up window will appear. Select the file you want to upload. Select up to 10 files. When you are ready to upload, click the blue carat next to the word Import at the bottom left. Once the files have been imported, the Results window appears with a status of the import. - The drag and drop option lets you upload multiple files at the same time. At the bottom of the Import pop-up window click on < YES > next to the message: "Need to Import folders/files at once in bulk?" A File Dropbox will appear. From your desktop, drag and drop all the files you want to upload then click IMPORT ALL. Note: The first time this happens, a security warning may appear. Select Run to proceed. NOTE: The drag and drop feature for bulk importing requires that you have Java installed on your computer. To learn more about Java go to www.java.com - you can download the latest version by clicking on the Download Now button. NOTE: You cannot import files directly into the Public Site area. Importing Using the Local Network If Maxtor Fusion is connected to the same local network as your PC, you can also import files using the EXPLORE icon that was installed on your desktop during the setup and installation process. To install the desktop icons after the setup and installation process you can rerun the setup and installation launcher CD on your computer and click on ICONS. Double-clicking on EXPLORE will open a login window. Enter the required information for the User Authentication - User ID and Password. A familiar desktop file manager window will appear with the name of your current directory on Maxtor Fusion - "Home" when you first log in. Note that you cannot modify this top level - you can only copy files into the existing directories (Music, Pictures, etc.) NOTE: If you log in as the admin user, the directory is called "Homes." As the admin user, you can read an write to any of the folders you see - it's best to choose one, such as "Admin." PAGE 8
-
 1
1 -
2
-
3
-
4
-
 5
5 -
 6
6 -
 7
7 -
 8
8 -
 9
9 -
 10
10 -
 11
11 -
 12
12 -
 13
13 -
 14
14 -
 15
15 -
16
-
17
-
18
-
19
-
20
-
21
-
22
-
23
-
24
-
25
-
26
-
27
-
28
 |
 |