Seagate Maxtor Fusion User Guide - Page 6
Sharing Files by Invitation - users guide
 |
View all Seagate Maxtor Fusion manuals
Add to My Manuals
Save this manual to your list of manuals |
Page 6 highlights
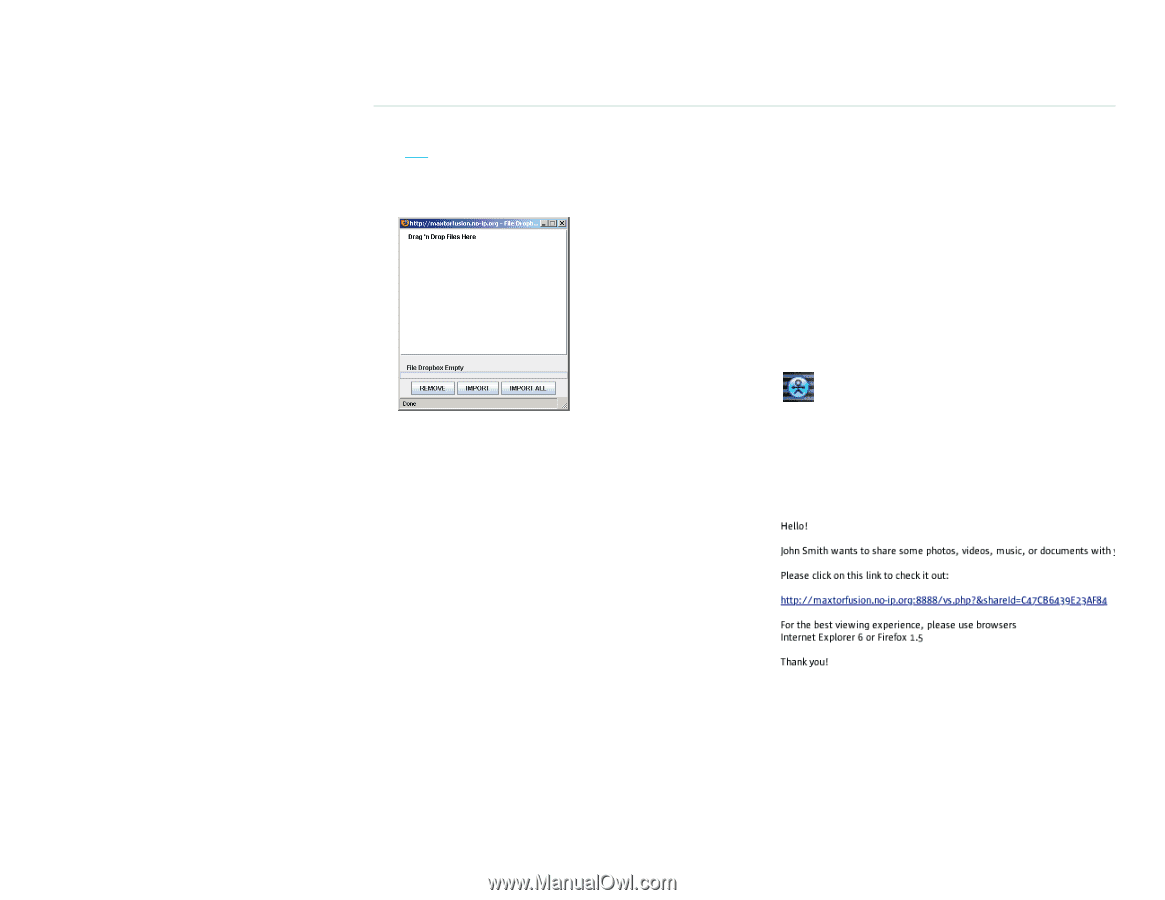
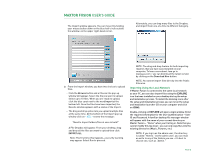
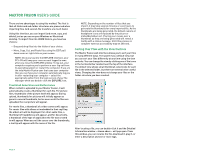
MAXTOR FUSION USER'S GUIDE At the bottom of the Import pop-up window click on < YES > next to the message "Need to Import folders/files at once in bulk?" Depending on your browser settings you may need to agree to the launching of the File Dropbox. Sharing Files by Invitation Once your files are imported onto your Maxtor Fusion, sharing them is easy. You can invite individuals and groups to look at and download your content, and you can make files publicly available. It's easy to invite an individual to share your content - you need only select the files and enter their email address. Sharing Files with an Individual 1. Select one or more files - you can select more files by using the Shift, Control (PC), or Command (Apple) key when clicking the mouse button. 2. Once files are selected, click on the SHARE button at the top of the browser screen. NOTE: To use the File Dropbox your computer must have Java installed. To learn more about Java go to www.java.com - you can download the latest version by clicking on the Download Now button. 6. From your computer's file manager, drag and drop the pictures from your rafting trip, either as a file group or as a folder, from your file manager to the File Dropbox window. Note that the maximum file size is 2 GB. 7. Click on the IMPORT ALL button to copy the files from your computer to the Rafting folder in your Maxtor Fusion. 8. After the import operation has finished, close the File Dropbox by clicking on the X icon in the upper corner. 9. Click Refresh to display the thumbnails of the pictures you just imported. NOTE: When pictures are imported to your box, thumbnails are automatically created for each file. It may take several minutes to generate the thumbnails for every imported picture. As the thumbnails are being generated the default camera icon thumbnails will be replaced by the picture thumbnail. Thumbnail generation progress can be monitored through a message in the screen tip as you mouse over a thumbnail. Clicking Refresh will replace the camera icons with newly generated thumbnails. 3. In the text box next to PERSON: type in an email address. 4. Click on the arrow to the right of this box, and click OK to confirm that you want to share the selected file(s). An email containing a link to the shared files will be sent to the email address, similar to the picture below. NOTE: The email message containing the link to the shared files can be forwarded by the recipient to other email addresses. Any recipient of the link will be able to view and download the files as though they were the original recipients. PAGE 4
-
 1
1 -
 2
2 -
 3
3 -
 4
4 -
 5
5 -
 6
6 -
 7
7 -
 8
8 -
 9
9 -
 10
10 -
 11
11 -
 12
12 -
13
-
14
-
15
-
16
-
17
-
18
-
19
-
20
-
21
-
22
-
23
-
24
-
25
-
26
-
27
-
28
 |
 |