Sony DCRTRV900 Operating Instructions - Page 33
Photo recording - mini dv camcorder
 |
UPC - 027242547025
View all Sony DCRTRV900 manuals
Add to My Manuals
Save this manual to your list of manuals |
Page 33 highlights
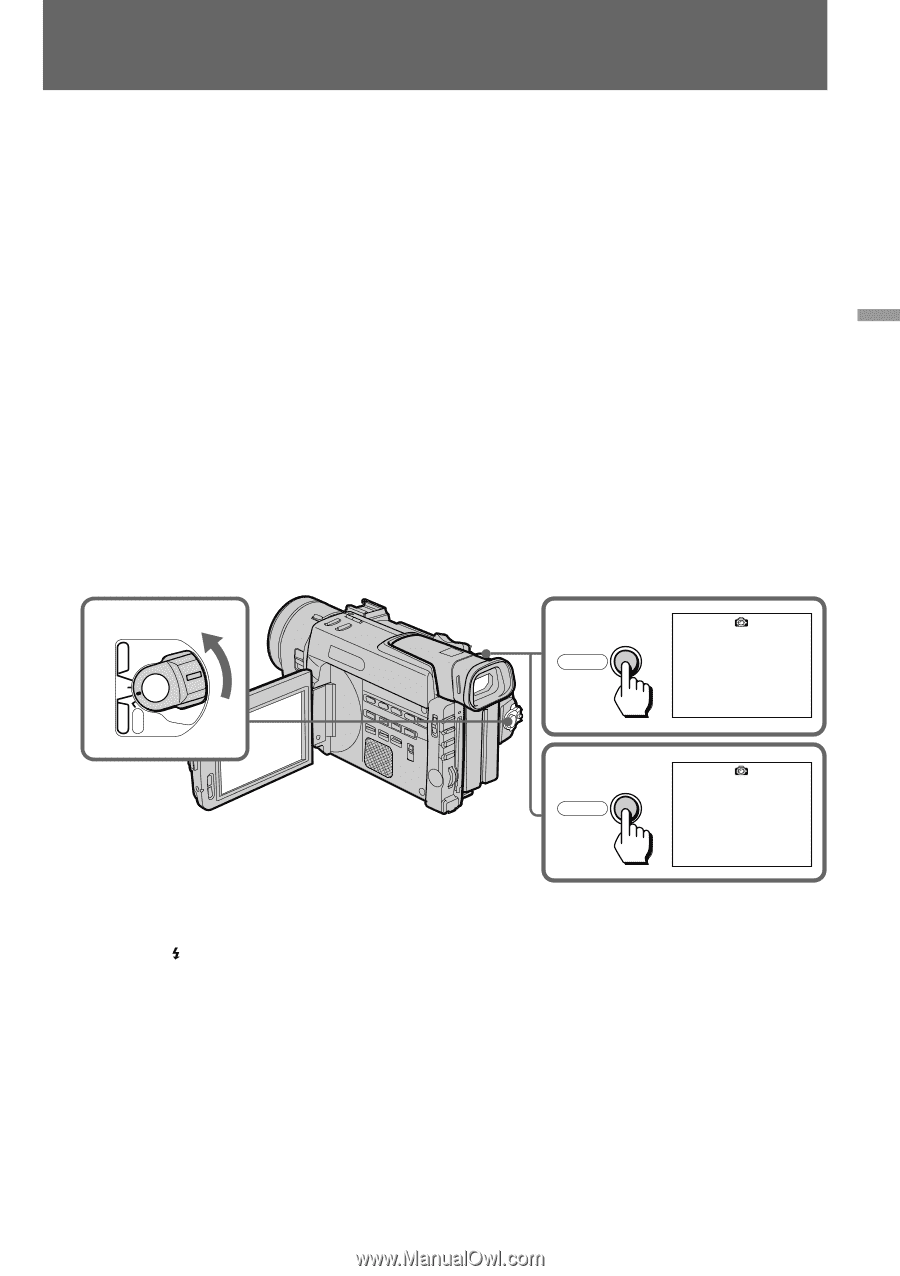
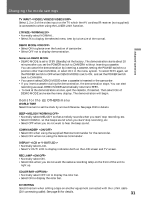
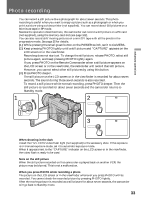
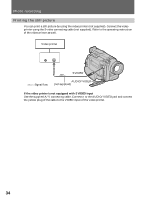
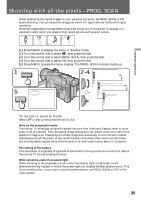
Advanced operations Photo recording You can record a still picture like a photograph for about seven seconds. This photo recording is useful when you want to enjoy a picture such as a photograph or when you print a picture using a video printer (not supplied). You can record about 510 pictures on a 60-minute tape in SP mode. Besides the operation described here, this camcorder can record a still picture on a PC card (not supplied), using the memory card slot (see page 102). You can also record still/moving pictures on a mini DV tape with all the pixels in the progressive mode. See page 35 for details. (1) While pressing the small green button on the POWER switch, set it to CAMERA. (2) Keep pressing PHOTO lightly until a still picture and "CAPTURE" appears on the LCD screen or in the viewfinder. Recording does not start yet. To change the still picture, release PHOTO, select still picture again, and keep pressing PHOTO lightly again. If you press PHOTO on the Remote Commander when a still picture appears on the LCD screen or in the viewfinder, the camcorder will record that still picture. However, you cannot select other still pictures by using this button. (3) Press PHOTO deeper. The still picture on the LCD screen or in the viewfinder is recorded for about seven seconds. The sound during those seven seconds is also recorded. To record a still picture while normal recording, press PHOTO deeper. Then the still picture is recorded for about seven seconds and the camcorder returns to Standby mode. 1 2 CAPTURE POWER VTR PHOTO MEMORY OFF CAMERA 3 PHOTO When shooting in the dark Install the HVL-FDH2 video flash light (not supplied) to the accessory shoe. If the exposure is in manual exposure mode, set it to automatic exposure mode. When appears next to the "CAPTURE" indicator on the LCD screen or in the viewfinder, the video flash is ready to be used. Note on the still picture When the still picture recorded on this camcorder is played back on another VCR, the picture may be blurred. This is not a malfunction. When you press PHOTO while recording a photo The picture on the LCD screen or in the viewfinder whenever you press PHOTO will be recorded. You cannot check the recorded picture by pressing PHOTO lightly. After the moving picture is recorded as a still picture for about seven seconds, the camcorder will go back to Standby mode. 33
-
 1
1 -
2
-
3
-
4
-
5
-
6
-
7
-
8
-
9
-
10
-
11
-
12
-
13
-
14
-
15
-
16
-
17
-
18
-
19
-
20
-
21
-
22
-
23
-
24
-
25
-
26
-
27
-
 28
28 -
 29
29 -
 30
30 -
 31
31 -
 32
32 -
 33
33 -
 34
34 -
 35
35 -
 36
36 -
 37
37 -
 38
38 -
39
-
40
-
41
-
42
-
43
-
44
-
45
-
46
-
47
-
48
-
49
-
50
-
51
-
52
-
53
-
54
-
55
-
56
-
57
-
58
-
59
-
60
-
61
-
62
-
63
-
64
-
65
-
66
-
67
-
68
-
69
-
70
-
71
-
72
-
73
-
74
-
75
-
76
-
77
-
78
-
79
-
80
-
81
-
82
-
83
-
84
-
85
-
86
-
87
-
88
-
89
-
90
-
91
-
92
-
93
-
94
-
95
-
96
-
97
-
98
-
99
-
100
-
101
-
102
-
103
-
104
-
105
-
106
-
107
-
108
-
109
-
110
-
111
-
112
-
113
-
114
-
115
-
116
-
117
-
118
-
119
-
120
-
121
-
122
-
123
-
124
-
125
-
126
-
127
-
128
-
129
-
130
-
131
-
132
-
133
-
134
-
135
-
136
-
137
-
138
-
139
-
140
-
141
-
142
-
143
-
144
-
145
-
146
-
147
-
148
 |
 |