Sony DPP-FP95 Operating Instructions - Page 27
Making a Calendar, Items, Procedures - problems
 |
UPC - 027242735002
View all Sony DPP-FP95 manuals
Add to My Manuals
Save this manual to your list of manuals |
Page 27 highlights
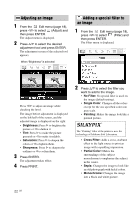
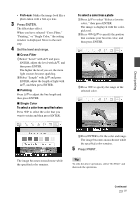
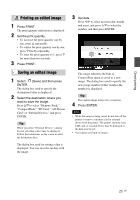
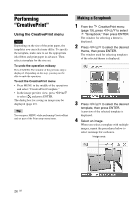
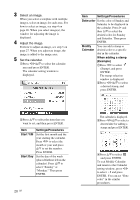
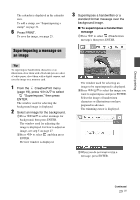
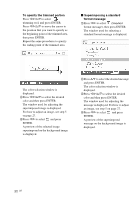
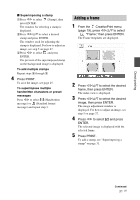
Direct printing 1Press g/G/f/F to select an image area, then press ENTER. The index view is displayed. 2Press g/G/f/F to select the desired image, then press ENTER. The window used for adjusting the image is displayed. 5 Adjust the image size, position or others of the selected image. Press g/G to select the desired adjustment item, then press ENTER. Adjustment tools Items / Procedures Increases or reduces the size of an image when the buttons on the printer are pressed. Move the image with g/G/f/F, and then press ENTER. Each time you press ENTER, the image rotates 90° clockwise. Automatically adjusts a failed photo having problems such as being backlit, out-of-focus, or showing the red-eye phenomenon, when the button on the printer is pressed.(page 20) 6 Press g/G to select ENTER. and press The selected image is added to the image area. To add a stamp, see "Superimposing a stamp" on page 31. 7 Press PRINT. To save the image, see page 25. Making a Calendar 1 From the CreativePrint menu (page 19), press g/G/f/F to select "Calendar," then press ENTER. The window used for selecting the calendar template, is displayed. 2 Press g/G/f/F to select the desired template, and then press ENTER. The preview of the selected template is displayed. Image area Calendar area Tip You can select and set an image area or calendar area in any order. Continued 27 GB
-
 1
1 -
2
-
3
-
4
-
5
-
6
-
7
-
8
-
9
-
10
-
11
-
12
-
13
-
14
-
15
-
16
-
17
-
18
-
19
-
20
-
21
-
 22
22 -
 23
23 -
 24
24 -
 25
25 -
 26
26 -
 27
27 -
 28
28 -
 29
29 -
 30
30 -
 31
31 -
 32
32 -
33
-
34
-
35
-
36
-
37
-
38
-
39
-
40
-
41
-
42
-
43
-
44
-
45
-
46
-
47
-
48
-
49
-
50
-
51
-
52
-
53
-
54
-
55
-
56
-
57
-
58
-
59
-
60
-
61
-
62
-
63
-
64
-
65
-
66
-
67
-
68
-
69
-
70
-
71
-
72
-
73
-
74
-
75
-
76
-
77
-
78
-
79
-
80
-
81
-
82
-
83
-
84
-
85
-
86
-
87
-
88
-
89
-
90
-
91
-
92
 |
 |
