Sony HCD-ZUX9 Service Manual - Page 28
Tuner, Change], Service, Mode], Aging
 |
View all Sony HCD-ZUX9 manuals
Add to My Manuals
Save this manual to your list of manuals |
Page 28 highlights
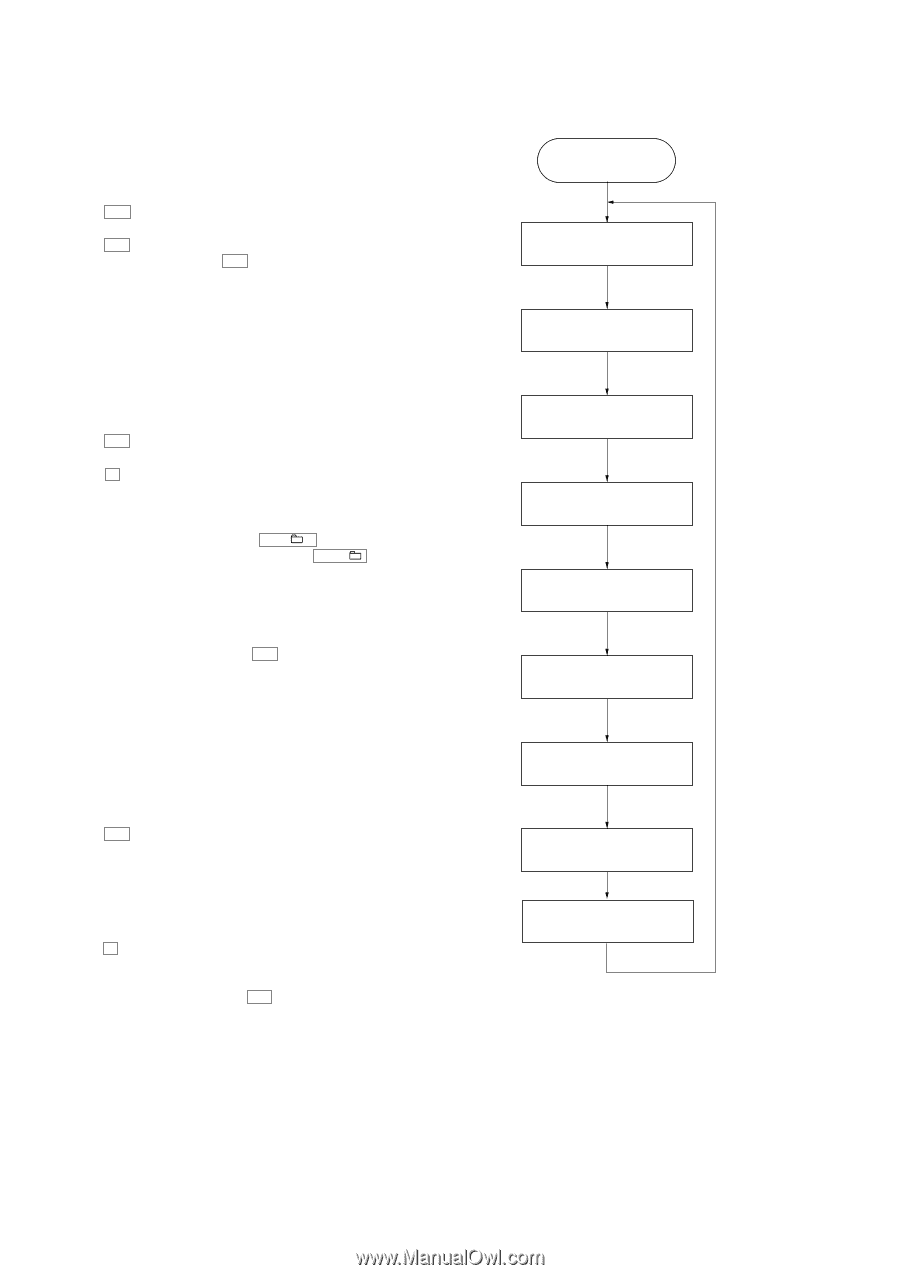
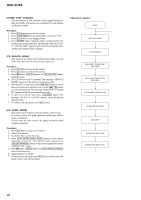
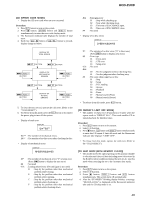
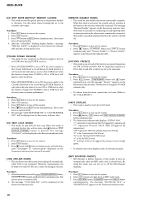
HCD-ZUX9 [TUNER STEP CHANGE] • The step interval of AM channels can be toggled between 9 kHz and 10 kHz. This mode is not available for Saudi Arabian and Russian models. Procedure: 1. Press @/1 button to turn on the system. 2. Press [TUNER/BAND] button repeatedly to select the "AM". 3. Press @/1 button to turn off the system. 4. Press [ENTER] button and @/1 button simultaneously. The system turns on automatically. The message "AM 9K STEP" or "AM 10K STEP" appears on the fluorescent indicator tube and thus the channel step is changed. [CD SERVICE MODE] • This mode let you move the CD sled motor freely. Use this mode when you want to clean the optical pick-up. Procedure: 1. Press @/1 button to turn on the system. 2. Press [CD] button to select CD function. 3. Press x button, [ENTER] button, and [OPEN/CLOSE] button simultaneously. 4. The CD service mode is activated. The message "SERVICE MODE" appears on the fluorescent indicator tube. 5. With the disc in stop status, press M/ + button to move the optical pick-up to outside track, or press m/- button to move to inside track. The message "SLED OUT" or "SLED IN" appears on the fluorescent indicator tube. 6. To turn on or off the laser, press [FLANGER] button. The message "LD ON" or "LD OFF" appears on the fluorescent indicator tube. 7. To release from this mode, press @/1 button. [CD AGING MODE] • This mode can be used for operation check of CD section. If an error occurs, the aging operation would stops and the status is displayed. If there were no error occurs, the aging operation would continue repeatedly. Procedure: 1. Press @/1 button to turn on the system. 2. Select CD function. 3. Load three discs on the disc tray. 4. Press [PLAY MODE/TUNING MODE] button on the remote repeatedly to select the "ALL DISCS" mode, and press the [REPEAT/FM MODE] button on the remote repeatedly to select "REPEAT OFF" mode. 5. Press x button, [ENTER] button and [DISC SKIP/EX-CHANGE] button simultaneously. 6. Aging operation is started. 7. To release from this mode, press @/1 button or disconnect the power cord to turn off the system. • Aging mode sequence: START DISC CHUCKING TOC READING PLAY FIRST TRACK FOR 2 SECONDS PLAY LAST TRACK FOR 2 SECONDS EX-CHANGE OPEN/CLOSE OPEN THE DISC TRAY DISC SKIP CLOSE THE DISC TRAY CHANGE THE NEXT DISC 28
-
 1
1 -
2
-
3
-
4
-
5
-
6
-
7
-
8
-
9
-
10
-
11
-
12
-
13
-
14
-
15
-
16
-
17
-
18
-
19
-
20
-
21
-
22
-
 23
23 -
 24
24 -
 25
25 -
 26
26 -
 27
27 -
 28
28 -
 29
29 -
 30
30 -
 31
31 -
 32
32 -
 33
33 -
34
-
35
-
36
-
37
-
38
-
39
-
40
-
41
-
42
-
43
-
44
-
45
-
46
-
47
-
48
-
49
-
50
-
51
-
52
-
53
-
54
-
55
-
56
-
57
-
58
-
59
-
60
-
61
-
62
-
63
-
64
-
65
-
66
-
67
-
68
-
69
-
70
-
71
-
72
-
73
-
74
-
75
-
76
-
77
-
78
-
79
-
80
-
81
-
82
-
83
-
84
-
85
-
86
-
87
-
88
-
89
-
90
-
91
-
92
-
93
-
94
-
95
-
96
-
97
-
98
-
99
-
100
-
101
-
102
-
103
-
104
-
105
-
106
-
107
-
108
-
109
-
110
-
111
-
112
-
113
-
114
-
115
-
116
-
117
-
118
 |
 |