Sony PCV-RX640 Computer User Guide (primary manual) - Page 67
To Use the Driver Recovery CD - recovery disc
 |
View all Sony PCV-RX640 manuals
Add to My Manuals
Save this manual to your list of manuals |
Page 67 highlights
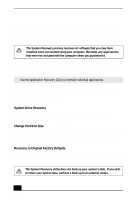
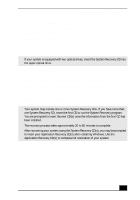
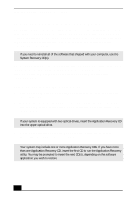
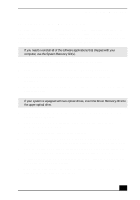
To Use the Driver Recovery CD To Use the Driver Recovery CD The Driver Recovery CD utility enables you to reinstall individual drivers and repair software applications if they become corrupted or are erased. You can reinstall an individual driver to correct a problem that you are experiencing with your computer, peripheral hardware, or software application. ✍ If you need to reinstall all of the software applications that shipped with your computer, use the System Recovery CD(s). You must be in Windows to run the Driver Recovery CD utility. Reinstalling device drivers with the Driver Recovery CD 1 Turn on your computer. If your computer is already on, close all applications. 2 When the Windows desktop appears, insert the Driver Recovery CD into the optical disc drive. ✍ If your system is equipped with two optical drives, insert the Driver Recovery CD into the upper optical drive. 3 Click Start in the Windows taskbar and click Control Panel. The Control Panel window appears. 4 Click Performance and Maintenance and click System. The System Properties dialog box appears. 5 From the Hardware tab, click Device Manager. 6 Click to select the unknown device or the device that requires the driver installation. The unknown device(s) is identified by a yellow question mark. 7 From the Action menu, click Uninstall. This removes the device driver from your system. Click OK. Repeat for each device driver as necessary. 8 Restart your computer. Click Start in the Windows taskbar, select Turn Off Computer, and then click Restart. 9 When the desktop appears, Windows automatically reinstalls the device driver(s) from the Driver Recovery CD. 69
-
 1
1 -
2
-
3
-
4
-
5
-
6
-
7
-
8
-
9
-
10
-
11
-
12
-
13
-
14
-
15
-
16
-
17
-
18
-
19
-
20
-
21
-
22
-
23
-
24
-
25
-
26
-
27
-
28
-
29
-
30
-
31
-
32
-
33
-
34
-
35
-
36
-
37
-
38
-
39
-
40
-
41
-
42
-
43
-
44
-
45
-
46
-
47
-
48
-
49
-
50
-
51
-
52
-
53
-
54
-
55
-
56
-
57
-
58
-
59
-
60
-
61
-
 62
62 -
 63
63 -
 64
64 -
 65
65 -
 66
66 -
 67
67 -
 68
68 -
 69
69 -
 70
70 -
 71
71 -
 72
72 -
73
-
74
-
75
-
76
-
77
-
78
-
79
-
80
-
81
-
82
-
83
-
84
-
85
-
86
-
87
-
88
-
89
-
90
-
91
-
92
-
93
-
94
 |
 |