Sony RDR-GX360 Operating Instructions - Page 76
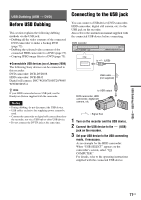
Copying the selected albums, Select USB Dubbing, and press ENTER.
 |
UPC - 027242735507
View all Sony RDR-GX360 manuals
Add to My Manuals
Save this manual to your list of manuals |
Page 76 highlights
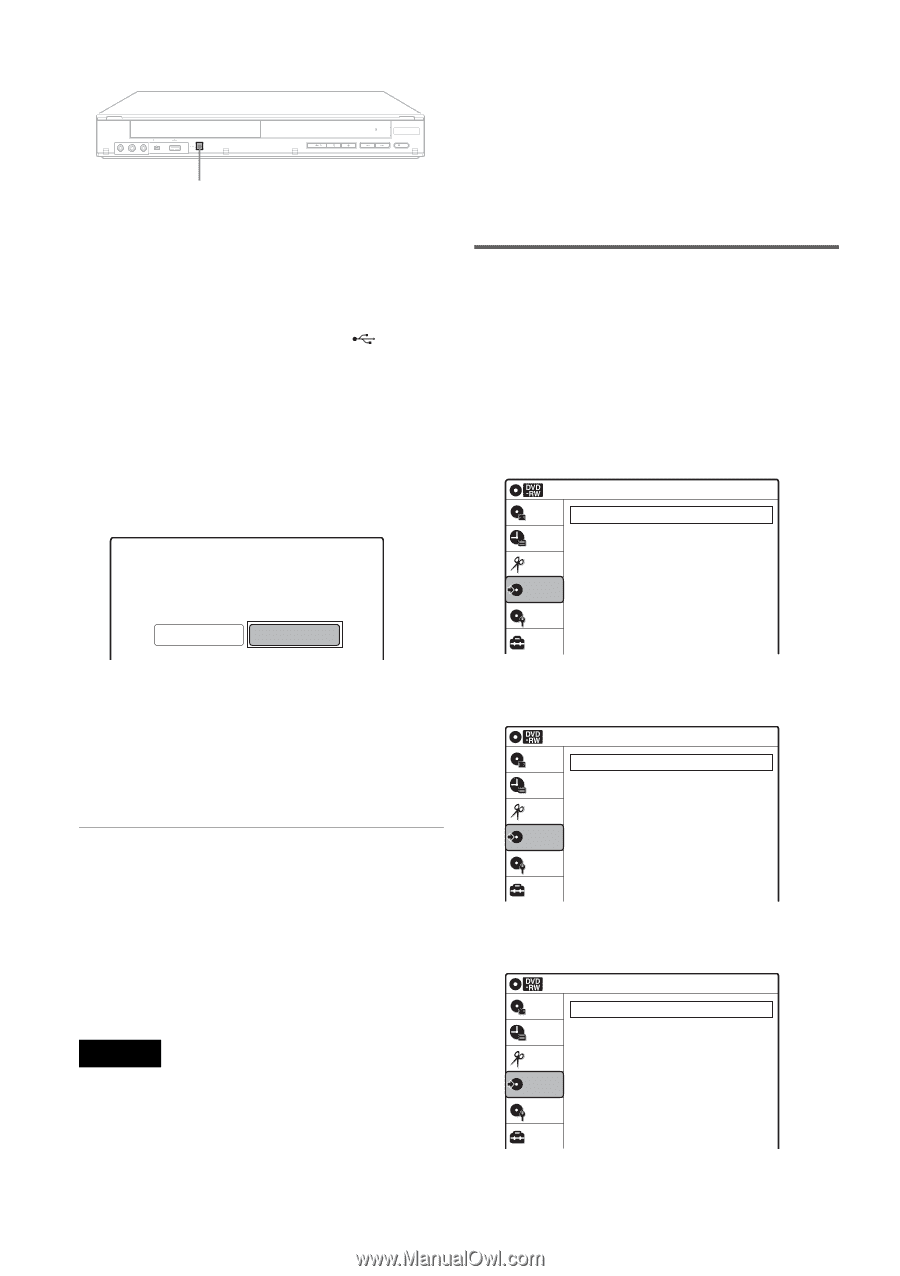
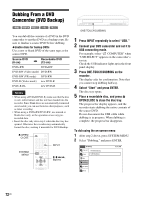
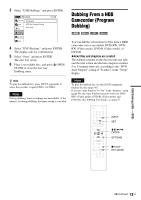
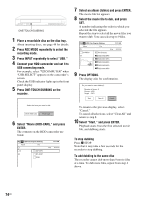
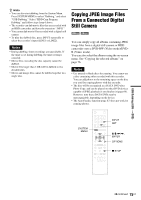
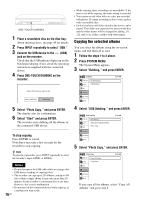
REC ONE-TOUCH DUBBING 1 Place a recordable disc on the disc tray. About inserting discs, see page 49 for details. 2 Press INPUT repeatedly to select "USB." 3 Connect the USB device to the (USB) jack on the recorder. Check that the USB indicator lights up on the front panel display. If not, check the operating instructions supplied with the connected device. 4 Press ONE-TOUCH DUBBING on the recorder. Select the item you want to dub. Movie (HDD-Cam) Photo Copy 5 Select "Photo Copy," and press ENTER. The display asks for confirmation. 6 Select "Start" and press ENTER. The recorder starts dubbing all the albums in the connected USB device. To stop copying Press ENTER to cancel. Note that it may take a few seconds for the recorder to stop copying. z Hint To play the copied disc, press INPUT repeatedly to select the recorder's input (LINE1 or LINE2). Notes • Do not disconnect the USB cable while accessing to the USB device (reading or copying files). • The recorder can copy up to 254 albums, and up to 499 files within a single album. It may take more than 30 minutes for the recorder to copy many files at one time. However, this is not a malfunction. • Do not turn off the connected device while copying, as a malfunction may result. 76US • While copying, timer recordings are unavailable. If the timer is set while copying, the timer setting is canceled. • You cannot record video titles on a disc pre-recorded with photos. If a timer recording is due to start, replace with a recordable disc. • Up to seven layers of folders stored in the device can be copied. The folders are copied in two layers on the disc and the folder names will be changed by adding _01, _02, and so on, if they conflict with other names. Copying the selected albums You can select the albums using the on-screen menu, and dub them all at once. 1 Follow the steps 1 to 3 above. 2 Press SYSTEM MENU. The System Menu appears. 3 Select "Dubbing," and press ENTER. Dubbing Title List Timer DV/D8 Dubbing USB Dubbing Edit Dubbing Disc Setting Setup 10:10 AM 4 Select "USB Dubbing," and press ENTER. USB Dubbing Title List Timer Edit DVD Backup HDD-Cam Program Dubbing Photo Copy Dubbing Disc Setting Setup 10:10 AM 5 Select "Photo Copy," and press ENTER. Photo Copy Title List Timer Copy All Albums Copy Album Edit Dubbing Disc Setting Setup 10:10 AM If you copy all the albums, select "Copy All Albums" and go to step 8.
-
 1
1 -
2
-
3
-
4
-
5
-
6
-
7
-
8
-
9
-
10
-
11
-
12
-
13
-
14
-
15
-
16
-
17
-
18
-
19
-
20
-
21
-
22
-
23
-
24
-
25
-
26
-
27
-
28
-
29
-
30
-
31
-
32
-
33
-
34
-
35
-
36
-
37
-
38
-
39
-
40
-
41
-
42
-
43
-
44
-
45
-
46
-
47
-
48
-
49
-
50
-
51
-
52
-
53
-
54
-
55
-
56
-
57
-
58
-
59
-
60
-
61
-
62
-
63
-
64
-
65
-
66
-
67
-
68
-
69
-
70
-
 71
71 -
 72
72 -
 73
73 -
 74
74 -
 75
75 -
 76
76 -
 77
77 -
 78
78 -
 79
79 -
 80
80 -
 81
81 -
82
-
83
-
84
-
85
-
86
-
87
-
88
-
89
-
90
-
91
-
92
-
93
-
94
-
95
-
96
-
97
-
98
-
99
-
100
-
101
-
102
-
103
-
104
-
105
-
106
-
107
-
108
-
109
-
110
-
111
-
112
-
113
-
114
-
115
-
116
-
117
-
118
-
119
-
120
-
121
-
122
-
123
-
124
-
125
-
126
-
127
-
128
 |
 |