Sony STR-DG800 Operating Instructions - Page 34
Inserting batteries into the, remote, About the command mode, Switching the command mode - switch to av1 remote
 |
UPC - 027242683075
View all Sony STR-DG800 manuals
Add to My Manuals
Save this manual to your list of manuals |
Page 34 highlights
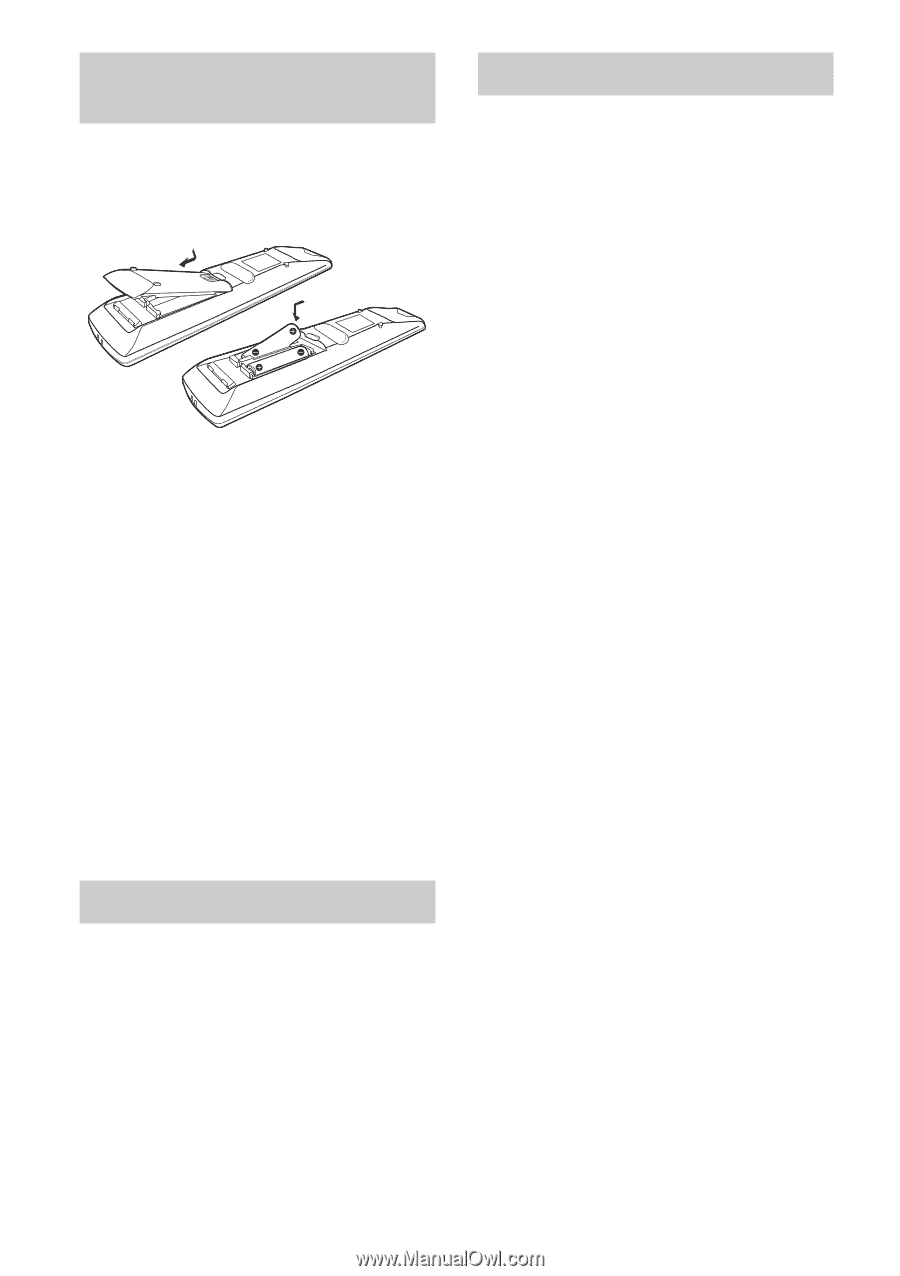
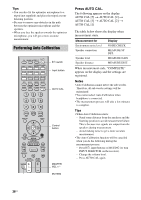
Inserting batteries into the remote Insert two R6 (size-AA) batteries in the RM-AAP008 remote commander. Observe the correct polarity when installing batteries. Notes • Do not leave the remote in an extremely hot or humid place. • Do not use a new battery with old ones. • Do not mix alkaline batteries and other kinds of batteries. • Do not expose the remote sensor to direct sunlight or lighting apparatuses. Doing so may cause a malfunction. • If you do not intend to use the remote for an extended period of time, remove the batteries to avoid possible damage from battery leakage and corrosion. Tip Under normal conditions, the batteries should last for about 3 months. When the remote no longer operates the receiver, replace all the batteries with new ones. About the command mode If the command modes of the receiver and the remote are different, you cannot use the remote to operate the receiver. If the command modes of both this receiver and the remote are the initial setting (AV SYSTEM2), it is not necessary to reset them. Switching the command mode You can switch the command mode (AV SYSTEM1 or AV SYSTEM2) of the receiver. The command mode of the remote has been set to AV SYSTEM2. If the command modes of the receiver and the remote are different, you cannot use the remote to operate the receiver. To set the command mode of the receiver Be sure to use the buttons on the receiver for this operation. Turn on the receiver while pressing INPUT MODE. The command mode is set to AV SYSTEM1 and "C.MODE.AV1" appears on the display. If you repeat the same operation again, the setting will change from AV SYSTEM1 to AV SYSTEM2 and "C.MODE.AV2" appears on the display. The initial setting is "C.MODE.AV2". To set the command mode of the remote You can switch the command mode (AV1 and AV2) of the remote. 1 Press RM SET UP. The RM SET UP indicator flashes. 2 Press the numeric button 1 (for AV1) or 2 (for AV2). The RM SET UP indicator lights up. 3 Press ENTER. The RM SET UP indicator slowly flashes twice and the command mode switches. To reset the remote to factory settings Press ?/1, AV ?/1 and MASTER VOL at the same time. The RM SET UP indicator flashes 3 times, then goes off. 34US
-
 1
1 -
2
-
3
-
4
-
5
-
6
-
7
-
8
-
9
-
10
-
11
-
12
-
13
-
14
-
15
-
16
-
17
-
18
-
19
-
20
-
21
-
22
-
23
-
24
-
25
-
26
-
27
-
28
-
 29
29 -
 30
30 -
 31
31 -
 32
32 -
 33
33 -
 34
34 -
 35
35 -
 36
36 -
 37
37 -
 38
38 -
 39
39 -
40
-
41
-
42
-
43
-
44
-
45
-
46
-
47
-
48
-
49
-
50
-
51
-
52
-
53
-
54
-
55
-
56
-
57
-
58
-
59
-
60
-
61
-
62
-
63
-
64
-
65
-
66
-
67
-
68
-
69
-
70
-
71
-
72
-
73
-
74
-
75
-
76
-
77
-
78
-
79
-
80
-
81
-
82
-
83
-
84
-
85
-
86
-
87
-
88
-
89
-
90
-
91
-
92
-
93
-
94
-
95
-
96
-
97
-
98
-
99
-
100
 |
 |