Sony UP-897MD User Instructions - Page 48
Maintenance, Cleaning the Cabinet, Cleaning the Thermal Head, Cleaning the Platen Roller - thermal paper
 |
View all Sony UP-897MD manuals
Add to My Manuals
Save this manual to your list of manuals |
Page 48 highlights
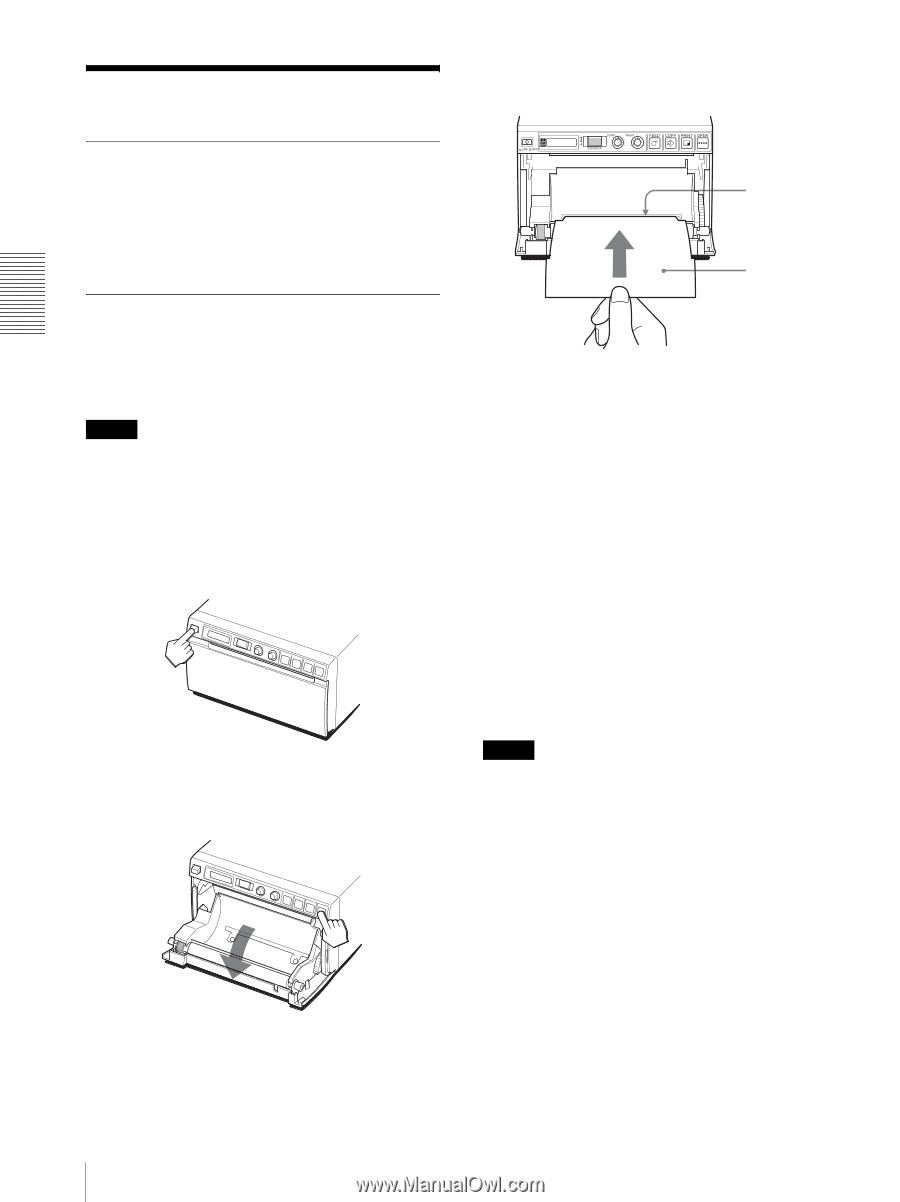
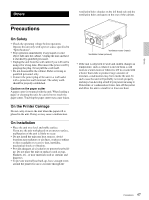
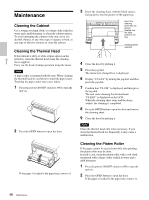
Others Maintenance Cleaning the Cabinet Use a wrung out damp cloth, or a damp cloth soaked in water and a mild detergent, to clean the cabinet surface. To avoid damaging the cabinet of the unit, never use alcohol, thinner, or any other type of organic solvent, or any type of abrasive cleaner, to clean the cabinet. Cleaning the Thermal Head If the printout is dirty or white stripes appear on the printouts, clean the thermal head using the cleaning sheet supplied. Carry out the head cleaning operation using the menu. Note A paper cutter is mounted with the unit. When cleaning the thermal head, be careful not to touch the paper cutter. Touching the paper cutter may cause injury. 1 Press the power ON/OFF switch to ON to turn the unit on. 2 Press the OPEN button to open the door. If the paper is loaded in the paper tray, remove it. 3 Insert the cleaning sheet, with the black surface facing down, into the groove of the paper tray. Insert the cleaning sheet into the groove located over the slide switch in the tray. Cleaning sheet supplied 4 Close the door by pushing it. 5 Press the jog dial. The menu item changed last is displayed. 6 Display "CLEAN" by turning the jog dial, and then press the jog dial. 7 Confirm that "CL:OK" is displayed, and then press the jog dial. The unit starts cleaning the thermal head. "CLEAN" is displayed on the LCD. When the cleaning sheet stops and the alarm sounds, the cleaning is completed. 8 Press the OPEN button to open the door and remove the cleaning sheet. 9 Close the door by pushing it. Note Clean the thermal head only when necessary. If you clean the thermal head too frequently, it may cause a malfunction. Cleaning the Platen Roller If the paper cannot be ejected smoothly after printing, the platen roller may be dirty. In such a case, clean the platen roller with a soft cloth moistened with a damp clothe soaked in water and a mild detergent. 1 Press the power ON/OFF switch to ON to turn the unit on. 2 Press the OPEN button to open the door. If the paper is loaded in the paper tray, remove it. 48 Maintenance
-
 1
1 -
2
-
3
-
4
-
5
-
6
-
7
-
8
-
9
-
10
-
11
-
12
-
13
-
14
-
15
-
16
-
17
-
18
-
19
-
20
-
21
-
22
-
23
-
24
-
25
-
26
-
27
-
28
-
29
-
30
-
31
-
32
-
33
-
34
-
35
-
36
-
37
-
38
-
39
-
40
-
41
-
42
-
 43
43 -
 44
44 -
 45
45 -
 46
46 -
 47
47 -
 48
48 -
 49
49 -
 50
50 -
 51
51 -
 52
52 -
 53
53 -
54
-
55
-
56
-
57
-
58
-
59
-
60
-
61
-
62
-
63
-
64
-
65
-
66
-
67
-
68
-
69
-
70
-
71
-
72
-
73
-
74
-
75
-
76
-
77
-
78
-
79
-
80
-
81
-
82
-
83
-
84
-
85
-
86
-
87
-
88
-
89
-
90
-
91
-
92
-
93
-
94
-
95
-
96
-
97
-
98
-
99
-
100
-
101
-
102
-
103
-
104
-
105
-
106
-
107
-
108
-
109
-
110
-
111
-
112
-
113
-
114
-
115
-
116
-
117
-
118
-
119
-
120
-
121
-
122
-
123
-
124
-
125
-
126
-
127
-
128
-
129
-
130
-
131
-
132
-
133
-
134
-
135
-
136
-
137
-
138
-
139
-
140
-
141
-
142
-
143
-
144
-
145
-
146
-
147
-
148
-
149
-
150
-
151
-
152
-
153
-
154
-
155
-
156
-
157
-
158
-
159
-
160
 |
 |