TP-Link TL-R480T User Guide - Page 19
Network, 4.3.1 LAN, TL-R480T, Network, MAC Address, Subnet Mask - + default ip
 |
UPC - 696726480020
View all TP-Link TL-R480T manuals
Add to My Manuals
Save this manual to your list of manuals |
Page 19 highlights
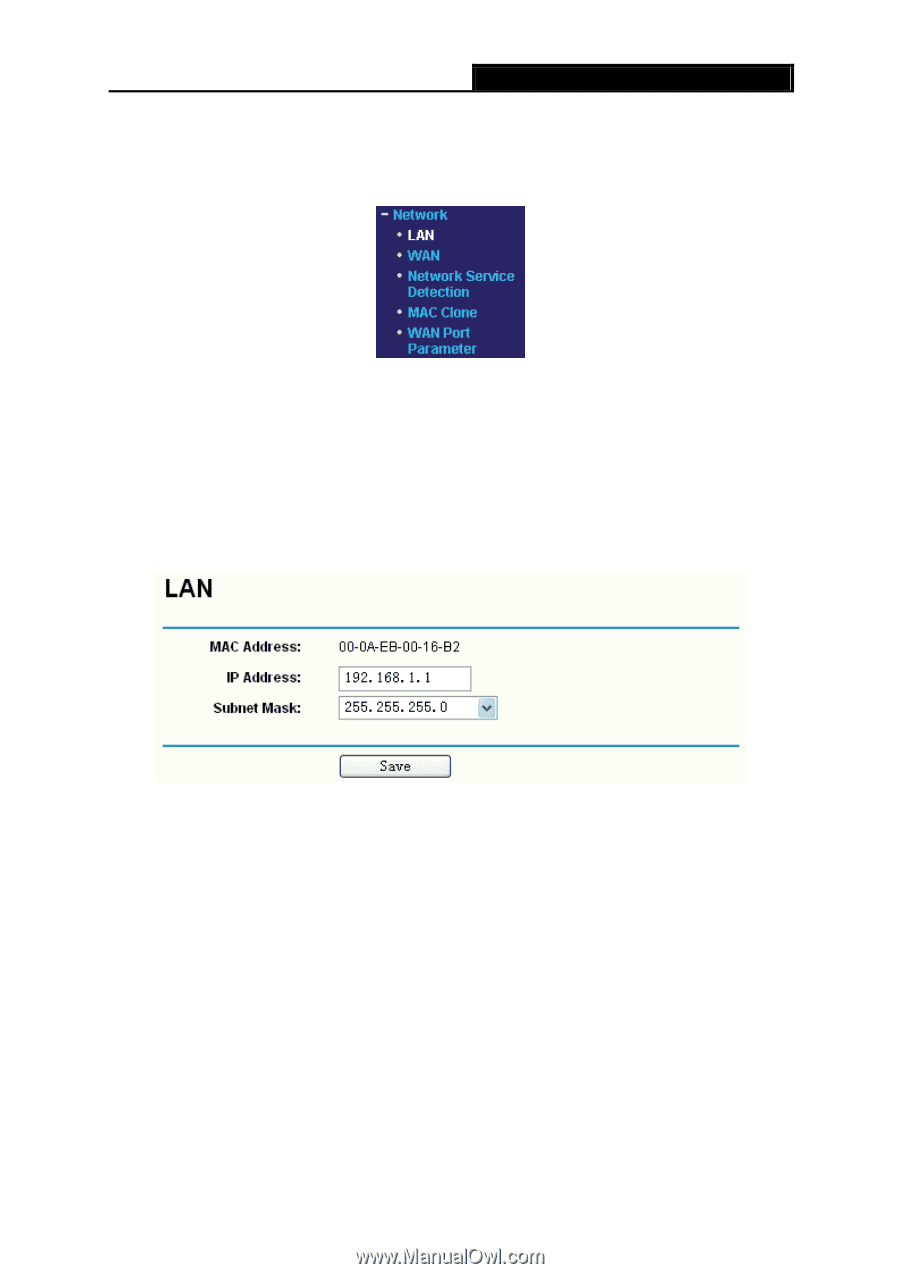
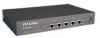
4.3 Network TL-R480T SMB Broadband Router User Guide Choose menu "Network", the next submenus are shown below: Figure 4-2 Click any of them, and you will be able to configure the corresponding function. The detailed explanations for each submenu are provided below. 4.3.1 LAN Choose menu "Network→LAN", you can configure the IP parameters of the LAN on the screen below. Figure 4-3 ¾ MAC Address - This field displays the physical address of the LAN. The value can't be changed. ¾ IP Address - Enter the IP address for the LAN of the Router, the formal is in dotted-decimal notation (the factory default value is 192.168.1.1). ¾ Subnet Mask - Enter the subnet mask for the LAN of the Router, this address code determines the size of the network. Normally use 255.255.255.0 as the subnet mask. ) Note: 1) If you change the IP address of the LAN, you must use the new IP address to login to the router. 2) If the new LAN IP Address you set is not in the same subnet, the IP Address pool in the DHCP sever will not take effect, until they are re-configured. Besides this, the Virtual Server and DMZ Host may change accordingly at the same time, you'd better re-configure it as well. 13
-
 1
1 -
2
-
3
-
4
-
5
-
6
-
7
-
8
-
9
-
10
-
11
-
12
-
13
-
 14
14 -
 15
15 -
 16
16 -
 17
17 -
 18
18 -
 19
19 -
 20
20 -
 21
21 -
 22
22 -
 23
23 -
 24
24 -
25
-
26
-
27
-
28
-
29
-
30
-
31
-
32
-
33
-
34
-
35
-
36
-
37
-
38
-
39
-
40
-
41
-
42
-
43
-
44
-
45
-
46
-
47
-
48
-
49
-
50
-
51
-
52
-
53
-
54
-
55
-
56
-
57
-
58
-
59
-
60
-
61
-
62
-
63
-
64
-
65
-
66
-
67
-
68
-
69
-
70
-
71
-
72
-
73
-
74
-
75
-
76
-
77
-
78
-
79
-
80
-
81
-
82
 |
 |