Troy-Bilt Horse Tiller Operation Manual - Page 14
Operation - belt adjustment
 |
View all Troy-Bilt Horse Tiller manuals
Add to My Manuals
Save this manual to your list of manuals |
Page 14 highlights
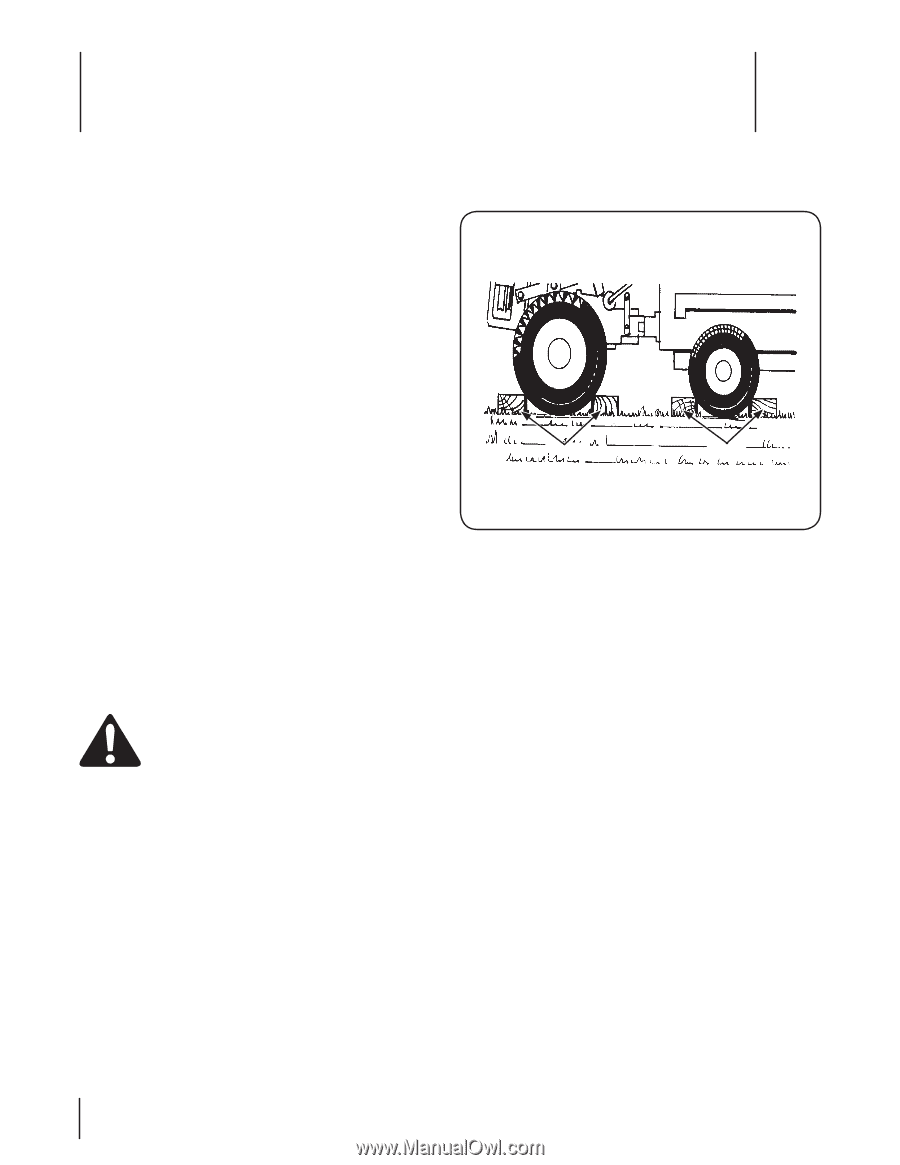
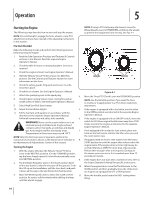
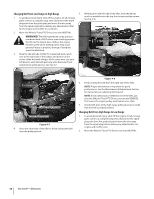
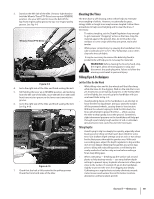
Operation 5 Starting the Engine The following steps describe how to start and stop the engine. NOTE: Do not attempt to engage the tines, wheels, or any PTO attachment until you have read all of the operating instructions in this section. NOTE: If using a PTO stationary attachment, move the Wheel Speed Lever into FREEWHEEL and block the wheels to prevent the equipment from moving. See Fig. 4-1. Pre-Start Checklist Make the following checks and perform the following services before starting the engine. 1. Read the Safe Operation Practices and Features & Controls sections in this Manual. Read the separate Engine Operator's Manual. 2. Check the tiller for loose or missing hardware. Service as required. 3. Check the engine oil level. See Engine Operator's Manual. 4. Shift the Wheels/Tines/PTO Drive lever into NEUTRAL position. See the Controls and Features section for more information on this lever. Blocks Blocks 5. Check the safety guards. All guards and covers must be securely in place. 6. Check the air cleaner. See the Engine Operator's Manual. Figure 4-1 7. Attach the spark plug wire to the spark plug. 8. Check Engine Cooling System. Clear cooling fins and air intake screen of debris. See the Engine Operator's Manual. 9. Select High/Low Belt Speed range. 4. Move the Tines/PTO Clutch Lever into DISENGAGE position. NOTE: Use the ENGAGE position if you want the tines to revolve or to apply power to a PTO-driven stationary attachment. 10. Adjust the Handlebar Height. 5. If the engine is equipped with a fuel valve, turn the valve 11. Fill the fuel tank with gasoline in accordance with the directions in the separate Engine Operator's Manual. to the OPEN position as instructed in the separate Engine Operator's Manual. Follow all instructions and safety rules carefully. 6. If the engine is equipped with an ON/OFF switch, move the WARNING! Never run the engine indoors or in an enclosed, poorly ventilated area. Engine exhaust contains carbon monoxide, an odorless and deadly switch to ON. Move engine throttle lever away from STOP. Choke or prime the engine as instructed in the separate Engine Operator's Manual. gas. Avoid engine muffler and nearby areas. 7. If not equipped with an electric start system, place one Temperatures in these areas may exceed 150° F. hand on the fuel tank to stabilize the tiller when you pull NOTE: After the first two hours of operation, perform the the recoil starter rope. maintenance procedures shown in the Maintenance Schedule in 8. If equipped with an electric start system, turn the key to the Maintenance & Adjustments Section of this manual. START position to crank the engine then release when the Starting the Engine engine starts. If the engine does not start right away, do not hold the key at START for more than a few seconds. 1. With the engine off, place the Wheels/Tines/PTO Drive Release then try again after a short pause. Damage to Lever in the NEUTRAL position. If in the FORWARD position, the starter motor can occur if it is cranked more than 15 tap the lever sharply upward, it should automatically move seconds per minute. into NEUTRAL position. 9. If the engine does not start after a number of tries, refer to 2. Put the Depth Regulator Lever in the Travel position (lever the Engine Operator's Manual for specific instructions. all the way down) so that the tines are off the ground. To do 10. When the engine starts, move the Throttle Lever to the this, lift up on the handlebars, pull the lever back, and push SLOW position and then gradually move the choke lever it down all the way to the top detent (notched) position. (on engines so equipped) to OFF or RUN position. 3. Move the Wheel Speed Lever to either the SLOW or FAST position. Be sure to roll the wheels while shifting the lever until the wheels engage. 11. Move the throttle speed control to FAST setting when tilling. 14
-
 1
1 -
2
-
3
-
4
-
5
-
6
-
7
-
8
-
 9
9 -
 10
10 -
 11
11 -
 12
12 -
 13
13 -
 14
14 -
 15
15 -
 16
16 -
 17
17 -
 18
18 -
 19
19 -
20
-
21
-
22
-
23
-
24
-
25
-
26
-
27
-
28
-
29
-
30
-
31
-
32
-
33
-
34
-
35
-
36
-
37
-
38
-
39
-
40
-
41
-
42
-
43
-
44
 |
 |