Whirlpool ECKMF94 Installation Guide - Page 4
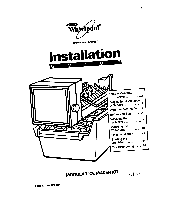
Before, You Begin - diagram
 |
UPC - 050946418711
View all Whirlpool ECKMF94 manuals
Add to My Manuals
Save this manual to your list of manuals |
Page 4 highlights
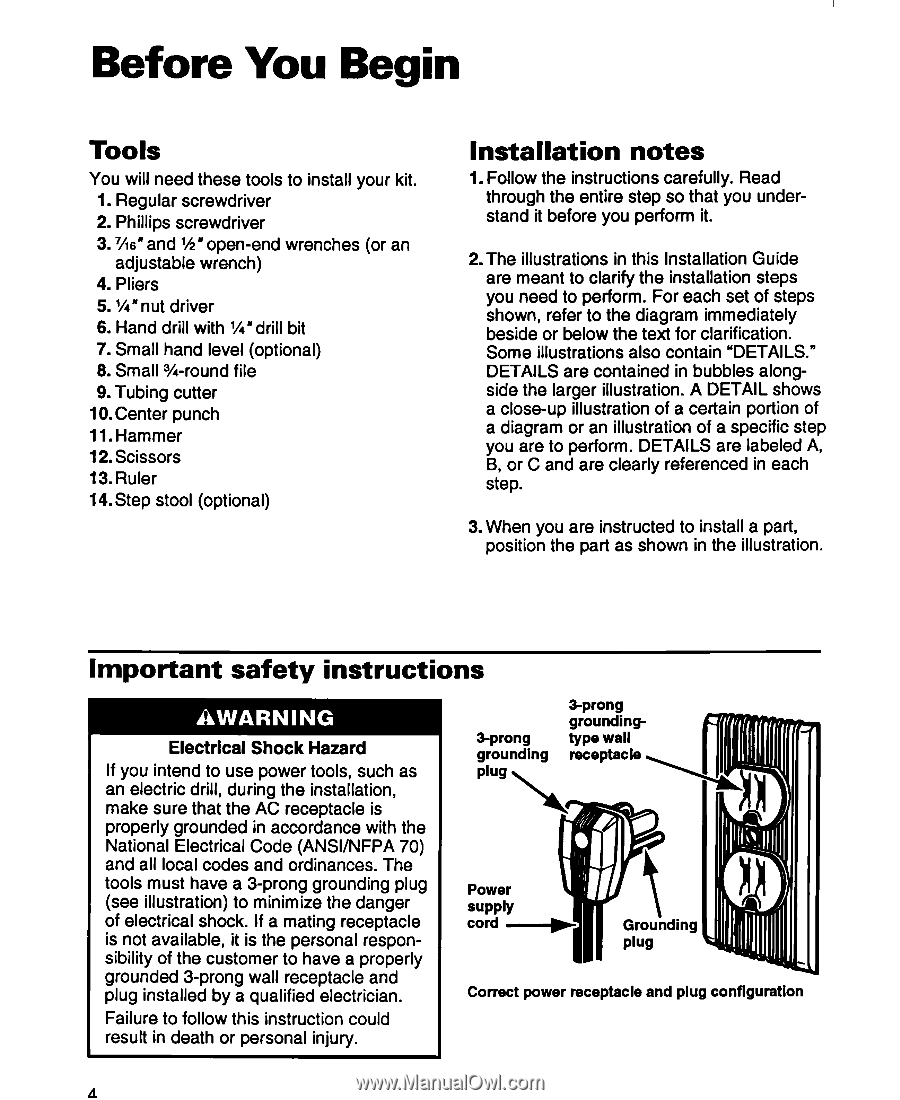
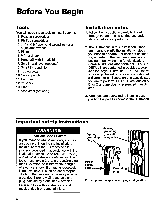
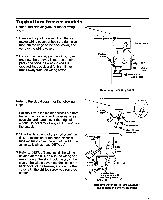
Before You Begin Tools You will need these tools to install your kit. 1. Regular screwdriver 2. Phillips screwdriver 3. %6" and l/i' open-end wrenches (or an adjustable wrench) 4. Pliers 5.%* nut driver 6. Hand drill with 1/4*drill bit 7. Small hand level (optional) 8. Small %-round file 9. Tubing cutter 10. Center punch 11. Hammer 12. Scissors 13.Ruler 14. Step stool (optional) Installation notes 1. Follow the instructions carefully. Read through the entire step so that you understand it before you perform it. 2.The illustrations in this Installation Guide are meant to clarify the installation steps you need to perform. For each set of steps shown, refer to the diagram immediately beside or below the text for clarification. Some illustrations also contain 'DETAILS." DETAILS are contained in bubbles alongside the larger illustration. A DETAIL shows a close-up illustration of a certain portion of a diagram or an illustration of a specific step you are to perform. DETAILS are labeled A, B, or C and are clearly referenced in each step. 3. When you are instructed to install a part, position the part as shown in the illustration. Important safety instructions Electrical Shock Hazard If you intend to use power tools, such as an electric drill, during the installation, make sure that the AC receptacle is properly grounded in accordance with the National Electrical Code (ANSVNFPA 70) and all local codes and ordinances. The tools must have a 3-prong grounding plug (see illustration) to minimize the danger of electrical shock. If a mating receptacle is not available, it is the personal responsibility of the customer to have a properly grounded 3-prong wall receptacle and plug installed by a qualified electrician. Failure to follow this instruction could result in death or personal injury. 8prong grounding plug \ 3-prong groundingtype wall receptacle Correct power receptacle and plug configuration A
-
 1
1 -
 2
2 -
 3
3 -
 4
4 -
 5
5 -
 6
6 -
 7
7 -
 8
8 -
 9
9 -
 10
10 -
11
-
12
-
13
-
14
-
15
-
16
-
17
-
18
-
19
-
20
-
21
-
22
-
23
-
24
-
25
-
26
-
27
-
28
 |
 |