Yamaha CDR-HD1300 Owner's Manual - Page 71
COPYING AND RECORDING ONT, O A CD-R OR CD-R, W DISC, Copying menu setting, Copy Method
 |
View all Yamaha CDR-HD1300 manuals
Add to My Manuals
Save this manual to your list of manuals |
Page 71 highlights
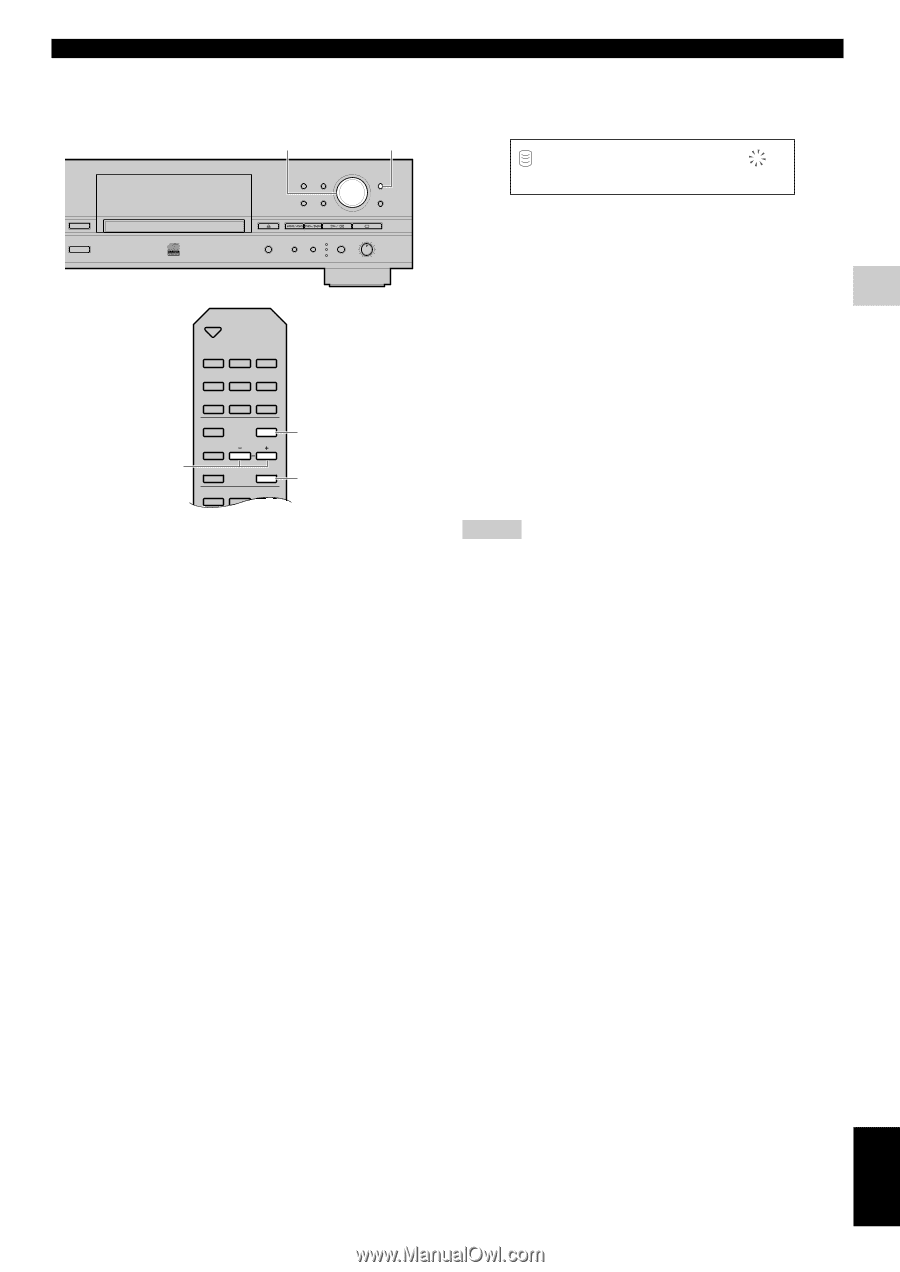
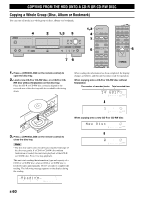
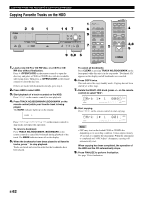
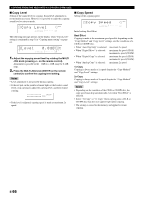
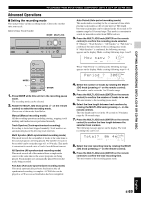
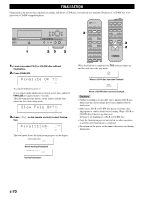
COPYING AND RECORDING ONTO A CD-R OR CD-RW DISC I Copying menu setting You can make detailed settings on the menu for your copying. Follow the steps described below for menu setting. MULTI JOG MENU ER COPY A.M.Q.R. TEXT/TIME MODE MULTI JOG PUSH ENTER MENU TRACK NO. COMPLETE CLEAR BOOKMARK DIGITAL REC LEVEL REC FINALIZE ERASE INPUT OPTICAL COAXIAL ANALOG ANALOG REC LEVEL MIN MAX +, - OPEN/CLOSE COPY TIMER REC REC A.M.Q.R. FINALIZE ERASE TRACK NO. TEXT/TIME INPUT WRITE MODE MENU COMPLETE CLEAR ENTER 1 ABC 2 DEF 3 GHI MENU ENTER 1. Press MENU while this unit is in the copy standby mode. You can start setting the copying menu. 2. Select the menu item to be set by rotating the MULTI JOG knob (pressing +/- on the remote control). The copying menu contains 3 items as follows: • Copy Method (setting the copying method) • Copy Level (setting the copying level) • Copy Speed (setting the copying speed) 3. Press the MULTI JOG knob (ENTER on the remote control) to confirm the menu item to be adjusted. 4. Adjust the parameter for each item by rotating the MULTI JOG knob (pressing +/- on the remote control). See the further steps for detailed instructions on parameter adjustment for each item. 5. Press the MULTI JOG knob (ENTER on the remote control) to confirm the setting when adjustment has been completed. 6. Press MENU to close the menu. This unit returns to the copy standby mode. COPYING FROM THE HDD ONTO A CD-R OR CD-RW DISC I Copy Method Setting of the copying method. Copying may fail if the setting for "Copy Method" is not correctly made. Copy Method REC L ALL SYNC ANLG dB R -30 -10 -6 -2 0 CDR Initial setting: Analog Copy Analog Copy This method always makes analog copies. Digital Move The data is moved from the HDD to the CD. Therefore, the track or group data will be deleted from the HDD after they have been moved to the CD-R or CD-RW disc by this method. Digital Copy This method always makes digital copies. Copying is not possible if the tracks are copy protected by the SCMS standard (see page 5). Auto Dig/Anlg Digital and analog copying are automatically switched depending on the track. If digital copying is prohibited by the SCMS standard (see page 5), an analog copy is made. For those tracks that can be digitally copied, a digital copy is made. Notes • In analog copying, the data may be copied at a lower sound level. • The settings is stored in the memory and applied to future copying. English E-65
-
 1
1 -
2
-
3
-
4
-
5
-
6
-
7
-
8
-
9
-
10
-
11
-
12
-
13
-
14
-
15
-
16
-
17
-
18
-
19
-
20
-
21
-
22
-
23
-
24
-
25
-
26
-
27
-
28
-
29
-
30
-
31
-
32
-
33
-
34
-
35
-
36
-
37
-
38
-
39
-
40
-
41
-
42
-
43
-
44
-
45
-
46
-
47
-
48
-
49
-
50
-
51
-
52
-
53
-
54
-
55
-
56
-
57
-
58
-
59
-
60
-
61
-
62
-
63
-
64
-
65
-
 66
66 -
 67
67 -
 68
68 -
 69
69 -
 70
70 -
 71
71 -
 72
72 -
 73
73 -
 74
74 -
 75
75 -
 76
76 -
77
-
78
-
79
-
80
-
81
-
82
-
83
-
84
-
85
-
86
-
87
-
88
-
89
-
90
-
91
-
92
-
93
-
94
-
95
-
96
-
97
-
98
-
99
-
100
-
101
-
102
-
103
-
104
-
105
-
106
 |
 |