Yamaha RX-V496 Owner's Manual - Page 22
ADJUSTING THE SPEAKER BALANCE, Using the Test Tone, Before You Start Adjusting
 |
View all Yamaha RX-V496 manuals
Add to My Manuals
Save this manual to your list of manuals |
Page 22 highlights
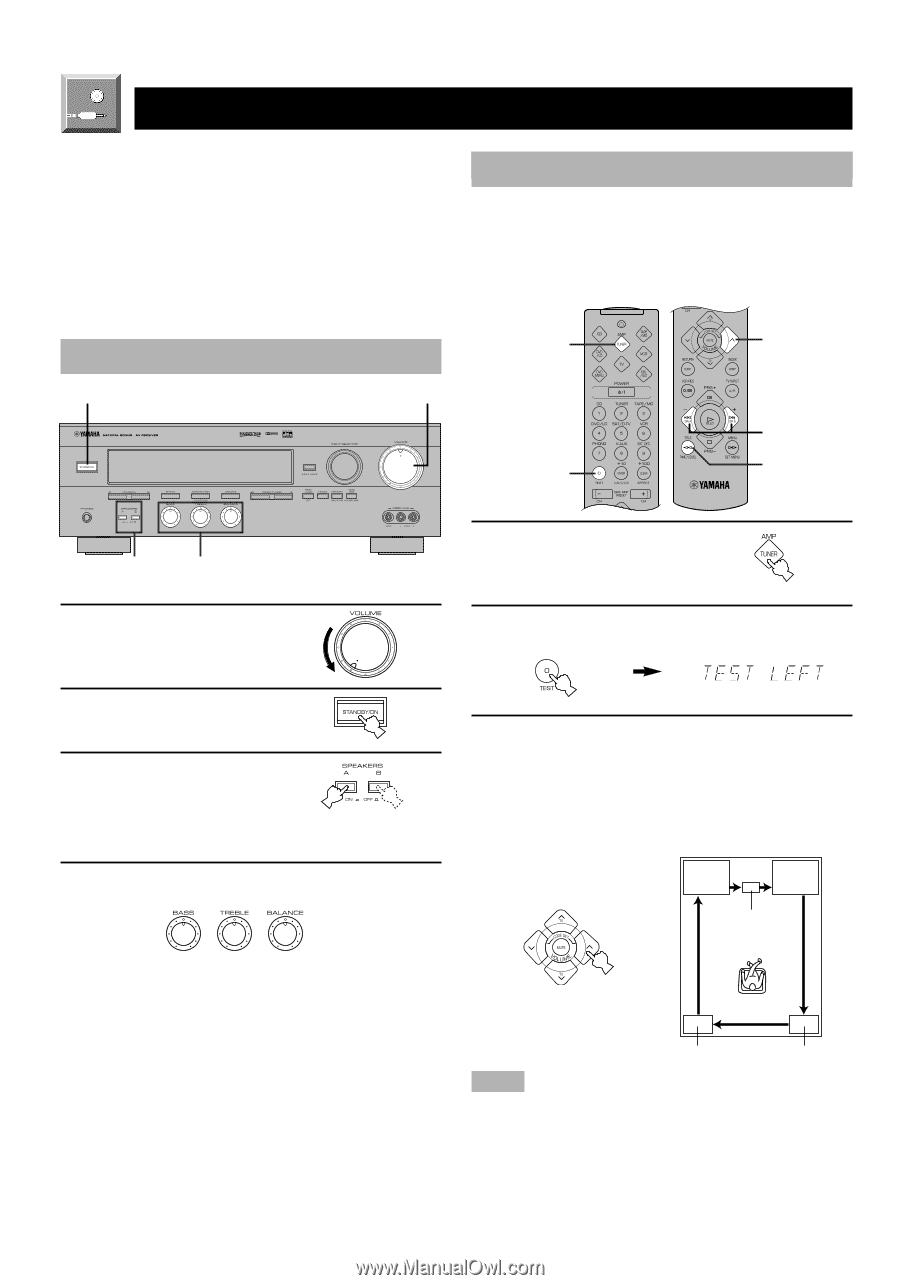
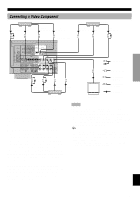
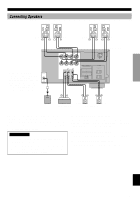
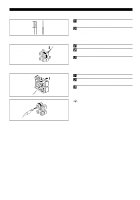
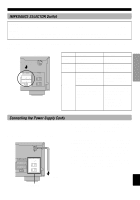
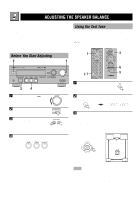
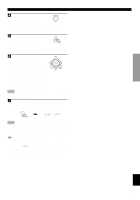
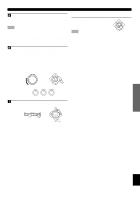
ADJUSTING THE SPEAKER BALANCE This procedure lets you adjust the sound output level balance between the main, center and rear speakers by using the built-in test tone generator. When this adjustment is performed, the sound output level heard at the listening position will be the same from each speaker. This is important for the best performance of the digital sound field processor, the Dolby Pro Logic decoder, Dolby Digital decoder and DTS decoder. Before You Start Adjusting 2 1 Using the Test Tone The adjustment of each speaker sound output level should be performed at your listening position with the remote control. After completing the adjustments, use VOLUME (u/d) at your listening position to check if the adjustments are satisfactory. 1 3 6 2,7 5 - + - + L R 3 4 1 Set VOLUME to the "m" position. 1 Press AMP(TUNER) on the component selector. 2 Press TEST. "TEST LEFT" appears on the display. 2 Turn the power on. 3 Press SPEAKERS A or B to select the main speakers to be used. If you use two main speaker systems, press both A and B. 4 Set BASS, TREBLE and BALANCE to the "0" position. - + - + L R 3 Turn up the volume. You will hear a test tone (like pink noise) from each speaker for about two seconds in following order: left main speaker, center speaker, right main speaker, right rear speaker and left rear speaker. The display changes as shown below. TEST LEFT TEST RIGHT TEST CENTER TEST L SUR. TEST R SUR. Notes • If the test tone cannot be heard, turn down the volume, set the unit in the standby mode and check the speaker connections. • If the test tone cannot be heard from the center speaker, check the setting of "CENTER SP" in the SET MENU. 18
-
 1
1 -
2
-
3
-
4
-
5
-
6
-
7
-
8
-
9
-
10
-
11
-
12
-
13
-
14
-
15
-
16
-
 17
17 -
 18
18 -
 19
19 -
 20
20 -
 21
21 -
 22
22 -
 23
23 -
 24
24 -
 25
25 -
 26
26 -
 27
27 -
28
-
29
-
30
-
31
-
32
-
33
-
34
-
35
-
36
-
37
-
38
-
39
-
40
-
41
-
42
-
43
-
44
-
45
-
46
-
47
-
48
-
49
-
50
-
51
-
52
-
53
-
54
-
55
-
56
-
57
-
58
-
59
-
60
-
61
-
62
-
63
 |
 |