Cisco 4402 Configuration Guide - Page 44
Step 6: Remote Access Policies - change password
 |
UPC - 882658039997
View all Cisco 4402 manuals
Add to My Manuals
Save this manual to your list of manuals |
Page 44 highlights
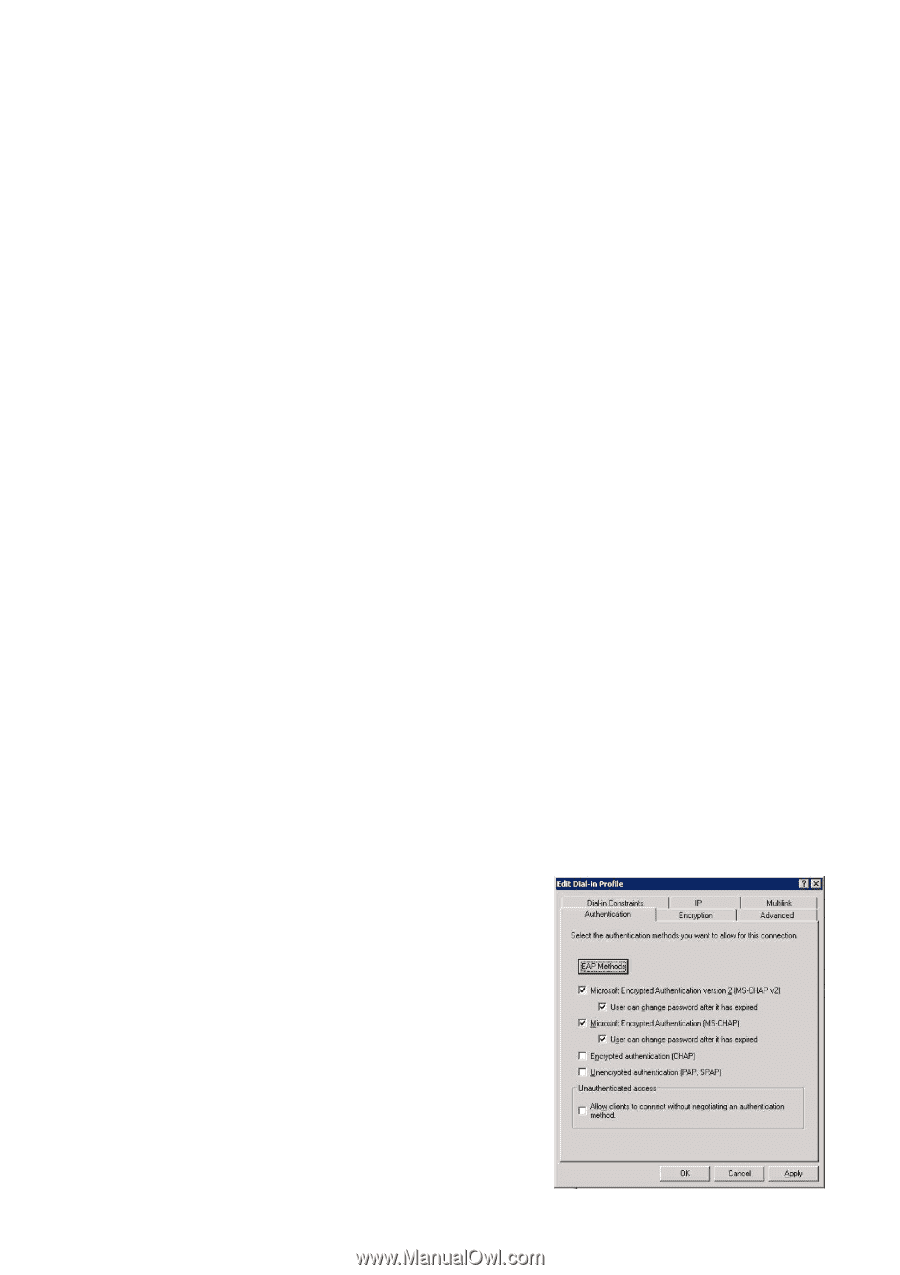
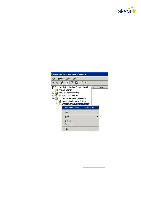
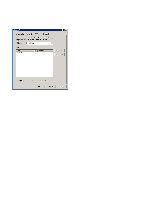
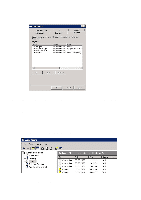
Step 6: Remote Access Policies Remote Access Policies handle the local authentication and can for example grant different users access to different networks: some to the guest network, some to VLAN 10, VLAN 12, etc. • Right-click on "Remote Access Policies" and select "New Remote Access Policy" • Click on "Next", select "Set up a custom policy" and type in a name for the policy • Choose descriptive names for policies, such as "Employees with guest network", "Students in VLAN10", etc. • Click on "Next" • "Policy conditions" are the criteria which determine whether a user shall use this policy or try the next. • Click on "Add" o The criteria which should be checked for each Remote Access Policy are up to the system operators and depend to a large extent on how allocation is to take place. Some standard options may be: "NAS-Port-Type" adding "Ethernet", "Wireless - IEEE802.11" and "Wireless - Other" "Windows-Groups" adding "Domain Users" and, for example, "Quarantine" or "WiFi VLAN10" or other groups from AD. NB: The AD groups must be created first! • When the criteria have been determined, click on "Next", select "Grant remote access permission" and click on "Next". o Remote Access Policies may also be created which deny access to users. For example, all users belonging to the security group "Wireless Access Denied" will be assigned the criterion "Deny remote access permission". But remember: the policies are handled in a predetermined order and users will obtain access to the first alternative which is appropriate. Hence it may be wise to specify all policies which use "Deny remote access permission" first. • Click on "Edit Profile..." o The properties which should be specified in the profile depend somewhat on the application but the following must be included: • Click on the "Authentication" tab • Click on "EAP Methods", click on "Add", select "Protected EAP (PEAP)", click on "OK". • To check that a PEAP has been created with a single certificate, click on "Edit ..." Click on "OK" and tick: • "Microsoft Encrypted Authentication version 2 (MS-CHAP v2)" • The use of "User can change password after it has expired" is optional 44
-
 1
1 -
2
-
3
-
4
-
5
-
6
-
7
-
8
-
9
-
10
-
11
-
12
-
13
-
14
-
15
-
16
-
17
-
18
-
19
-
20
-
21
-
22
-
23
-
24
-
25
-
26
-
27
-
28
-
29
-
30
-
31
-
32
-
33
-
34
-
35
-
36
-
37
-
38
-
 39
39 -
 40
40 -
 41
41 -
 42
42 -
 43
43 -
 44
44 -
 45
45 -
 46
46 -
 47
47 -
 48
48 -
 49
49 -
50
-
51
-
52
-
53
-
54
-
55
-
56
-
57
-
58
-
59
-
60
 |
 |