Cisco 4402 Configuration Guide - Page 52
Select Attribute: User-Name and click on Add
 |
UPC - 882658039997
View all Cisco 4402 manuals
Add to My Manuals
Save this manual to your list of manuals |
Page 52 highlights
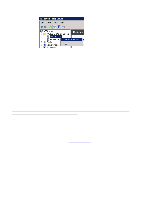
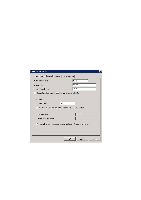
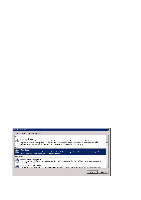
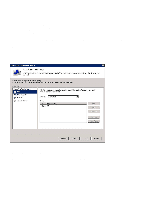
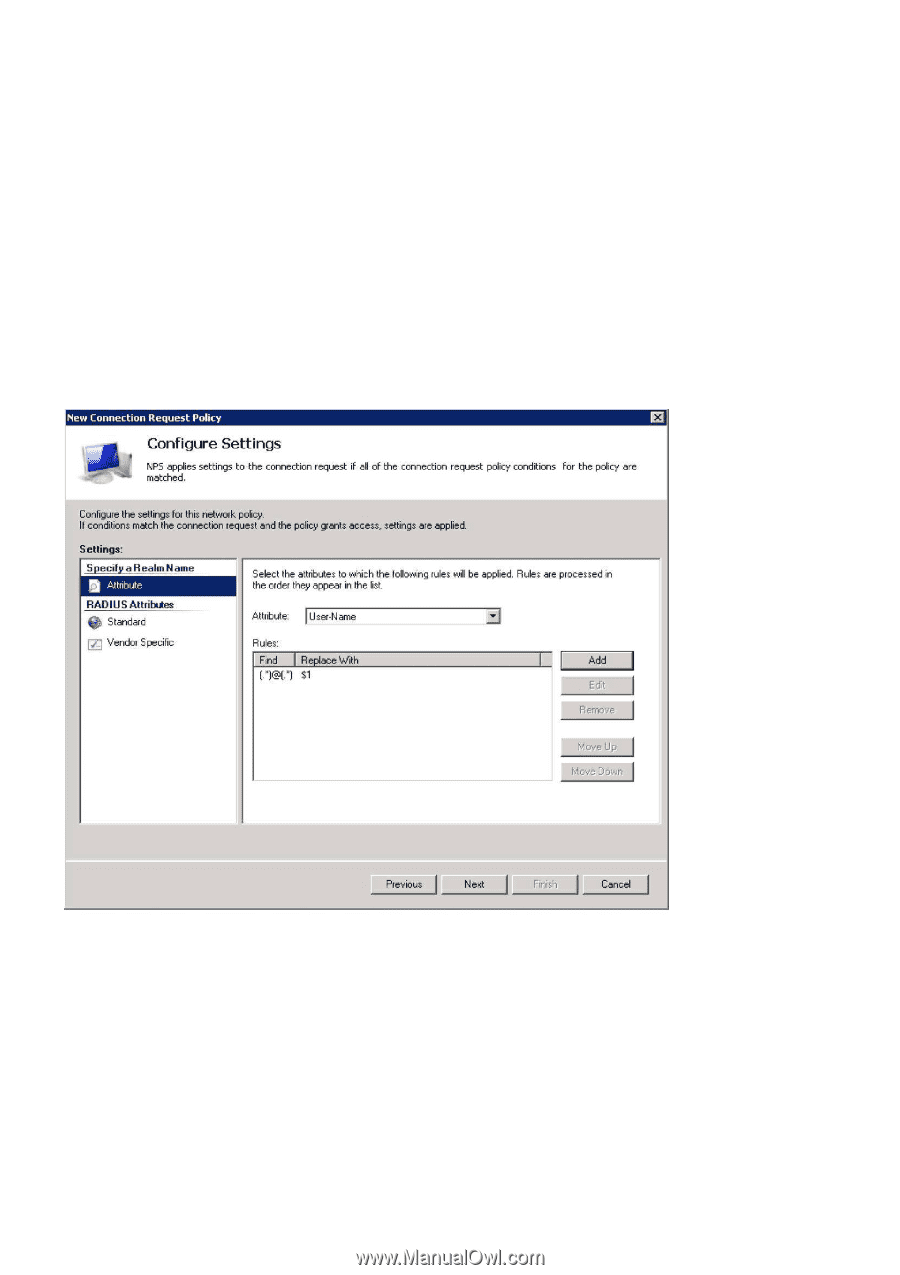
• If one selects "Authenticate request on this server" the user is authenticated on this RADIUS server and the domain of which the user is a member. Proceed as follows: • Click on the "Attributes" tab • Select "Attribute: User-Name" and click on "Add" • Under "Find", type Under "Replace with", type: $1 • One may also select "Forward requests to the following remote RADIUS server group for authentication". The authentication request is then forwarded to one of the server groups created in Step 3. Click on "Next" • "Override network policy authentication settings" must not be used in this connection. Click on "Next" Click on "OK" followed by "Finish" Create a Connection Request Policy for each connection this RADIUS server is to serve. 52
-
 1
1 -
2
-
3
-
4
-
5
-
6
-
7
-
8
-
9
-
10
-
11
-
12
-
13
-
14
-
15
-
16
-
17
-
18
-
19
-
20
-
21
-
22
-
23
-
24
-
25
-
26
-
27
-
28
-
29
-
30
-
31
-
32
-
33
-
34
-
35
-
36
-
37
-
38
-
39
-
40
-
41
-
42
-
43
-
44
-
45
-
46
-
 47
47 -
 48
48 -
 49
49 -
 50
50 -
 51
51 -
 52
52 -
 53
53 -
 54
54 -
 55
55 -
 56
56 -
 57
57 -
58
-
59
-
60
 |
 |
52
•
If one selects “Authenticate request on this server” the user is authenticated on this RADIUS server
and the domain of which the user is a member. Proceed as follows:
•
Click on the “Attributes” tab
•
Select “Attribute: User-Name” and click on “Add”
•
Under “Find”, type: (.*)@(.*)
•
Under “Replace with”, type: $1
•
One may also select “Forward requests to the following remote RADIUS server group for
authentication”. The authentication request is then forwarded to one of the server groups created in
Step 3.
Click on “Next”
•
“Override network policy authentication settings” must
not
be used in this connection.
Click on “Next”
Click on “OK” followed by “Finish”
Create a Connection Request Policy for each connection this RADIUS server is to serve.