Danby DPAC8399 User Guide - Page 8
Window / Patio Door Kit Installation, Internal Water Tank Safety Feature, Before Starting This Unit
 |
View all Danby DPAC8399 manuals
Add to My Manuals
Save this manual to your list of manuals |
Page 8 highlights
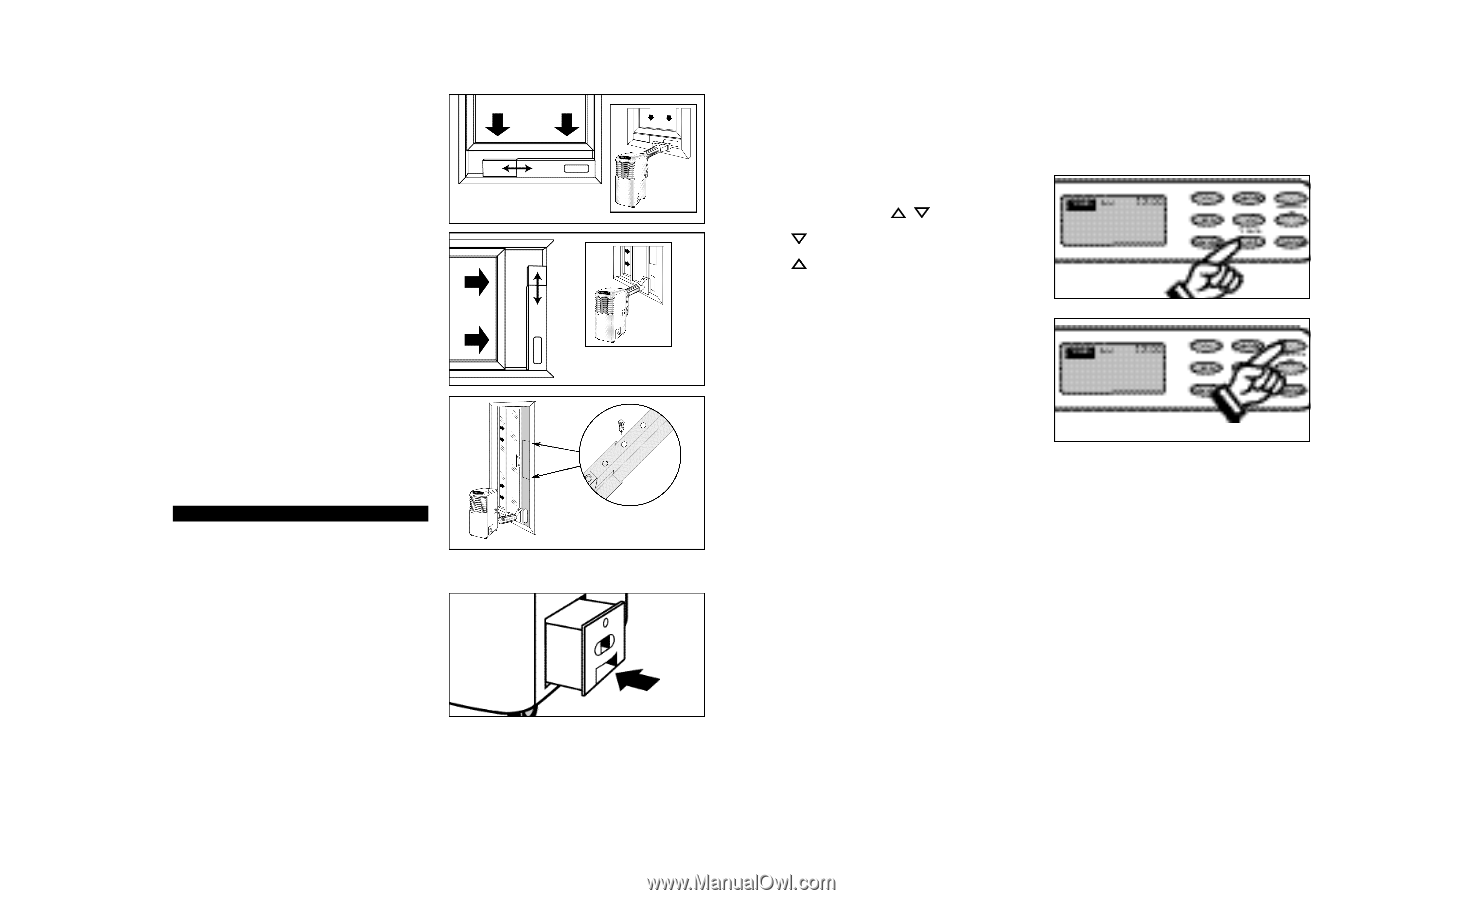
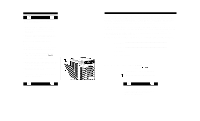
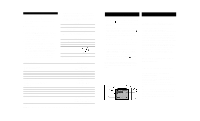
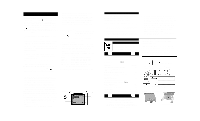
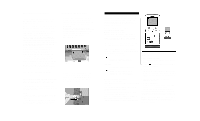
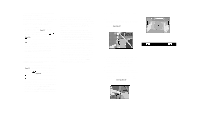
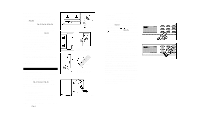
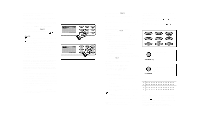
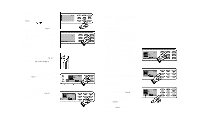
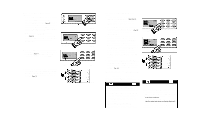
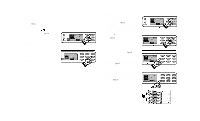
Window / Patio Door Kit Installation Your window kit has been designed to fit most standard "vertical" and "horizontal" window applications. Now with the addition of a 3rd slider section, (Fig.2b), it is possible to install this kit in a patio door application (up to a maximum height of 80"). Please refer to Fig. 2, Fig. 2a, & Fig. 2b for minimum and maximum openings. For vertical window and/or patio door applications, multi-lock positions are provided on the edge of each slider section. Two lock screws are provided to secure each sliding section in position. Fig. 2c. Internal Water Tank Safety Feature This unit is equipped with a fail-safe switch mechanism which prevents the unit from condensing water in the event the water tank is accidentally displaced, and/or FULL with water. If this situation occurs, the unit will signal 8 BEEPS and the WATER FULL indicator light will flash red continuously until the water tank is correctly positioned and/or emptied. NOTE: The fan motor will continue to operate under this condition. This is normal, but no cooling or dehumidifying will occur until the tank is emptied and/or correctly installed (It may take several minutes before the compressor resumes normal operation). Horizontal Window Window Slider Kit Minimum: 26 5/8" (67.5 cm) Maximum: 48 3/8" (123 cm) Fig. 2 Vertical Window Patio Door Fig. 2a Window Slider Kit Minimum: 26 5/8" (67.5 cm) Maximum: 48 3/8" (123 cm) Fig. 2c Operating Instructions Before Starting This Unit 1) Select a suitable location, making sure you have easy access to an electrical outlet. 2) Install the Flexible Exhaust Hose and the Adjustable Window/Patio Door Slider Kit as depicted in Fig. 2, Fig. 2a or Fig. 2b. NOTE: Step 2 is required only while using the AIR CONDITIONER MODE 3) Plug the unit into a 115 V /60 Hz grounded electrical outlet. DO NOT USE AREGULAR EXTENSION CORD. If it is necessary to use an extension cord with this unit, use an approved "air conditioner" extension cord only. (available at most local hardware stores) 4) Make sure the Water Tank is correctly positioned inside the cabinet otherwise the unit will not operate. Fig. 4. Fig. 2b Patio Door Kit Minimum: 26 5/8" (67.5 cm) Maximum: 80" (203 cm) Fig. 4 Graduación del RELOJ DE APAGADO AUTOMÁTICO 1) Antes de graduar el reloj de APAGADO AUTOMÁTICO, se debe graduar y hacer funcionar el RELOJ DE LAHORADELDÍA. 2) Oprima la tecla de TIMER-OFF (RELOJ DE APAGADO AUTOMÁTICO) para iniciar la secuencia de tiempo de APAGADO AUTOMÁTICO. Figura 33. La ventana de visualización indicará TIMER OFF y la palabra OFF (APAGADO) centelleará durante 5 segundos. Oprima la tecla o para seleccionar la hora deseada de apagado automático. Figura 33a. La tecla disminuirá la graduación del horario automático en incrementos de 10 minutos. La tecla aumentará la graduación del horario automático en incrementos de 10 minutos. Cuando haya establecido el horario deseado (la hora centelleará en la ventana de visualización) oprima la tecla CLOCK (RELOJ) para registrar el programa de RELOJ DE APAGADO AUTOMÁTICO. La palabra OFF dejará de centellear y permanecerá encendida (RELOJ DE APAGADO AUTOMÁTICO) indicando que se ha graduado el programa. La graduación del reloj de la hora del día regresará inmediatamente a la ventana de visualización. Se puede verificar la selección del horario de apagado automático (AUTO-OFF) en cualquier momento oprimiendo la tecla de TIMEROFF. La hora seleccionada aparecerá (centelleará) por unos 5 segundos (en vez de la hora del día). IMPORTANTE: La hora deseada para el RELOJ DE APAGADO AUTOMÁTICO se debe registrar dentro de un período de 5 segundos (después de oprimir la tecla TIMER-OFF) ya que de lo contrario la hora seleccionada no quedará registrada y el sistema regresará automáticamente a la graduación corriente del reloj de la hora del día. Si esto sucede, se deberá repetir el paso número 2. La unidad se apagará automáticamente cuando el reloj de la hora del día indique la hora de APAGADO AUTOMÁTICO especificada. Para cancelar o reemplazar el programa de RELOJ DE APAGADO AUTOMÁTICO, simplemente apague la unidad en forma manual antes de la hora en que el APAGADO AUTOMÁTICO está programado para funcionar. Fig. 33 Fig. 33a
-
 1
1 -
2
-
 3
3 -
 4
4 -
 5
5 -
 6
6 -
 7
7 -
 8
8 -
 9
9 -
 10
10 -
 11
11 -
 12
12 -
 13
13 -
14
-
15
-
16
-
17
-
18
-
19
-
20
-
21
-
22
-
23
-
24
-
25
-
26
-
27
-
28
-
29
-
30
-
31
-
32
-
33
-
34
-
35
-
36
 |
 |