Dell Inspiron 1545 Service Manual - Page 24
Removing the Keyboard - camera
 |
View all Dell Inspiron 1545 manuals
Add to My Manuals
Save this manual to your list of manuals |
Page 24 highlights
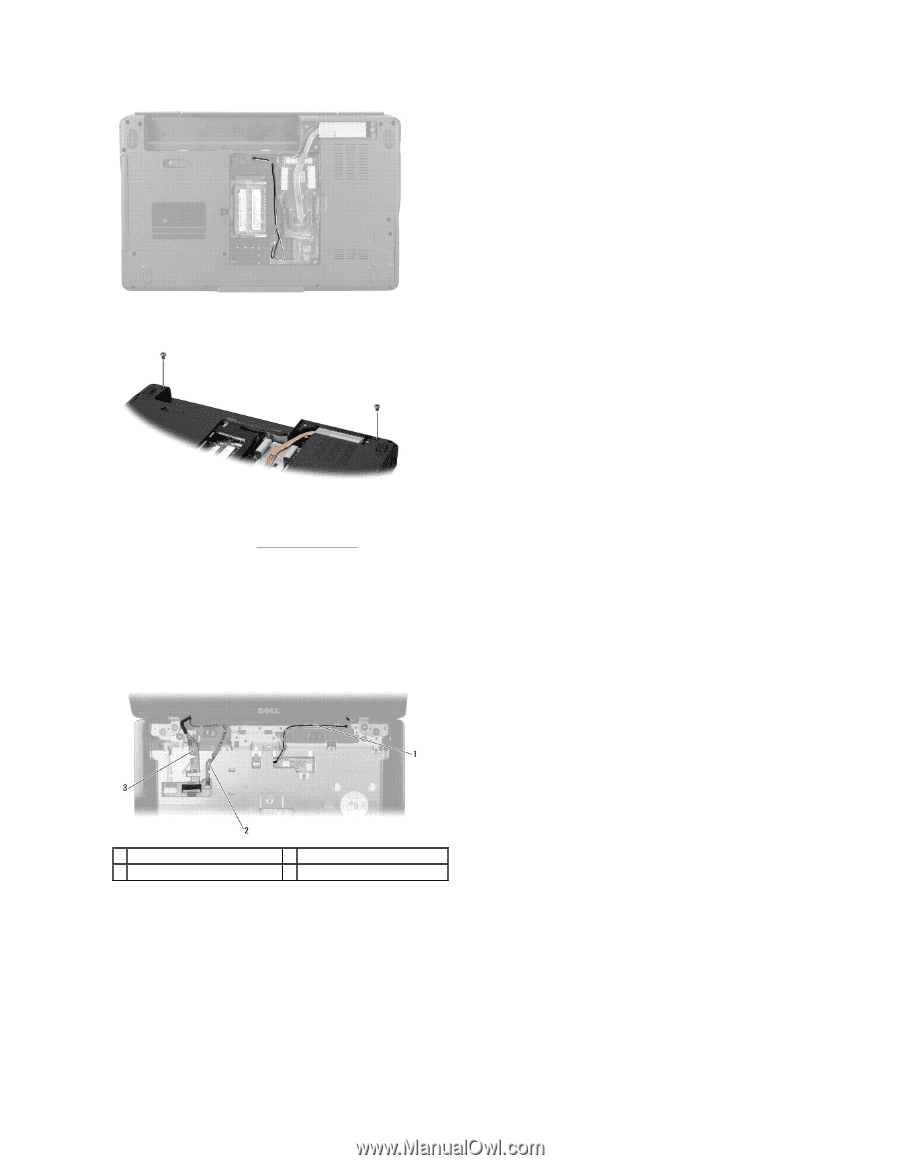
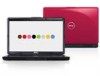
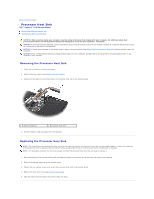
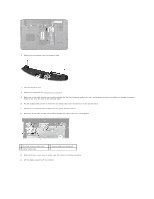
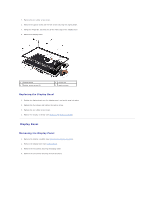
6. Remove the two screws from the computer base. 7. Turn the computer over. 8. Remove the keyboard (see Removing the Keyboard). 9. Make note of the cable routing and carefully dislodge the Mini-Card antenna cables from their routing guides and pull the cables out through the system board so that they are clear of the computer base. 10. Pull the display cable pull-tab to disconnect the display cable from the connector on the system board. 11. Disconnect the optional camera cable from the system board connector. 12. Make note of the cable routing and carefully dislodge the cables from their routing guides. 1 Mini-Card antenna cable route 3 display cable route 2 camera cable route (optional) 13. Remove the four screws (two on either side) that secure the display assembly. 14. Lift the display assembly off the computer.
-
 1
1 -
2
-
3
-
4
-
5
-
6
-
7
-
8
-
9
-
10
-
11
-
12
-
13
-
14
-
15
-
16
-
17
-
18
-
 19
19 -
 20
20 -
 21
21 -
 22
22 -
 23
23 -
 24
24 -
 25
25 -
 26
26 -
 27
27 -
 28
28 -
 29
29 -
30
-
31
-
32
-
33
-
34
-
35
-
36
-
37
-
38
-
39
-
40
-
41
-
42
-
43
-
44
-
45
-
46
-
47
-
48
-
49
-
50
-
51
 |
 |