Dell Latitude E6230 Owner's Manual - Page 34
Installing the System Board, chassis base
 |
View all Dell Latitude E6230 manuals
Add to My Manuals
Save this manual to your list of manuals |
Page 34 highlights
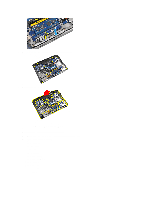
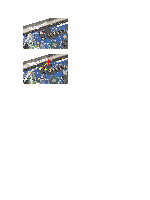
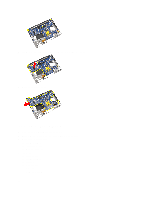
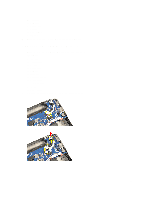
7. Lift the left edge of the system board and raise it to a 45-degree angle. 8. Remove the system board. Installing the System Board 1. Place the system board in its compartment. 2. Tighten the screws to secure the system board to the computer. 3. Connect the following cables: a) power connector b) ExpressCard cage c) WiFi-switch board 4. Install the: a) chassis base b) display assembly c) speakers d) heat-sink fan e) heat sink f) bluetooth module 34
-
 1
1 -
2
-
3
-
4
-
5
-
6
-
7
-
8
-
9
-
10
-
11
-
12
-
13
-
14
-
15
-
16
-
17
-
18
-
19
-
20
-
21
-
22
-
23
-
24
-
25
-
26
-
27
-
28
-
 29
29 -
 30
30 -
 31
31 -
 32
32 -
 33
33 -
 34
34 -
 35
35 -
 36
36 -
 37
37 -
 38
38 -
 39
39 -
40
-
41
-
42
-
43
-
44
-
45
-
46
-
47
-
48
-
49
-
50
-
51
-
52
-
53
-
54
-
55
-
56
-
57
-
58
-
59
-
60
-
61
-
62
-
63
-
64
-
65
-
66
-
67
-
68
-
69
-
70
-
71
-
72
-
73
 |
 |
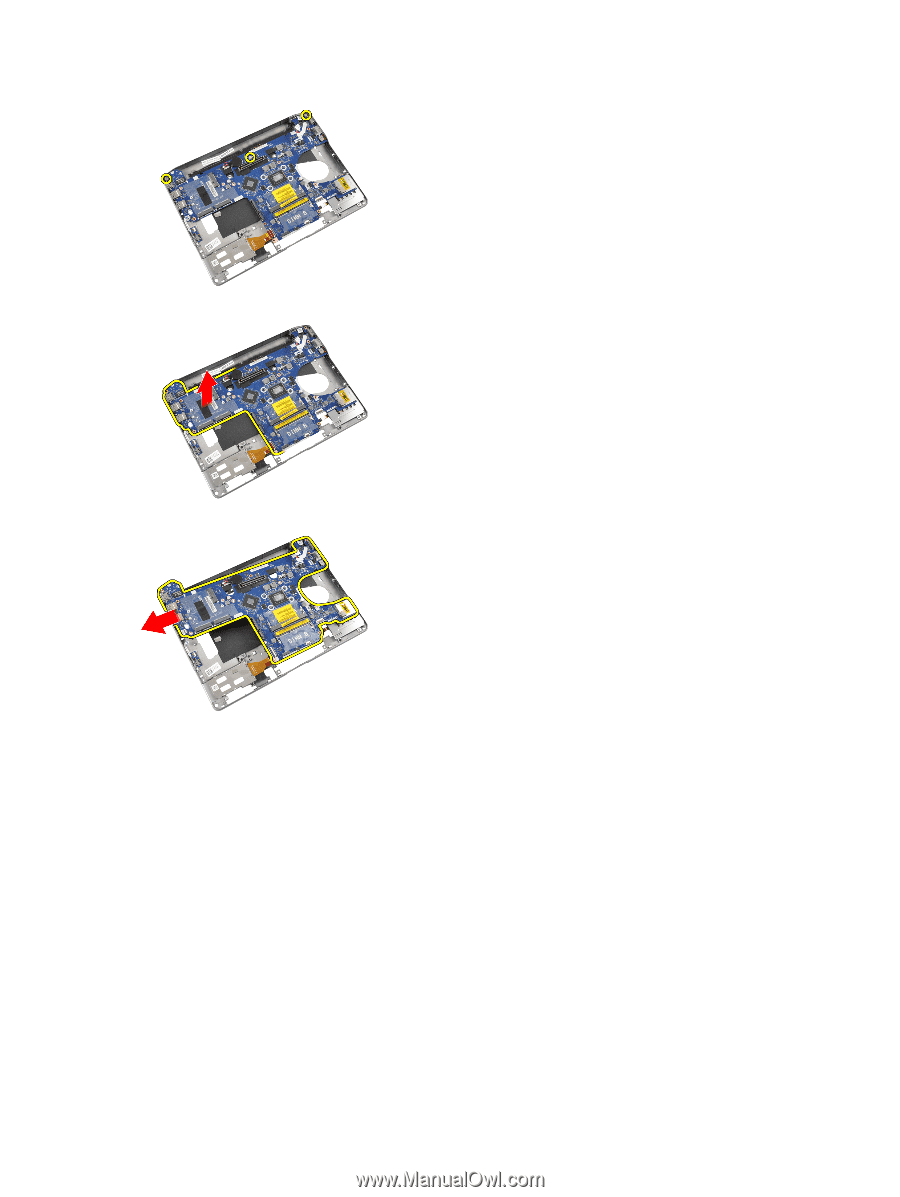
7.
Lift the left edge of the system board and raise it to a 45-degree angle.
8.
Remove the system board.
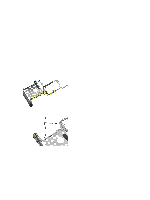
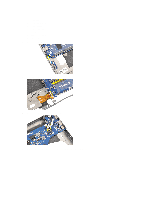
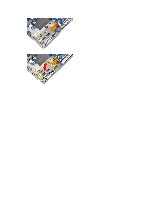
Installing the System Board
1.
Place the system board in its compartment.
2.
Tighten the screws to secure the system board to the computer.
3.
Connect the following cables:
a)
power connector
b)
ExpressCard cage
c)
WiFi-switch board
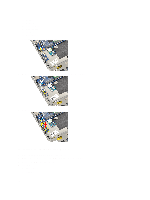
4.
Install the:
a)
chassis base
b)
display assembly
c)
speakers
d)
heat-sink fan
e)
heat sink
f)
bluetooth module
34