Dell Venue Dell Mobile Sync Manual - Page 68
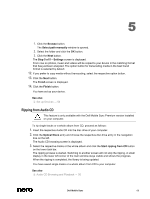
Ripping from Audio CD
 |
View all Dell Venue manuals
Add to My Manuals
Save this manual to your list of manuals |
Page 68 highlights
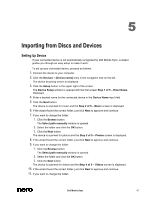
5 1. Click the Browse button. The Select path manually window is opened. 2. Select the folder and click the OK button. 3. Click the Next button. The Step 5 of 5 - Settings screen is displayed. From now on photos, music and videos will be copied to your device in the matching format that has just been analyzed. The option button for transcoding media in the best found format is selected by default. 12. If you prefer to copy media without transcoding, select the respective option button. 13. Click the Next button. The Finish screen is displayed. 14. Click the Finish button. You have set up your device. See also Set up Devices → 54 Ripping from Audio CD This feature is only available with the Dell Mobile Sync Premium version installed on your computer. To rip single tracks or a whole album from CD, proceed as follows: 1. Insert the respective Audio CD into the disc drive of your computer. 2. Click the Optical Discs entry and choose the respective disc drive entry in the navigation tree on the left. The Audio CD browsing screen is displayed. 3. Select the respective tracks or the whole album and click the Start ripping from CD button on the lower task bar. The ripping process is started. Switching to another screen will not stop the ripping. A small display in the lower left corner of the main window stays visible and shows the progress. When the ripping is completed, the library is being updated. You have saved single tracks or a whole album from CD to your computer. See also Audio CD Browsing and Playback → 50 Dell Mobile Sync 68
-
 1
1 -
2
-
3
-
4
-
5
-
6
-
7
-
8
-
9
-
10
-
11
-
12
-
13
-
14
-
15
-
16
-
17
-
18
-
19
-
20
-
21
-
22
-
23
-
24
-
25
-
26
-
27
-
28
-
29
-
30
-
31
-
32
-
33
-
34
-
35
-
36
-
37
-
38
-
39
-
40
-
41
-
42
-
43
-
44
-
45
-
46
-
47
-
48
-
49
-
50
-
51
-
52
-
53
-
54
-
55
-
56
-
57
-
58
-
59
-
60
-
61
-
62
-
 63
63 -
 64
64 -
 65
65 -
 66
66 -
 67
67 -
 68
68 -
 69
69 -
 70
70 -
 71
71 -
 72
72 -
 73
73 -
74
-
75
 |
 |
