Dymo Rhino 6000 Industrial Label Printer User Guide - Page 13
Creating Wire Wrap Labels, Creating Self-Laminating Labels, Creating Flag Labels - rhino
 |
View all Dymo Rhino 6000 Industrial Label Printer manuals
Add to My Manuals
Save this manual to your list of manuals |
Page 13 highlights
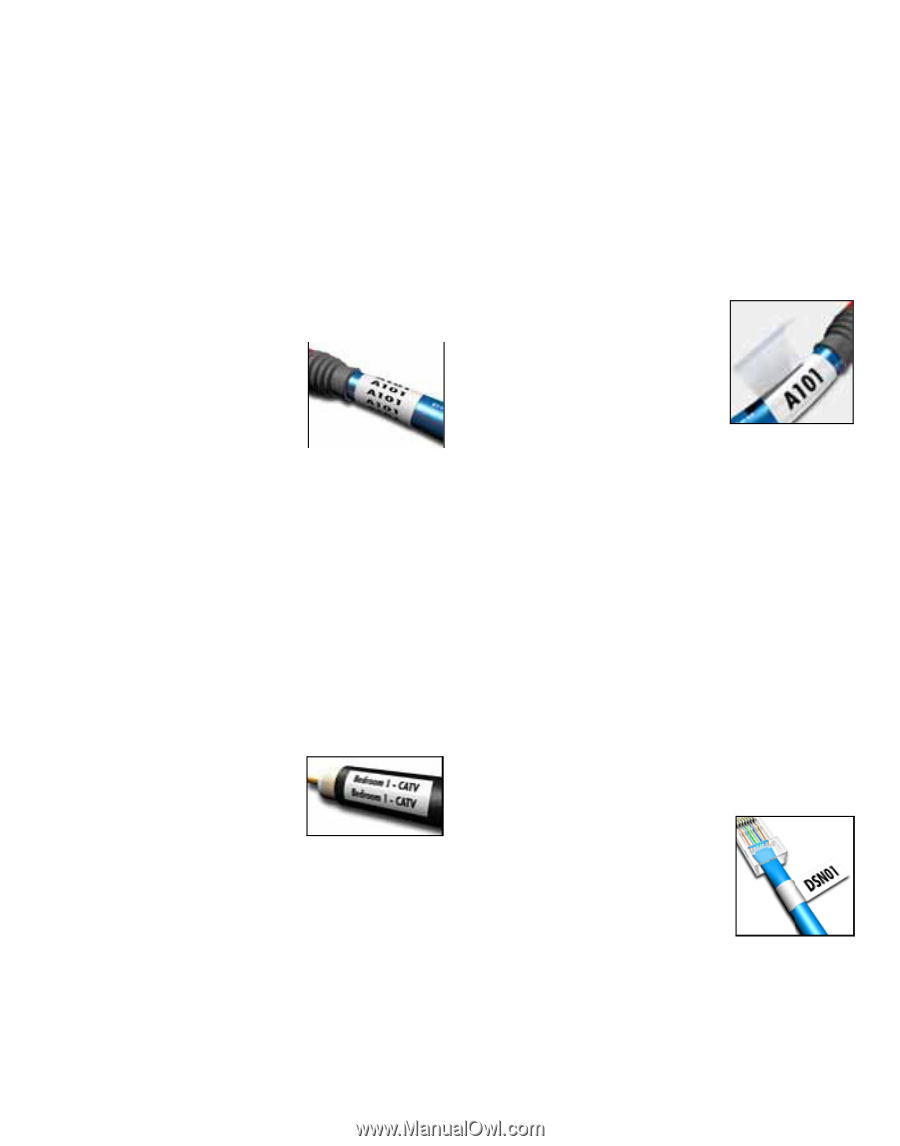
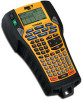
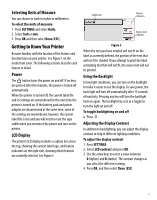
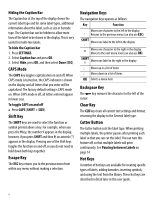
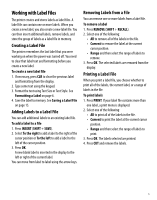
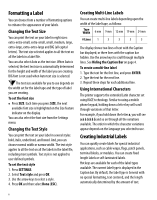
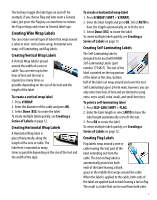
The hot keys toggle the label type on and off. For example, if you choose Flag and later want a General label, just press the Flag key a second time to remove the Flag settings and return to General label type. Creating Wire Wrap Labels You can create several types of labels that wrap around a cable or wire: vertical wire wrap, horizontal wire wrap, self-laminating, and flag labels. Creating Vertical Wrap Labels A Vertical Wrap label is placed around the width of a wire or cable. You can enter up to five lines of text and the text is repeated as many times as possible depending on the size of the text and the length of the label. To create a vertical wrap label 1. Press V.WRAP. 2. Enter the diameter of the cable and press OK. 3. Select Done (ESC) to create the label. To create multiple labels quickly, see Creating a Series of Labels on page 12. Creating Horizontal Wrap Labels A Horizontal Wrap label is placed horizontally along the length of the wire or cable. The label text is repeated as many times as possible depending on the size of the text and the width of the tape. To create a horizontal wrap label 1. Press H.WRAP (SHIFT + V.WRAP). 2. Enter the label length and press OK. Select AUTO to have the length automatically set to fit the text. 3. Select Done (ESC) to create the label. To create multiple labels quickly, see Creating a Series of Labels on page 12. Creating Self-Laminating Labels The Self-Laminating label is designed to be used with RHINO Self-Laminating Labels (part number 1734821). The text of the label is printed on the top portion of the label so the clear, bottom half of the label can wrap around and cover the text. Self-Laminating tape is 24 mm wide; however, you can only enter two lines of text and are limited to using extra-extra-small, extra-small, and small font sizes. To print a self-laminating label 1. Press SELF-LAM (SHIFT + FLAG). 2. Enter the label length or select AUTO to have the label length automatically set to fit the text. 3. Press OK to create the label. To create multiple labels quickly, see Creating a Series of Labels on page 12. Creating Flag Labels Flag labels wrap around a wire or cable leaving the text part of the label extending out from the cable. The text on flag labels is automatically printed on both ends of the label leaving a blank space in the middle that wraps around the cable. When the label is applied to the cable, both ends of the label are applied back to back leaving a tail or flag. The result is a label that can be read from both sides. 7
-
 1
1 -
2
-
3
-
4
-
5
-
6
-
7
-
 8
8 -
 9
9 -
 10
10 -
 11
11 -
 12
12 -
 13
13 -
 14
14 -
 15
15 -
 16
16 -
 17
17 -
 18
18 -
19
-
20
-
21
-
22
-
23
-
24
-
25
-
26
-
27
-
28
-
29
-
30
-
31
-
32
 |
 |