HP Mini 110-4100 HP Notebook Reference Guide - Windows 7 - Page 44
Removing an eSATA device, Using optional external devices
 |
View all HP Mini 110-4100 manuals
Add to My Manuals
Save this manual to your list of manuals |
Page 44 highlights
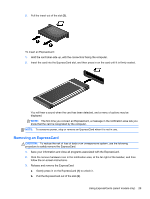
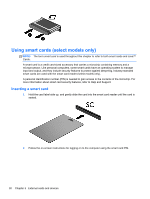
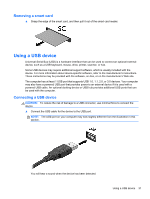
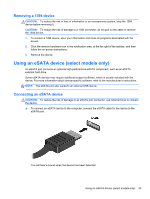
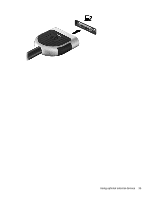
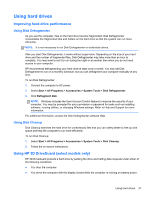
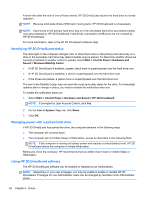
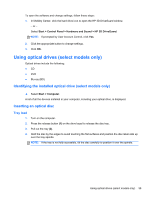
Removing an eSATA device CAUTION: To reduce the risk of damage to an eSATA connector, do not pull on the cable to remove the eSATA device. CAUTION: To reduce the risk of loss of information or an unresponsive system, use the following procedure to safely remove the device. 1. To remove an eSATA device, save your information and close all programs associated with the device. 2. Click the remove hardware icon in the notification area, at the far right of the taskbar, and then follow the on-screen instructions. 3. Remove the device. Using optional external devices NOTE: For more information about required software and drivers, or to learn which computer port to use, refer to the manufacturer's instructions. To connect an external device to the computer: CAUTION: To reduce the risk of damage to the equipment when connecting a powered device, be sure that the device is turned off and the AC power cord is unplugged. 1. Connect the device to the computer. 2. If you are connecting a powered device, plug the device power cord into a grounded AC outlet. 3. Turn on the device. To disconnect an unpowered external device, turn off the device, and then disconnect it from the computer. To disconnect a powered external device, turn off the device, disconnect it from the computer, and then unplug the AC power cord. Using optional external drives Removable external drives expand your options for storing and accessing information. A USB drive can be added by connecting the drive to a USB port on the computer. NOTE: HP external USB optical drives should be connected to the powered USB port (select models only) on the computer. USB drives include the following types: ● 1.44-megabyte diskette drive ● Hard drive module (a hard drive with an adapter attached) ● External optical drive (CD, DVD, and Blu-ray) ● MultiBay device Using the expansion port (select models only) The expansion port connects the computer to an optional docking or expansion device, so that additional ports and connectors can be used with the computer. 34 Chapter 5 External cards and devices
-
 1
1 -
2
-
3
-
4
-
5
-
6
-
7
-
8
-
9
-
10
-
11
-
12
-
13
-
14
-
15
-
16
-
17
-
18
-
19
-
20
-
21
-
22
-
23
-
24
-
25
-
26
-
27
-
28
-
29
-
30
-
31
-
32
-
33
-
34
-
35
-
36
-
37
-
38
-
 39
39 -
 40
40 -
 41
41 -
 42
42 -
 43
43 -
 44
44 -
 45
45 -
 46
46 -
 47
47 -
 48
48 -
 49
49 -
50
-
51
-
52
-
53
-
54
-
55
-
56
-
57
-
58
-
59
-
60
-
61
-
62
-
63
-
64
-
65
-
66
-
67
-
68
-
69
-
70
-
71
-
72
-
73
-
74
 |
 |