HP Vs15 HP Pavilion f1503/f1703 15-inch/17-inch LCD Monitor User's Guide - Page 34
Using the Auto Configuration option, Open the Auto Configuration setting screen. See Using the
 |
UPC - 829160547435
View all HP Vs15 manuals
Add to My Manuals
Save this manual to your list of manuals |
Page 34 highlights
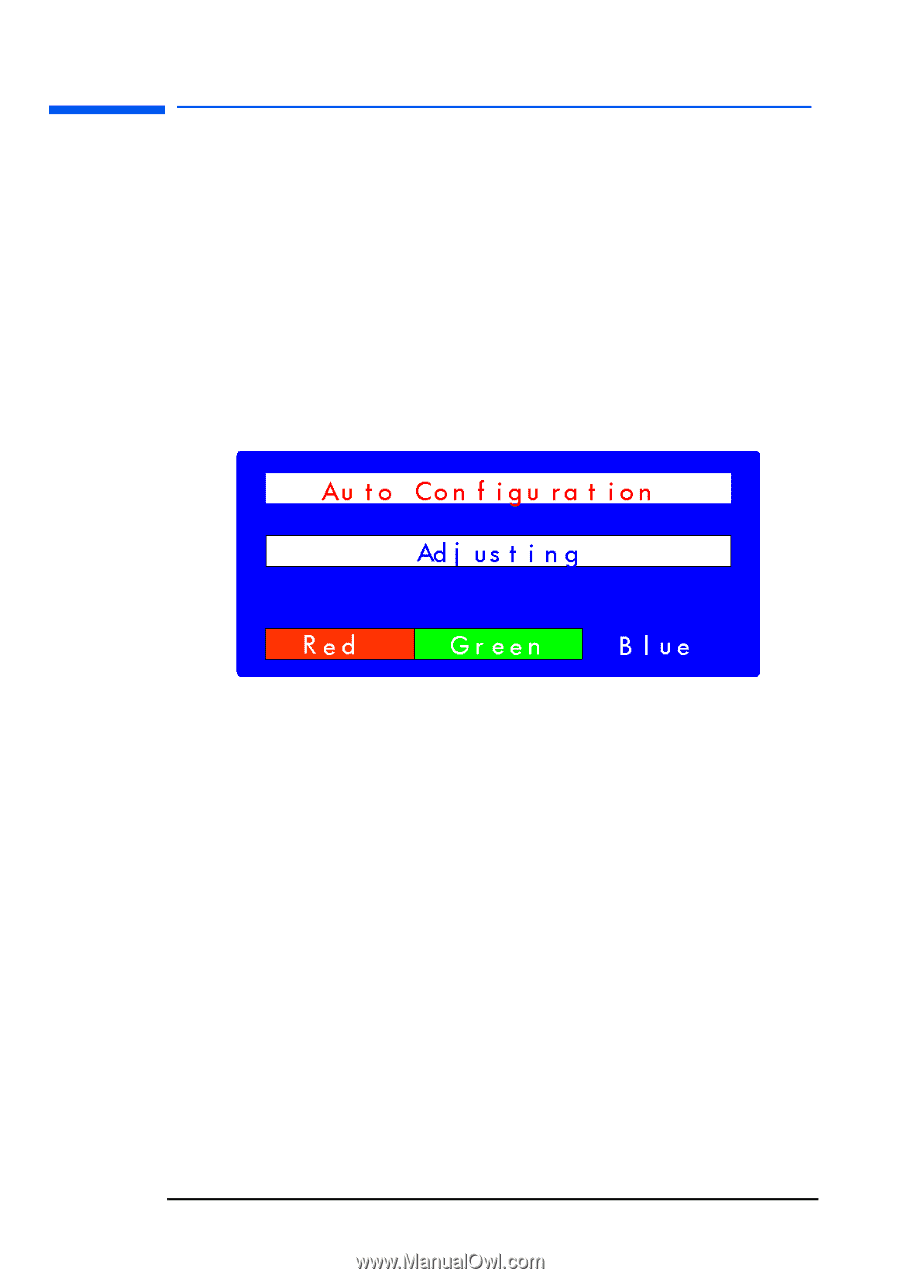
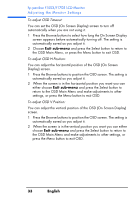
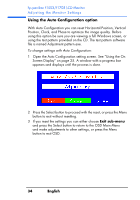
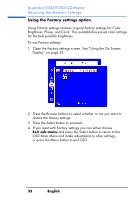
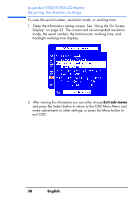
hp pavilion f1503/f1703 LCD Monitor Adjusting the Monitor Settings Using the Auto Configuration option With Auto Configuration you can reset Horizontal Position, Vertical Position, Clock, and Phase to optimize the image quality. Before using this option be sure you are viewing a full Windows screen, or using the test pattern provided on the CD. The test pattern software file is named Adjustment pattern.exe. To change settings with Auto Configuration: 1 Open the Auto Configuration setting screen. See "Using the On Screen Display" on page 25. A window with a progress bar appears and displays until the process is done. 2 Press the Select button to proceed with the reset, or press the Menu button to exit without resetting. 3 If you reset the settings you can either choose Exit sub-menu and press the Select button to return to the OSD Main Menu and make adjustments to other settings, or press the Menu button to exit OSD. 34 English
-
 1
1 -
2
-
3
-
4
-
5
-
6
-
7
-
8
-
9
-
10
-
11
-
12
-
13
-
14
-
15
-
16
-
17
-
18
-
19
-
20
-
21
-
22
-
23
-
24
-
25
-
26
-
27
-
28
-
 29
29 -
 30
30 -
 31
31 -
 32
32 -
 33
33 -
 34
34 -
 35
35 -
 36
36 -
 37
37 -
 38
38 -
 39
39 -
40
-
41
-
42
-
43
-
44
-
45
-
46
-
47
-
48
-
49
-
50
-
51
-
52
-
53
-
54
-
55
-
56
 |
 |