Invacare TDXSPREE-CG Owners Manual 2 - Page 101
For this procedure, refer
 |
View all Invacare TDXSPREE-CG manuals
Add to My Manuals
Save this manual to your list of manuals |
Page 101 highlights
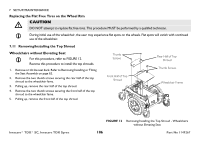
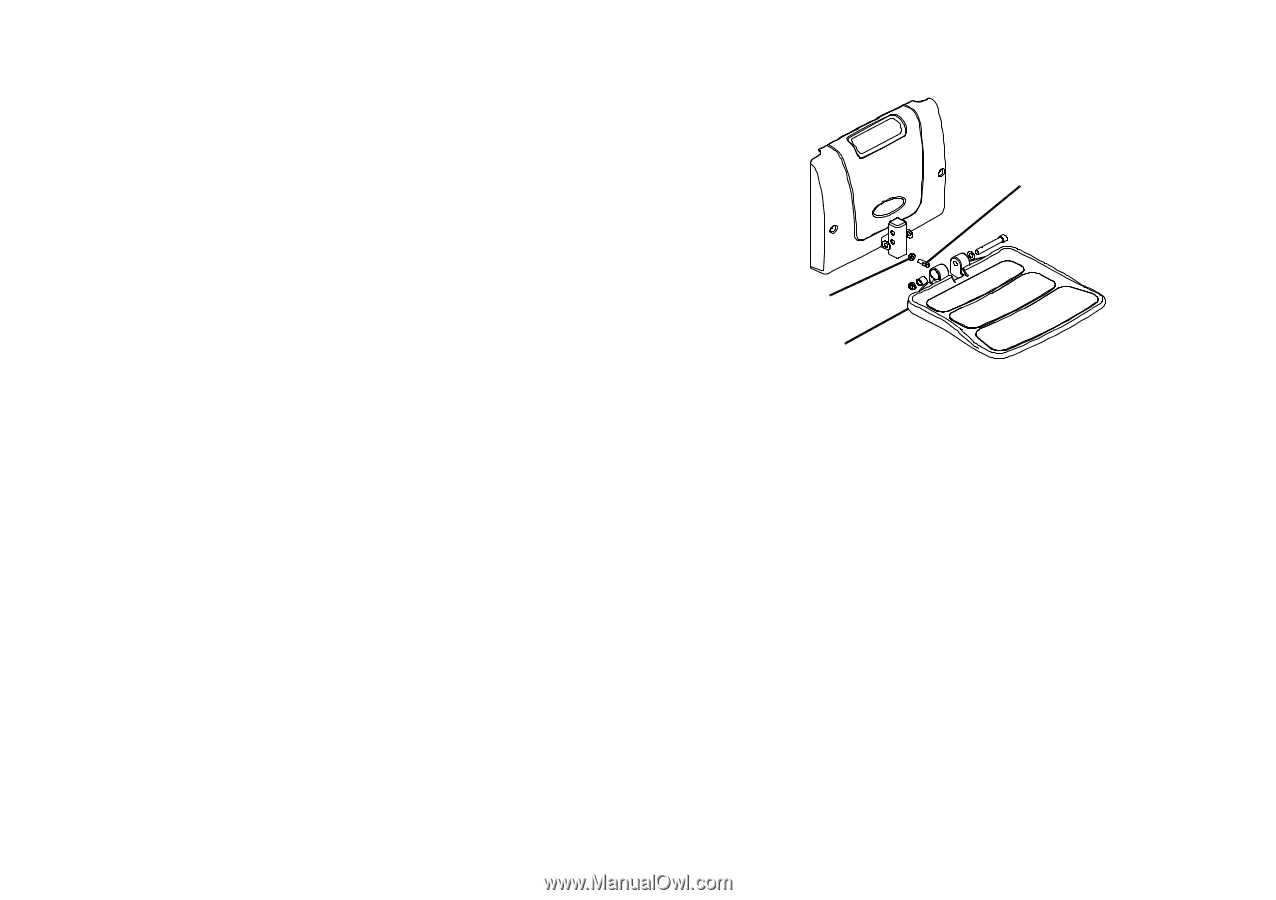
Adjusting the Footboard Angle For this procedure, refer to FIGURE 6. 1. Loosen the jam nut and set screw located underneath on the rear of the footplate. 2. Adjust the mounting screw in or out to obtain the desired footboard angle. 3. Thread the jam nut inward until it is flush with the footboard bracket. 4. Securely tighten the jam nut and washer to secure the mounting screw in place. 7 SETUP/MAINTENANCE Set Screw Jam Nut Footboard FIGURE 7 Adjusting the Footboard Angle Part No 1149267 101 Invacare® TDX® SC, Invacare TDX Spree
-
 1
1 -
2
-
3
-
4
-
5
-
6
-
7
-
8
-
9
-
10
-
11
-
12
-
13
-
14
-
15
-
16
-
17
-
18
-
19
-
20
-
21
-
22
-
23
-
24
-
25
-
26
-
27
-
28
-
29
-
30
-
31
-
32
-
33
-
34
-
35
-
36
-
37
-
38
-
39
-
40
-
41
-
42
-
43
-
44
-
45
-
46
-
47
-
48
-
49
-
50
-
51
-
52
-
53
-
54
-
55
-
56
-
57
-
58
-
59
-
60
-
61
-
62
-
63
-
64
-
65
-
66
-
67
-
68
-
69
-
70
-
71
-
72
-
73
-
74
-
75
-
76
-
77
-
78
-
79
-
80
-
81
-
82
-
83
-
84
-
85
-
86
-
87
-
88
-
89
-
90
-
91
-
92
-
93
-
94
-
95
-
 96
96 -
 97
97 -
 98
98 -
 99
99 -
 100
100 -
 101
101 -
 102
102 -
 103
103 -
 104
104 -
 105
105 -
 106
106 -
107
-
108
-
109
-
110
-
111
-
112
-
113
-
114
-
115
-
116
 |
 |
7
SETUP/MAINTENANCE
Part No 1149267
101
Invacare® TDX® SC, Invacare TDX Spree
Adjusting the Footboard Angle
1.
Loosen the jam nut and set screw located underneath on the rear
of the footplate.
2.
Adjust the mounting screw in or out to obtain the desired
footboard angle.
3.
Thread the jam nut inward until it is flush with the footboard
bracket.
4.
Securely tighten the jam nut and washer to secure the mounting
screw in place.
FIGURE 7
Adjusting the Footboard Angle
For this procedure, refer to FIGURE 6.
Set Screw
Footboard
Jam Nut