JVC DLA-M4000LU DLA-M4000LU User instruction manual (1.1MB) - Page 54
Setting Up or Changing User Sources
 |
View all JVC DLA-M4000LU manuals
Add to My Manuals
Save this manual to your list of manuals |
Page 54 highlights
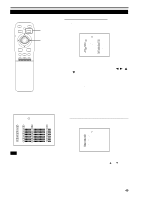
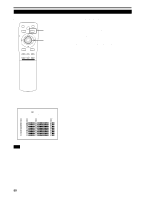
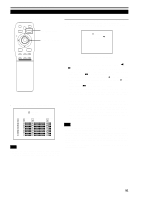
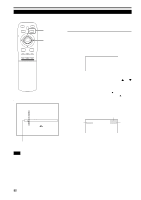
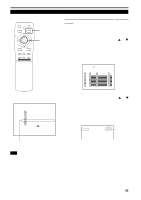
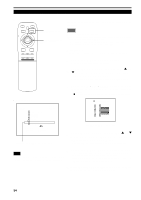
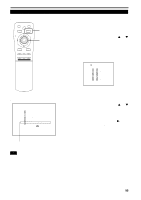
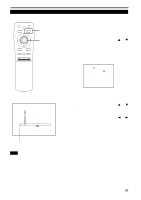
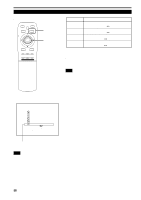
Operating the Main Menu (Cont.) Setting Up (or Changing) User Sources s Remote control unit QUICK ALIGN. OPERATE AV HIDE PRESET PAGE BACK MENU/ PAGE BACK button MENU/ENTER button ENTER LENS LOCK UNLOCK AV RGB/COMPUTER U SHIFT D T ZOOM W LENS + FOCUS - A maximum of 10 types of information can individually be registered regarding the source being input and projected through the line connection. Memo Before setting up a user source Before operating to set up (or change) a user source, be sure to force the incoming signal to be input in AUTO mode. • Select "AUTO" on the Source Setup menu (see pages 44 to 46). • Select "AUTO" with a direct channel (see page 52). s Preparation With source setup "AUTO" selected, keep signal being input. 1 Press the MENU/ENTER button. • The main menu appears on the screen. 2 Press MENU/ENTER toward the 5 or ∞ mark to select a submenu item, "USER SOURCE SETUP". • The selected item (text display) is shown in magenta color. sMain menu RGB1 AUTO SXGA1 PIXEL CLOCK POSITION PICTURE OPTIONS SOURCE CHANNEL USER SOURCE SET UP DISPLAY SIZE DECODER LANGUAGE AUTO( ) ENGLISH Submenu item [USER SOURCE SET UP] 3 Press the MENU/ENTER button to set. • A submenu item, "USER SOURCE SETUP menu" , appears on the screen. • "7" is displayed for Nos which have no user source registered. USER SOURCE SETUP No USER NAME 1 USER1 2 USER2 3 777777777 4 777777777 5 777777777 6 777777777 7 777777777 8 777777777 9 HD1035I_R 10 HD1035I_Y (USER SOURCE setup menu) 4 Press MENU/ENTER toward the 5 or ∞ mark to select a "No" where no user registration has been made. • The selected item (text display) is shown in magenta color. Note • The selected item is shown in magenta color. Items shown in gray color cannot be operated or set in the current mode. 5 Press the MENU/ENTER button to set. • The source data of the line now selected is registered as a user source and a temporary user name is displayed. • If you select and set on the No which has a source registered, the source is overwritten by a new source. s To return to the main menu, press PAGE BACK.To finish the main menu, press PAGE BACK again. 54
-
 1
1 -
2
-
3
-
4
-
5
-
6
-
7
-
8
-
9
-
10
-
11
-
12
-
13
-
14
-
15
-
16
-
17
-
18
-
19
-
20
-
21
-
22
-
23
-
24
-
25
-
26
-
27
-
28
-
29
-
30
-
31
-
32
-
33
-
34
-
35
-
36
-
37
-
38
-
39
-
40
-
41
-
42
-
43
-
44
-
45
-
46
-
47
-
48
-
 49
49 -
 50
50 -
 51
51 -
 52
52 -
 53
53 -
 54
54 -
 55
55 -
 56
56 -
 57
57 -
 58
58 -
 59
59 -
60
-
61
-
62
-
63
-
64
-
65
-
66
-
67
-
68
 |
 |
