JVC GY-DV5000U DR-DV5000U DV Video Disk Recorder 44 page instruction manual - Page 25
Split Slave, HDD BYPASS - gy dv5000 e
 |
View all JVC GY-DV5000U manuals
Add to My Manuals
Save this manual to your list of manuals |
Page 25 highlights
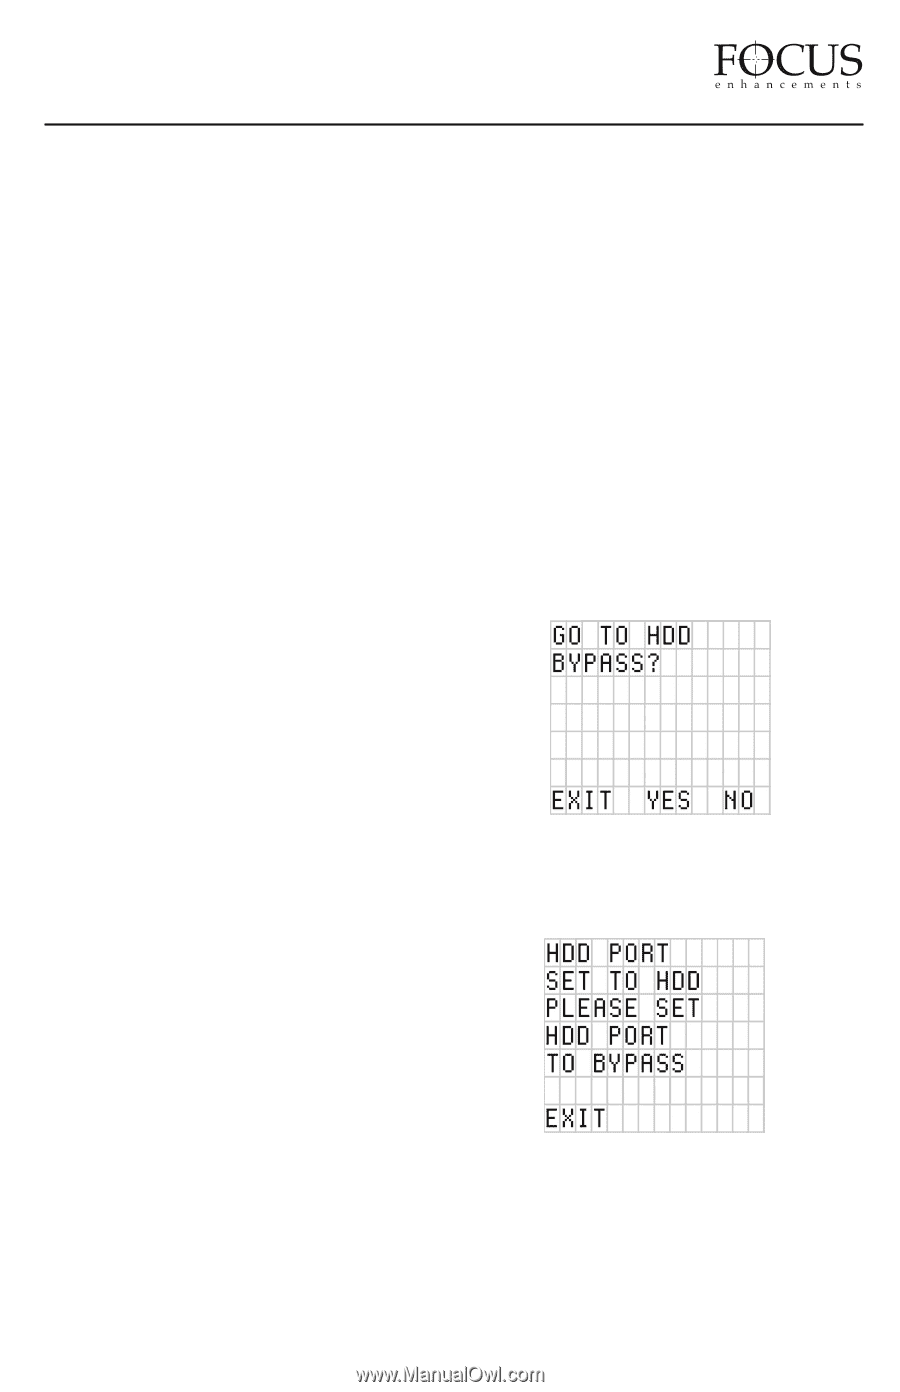
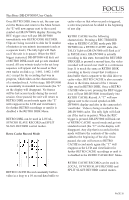
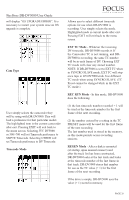
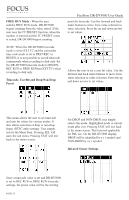
FireStore DR-DV5000 User Guide In SERIES RECORD mode, user simply selects the particular length tape they are using in the camcorder by pressing the down button. OFF disables the feature. EXIT will exit back to the default splash screen if SERIES RECORD is enabled. An "F" will appear in the camcorder's viewfinder (GY-DV5000 series only) as well as the DRDV5000 front panel LCD. RETRO DISK RECORD and RETRO CACHE RECORD are not possible with SERIES RECORD. When in SERIES RECORD and on the default splash screen, pressing MENU will go directly to the SERIES RECORD menu. It is then possible to EXIT SERIES RECORD mode. Split Slave In this mode, DR-DV5000 is controlled by the camcorder, but separately from the camcorder's tape transport. DR-DV5000 is slaved to the GY-DV5000 camcorder's VTR button on the side of GY-DV5000. Every time this button is pressed, DR-DV5000 directly begins recording (not REC-PAUSE) in the particular RECORD MODE that is selected. When pressed a second time, DR-DV5000 goes into STOP mode (except in RETRO RECORD modes. Another press of the VTR button on the camcorder again starts RECORD again. At this point, a new track is created on disk. When used with RETRO DISK or RETRO CACHE modes, as soon as SPLIT SLAVE is set, the DR-DV5000 begins recording to disk. A press of the VTR REC trigger button on the side of the GY-DV5000 camcorder kicks DRDV5000 out of Retro Disk or Retro Cache and goes into standard REC. When the VTR trigger button on the side of the GY-DV5000 camcorder is triggered back into REC PAUSE mode, DR-DV5000 once again goes into RETRO DISK or RETRO CACHE mode. It is possible to play a tape back on GY-DV5000 and record to DR-DV5000 in SPLIT SLAVE mode. HDD BYPASS HDD Bypass mode allows the connected FireWire HDD to be mounted/dismounted to a computer without removing. In this mode, the computer connects to the HDD I/O port on the DR-DV5000 Rear Connector Panel. WARNING: Do not connect DR-DV5000 to a computer until the HDD port in the set up menu has been set to Bypass. When HDD Bypass is selected, the following will display on the DR-DV5000 LCD: If this screen does not appear, the DRDV5000 HDD I/O port is set for use with external drives. To set the HDD Port go to the Main Menu and select SETUP -> HDD PORT to set. User is prompted as in screen above: Once set, it will be possible to set DR-DV5000 to HDD Bypass mode. PAGE 24
-
 1
1 -
2
-
3
-
4
-
5
-
6
-
7
-
8
-
9
-
10
-
11
-
12
-
13
-
14
-
15
-
16
-
17
-
18
-
19
-
 20
20 -
 21
21 -
 22
22 -
 23
23 -
 24
24 -
 25
25 -
 26
26 -
 27
27 -
 28
28 -
 29
29 -
 30
30 -
31
-
32
-
33
-
34
-
35
-
36
-
37
-
38
-
39
-
40
-
41
-
42
-
43
-
44
 |
 |