Kyocera KM-5035 Print/Scan System (U) Operation Guide (Setup Edition) - Page 22
Scanning with TWAIN, • When performing the scanning operation at the scanner., scanner, computer
 |
View all Kyocera KM-5035 manuals
Add to My Manuals
Save this manual to your list of manuals |
Page 22 highlights
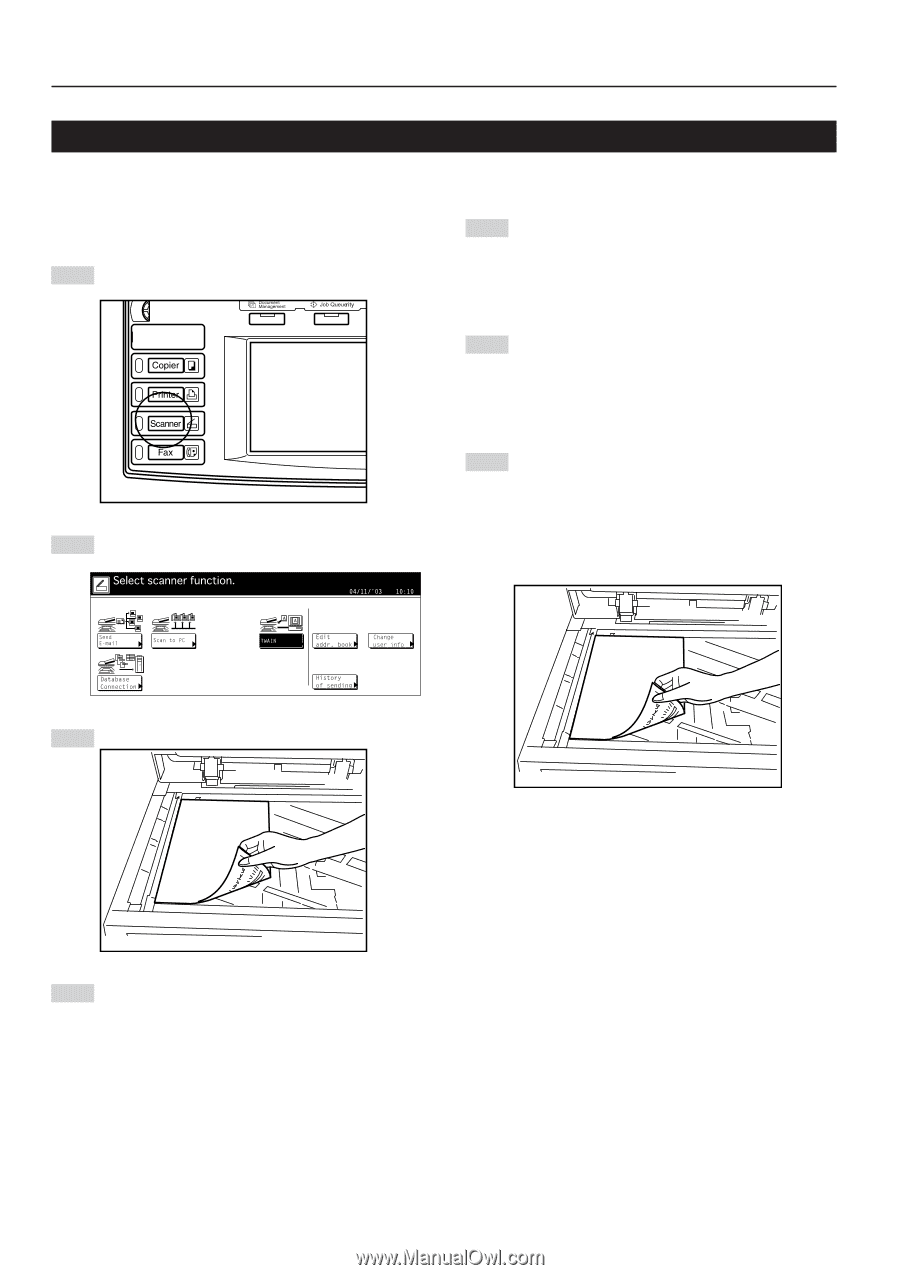
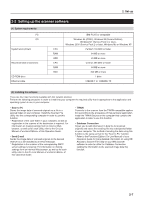
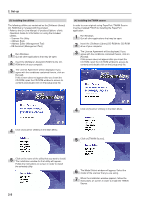
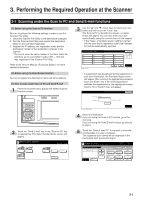
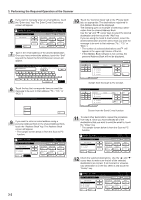
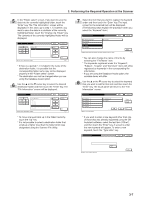
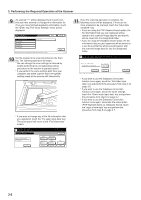
3. Performing the Required Operation at the Scanner 3-2 Scanning with TWAIN The following explains the settings that need to be made in the scanner in order to scan using the TWAIN function. • When performing the scanning operation at the scanner 1 Press the Scanner key to display the Select Scanner Function screen. 2 Touch the "TWAIN" key. The TWAIN Mode screen will appear. • When performing the scanning operation at your computer 1 Run the TWAIN Source in the corresponding application. The main dialogue box for the TWAIN Source will appear. Make any settings that you want, and put a check mark in the "Waiting Scan" checkbox. 2 Click on the "Connect" button in the main dialogue box and, once the connection to the scanner is made, click on the "Scan" button. * Putting a check mark in the "Waiting Scan" checkbox will allow you to start the actual scanning operation by pressing the Start key at the scanner. 3 Set the original that you want to scan in the scanner and press the Start key. Scanning will begin. * Scan settings can also be made on the operation panel of the scanner. Change any settings there that you want. * If you enter different values in your computer and in the scanner for the same setting, the settings made in the scanner will take priority. 3 Set the original that you want to scan. 4 Run the TWAIN Source in the corresponding application. The main dialogue box for the TWAIN Source will appear. Make any settings that you want, click on the "Connect" button in the dialogue box and, once the connection to the scanner is made, click on the "Scan" button. Scanning will begin. 3-4
-
 1
1 -
2
-
3
-
4
-
5
-
6
-
7
-
8
-
9
-
10
-
11
-
12
-
13
-
14
-
15
-
16
-
 17
17 -
 18
18 -
 19
19 -
 20
20 -
 21
21 -
 22
22 -
 23
23 -
 24
24 -
 25
25 -
 26
26 -
 27
27 -
28
-
29
-
30
-
31
-
32
 |
 |