Lexmark C748 User's Guide - Page 71
Canceling a print job from the computer, Managing your printer
 |
View all Lexmark C748 manuals
Add to My Manuals
Save this manual to your list of manuals |
Page 71 highlights
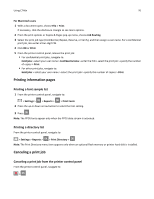
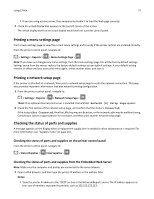
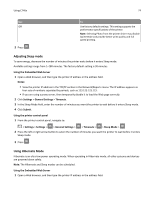
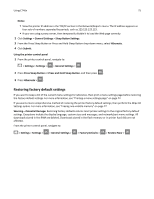
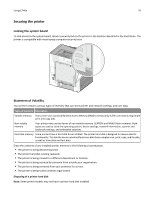
Using C746x 71 Canceling a print job from the computer For Windows users 1 Open the printers folder: a Click , or click Start and then click Run. b In the Start Search or Run dialog, type control printers. c Press Enter, or click OK. 2 Double‑click the printer icon. 3 Select the print job you want to cancel. 4 From the keyboard, press Delete. For Macintosh users In Mac OS X version 10.5 or later: 1 From the Apple menu, choose System Preferences > Print & Fax > Open Print Queue. 2 From the printer window, select the print job you want to cancel. 3 From the icon bar at the top of the window, click the Delete icon. In Mac OS X version 10.4: 1 From the Finder, navigate to: Go > Applications > Utilities 2 Double‑click Print Center or Printer Setup Utility. 3 Double‑click the printer icon. 4 From the printer window, select the print job you want to cancel. 5 From the icon bar at the top of the window, click Delete. Managing your printer Finding advanced networking and administrator information This chapter covers basic administrative support tasks using the Embedded Web Server. For more advanced system support tasks, see the Networking Guide on the Software and Documentation CD and the Embedded Web Server Administrator's Guide on the Lexmark Web site at http://support.lexmark.com. Checking the virtual display 1 Open a Web browser, and then type the printer IP address in the address field. Notes: • View the printer IP address in the TCP/IP section in the Network/Reports menu. The IP address appears as four sets of numbers separated by periods, such as 123.123.123.123.
-
 1
1 -
2
-
3
-
4
-
5
-
6
-
7
-
8
-
9
-
10
-
11
-
12
-
13
-
14
-
15
-
16
-
17
-
18
-
19
-
20
-
21
-
22
-
23
-
24
-
25
-
26
-
27
-
28
-
29
-
30
-
31
-
32
-
33
-
34
-
35
-
36
-
37
-
38
-
39
-
40
-
41
-
42
-
43
-
44
-
45
-
46
-
47
-
48
-
49
-
50
-
51
-
52
-
53
-
54
-
55
-
56
-
57
-
58
-
59
-
60
-
61
-
62
-
63
-
64
-
65
-
 66
66 -
 67
67 -
 68
68 -
 69
69 -
 70
70 -
 71
71 -
 72
72 -
 73
73 -
 74
74 -
 75
75 -
 76
76 -
77
-
78
-
79
-
80
-
81
-
82
-
83
-
84
-
85
-
86
-
87
-
88
-
89
-
90
-
91
-
92
-
93
-
94
-
95
-
96
-
97
-
98
-
99
-
100
-
101
-
102
-
103
-
104
-
105
-
106
-
107
-
108
-
109
-
110
-
111
-
112
-
113
-
114
-
115
-
116
-
117
-
118
-
119
-
120
-
121
-
122
-
123
-
124
-
125
-
126
-
127
-
128
-
129
-
130
-
131
-
132
-
133
-
134
-
135
-
136
-
137
-
138
-
139
-
140
-
141
-
142
-
143
-
144
-
145
-
146
-
147
-
148
-
149
-
150
-
151
-
152
-
153
-
154
-
155
-
156
-
157
-
158
-
159
-
160
-
161
-
162
-
163
-
164
-
165
-
166
-
167
-
168
-
169
-
170
-
171
-
172
-
173
-
174
-
175
-
176
-
177
-
178
-
179
-
180
-
181
-
182
-
183
-
184
-
185
-
186
-
187
-
188
-
189
-
190
-
191
-
192
-
193
-
194
-
195
-
196
-
197
-
198
-
199
-
200
-
201
-
202
-
203
-
204
-
205
-
206
-
207
-
208
-
209
-
210
-
211
-
212
-
213
-
214
-
215
-
216
-
217
-
218
-
219
-
220
-
221
-
222
-
223
-
224
-
225
-
226
-
227
-
228
-
229
-
230
-
231
-
232
-
233
-
234
-
235
-
236
-
237
-
238
-
239
-
240
-
241
-
242
-
243
-
244
-
245
-
246
-
247
-
248
-
249
-
250
-
251
-
252
-
253
-
254
-
255
-
256
-
257
-
258
-
259
-
260
-
261
-
262
-
263
-
264
-
265
-
266
-
267
-
268
-
269
-
270
-
271
-
272
-
273
-
274
 |
 |
