Lexmark X748 Quick Reference - Page 8
Loading narrow paper sizes such as envelopes and A6
 |
View all Lexmark X748 manuals
Add to My Manuals
Save this manual to your list of manuals |
Page 8 highlights
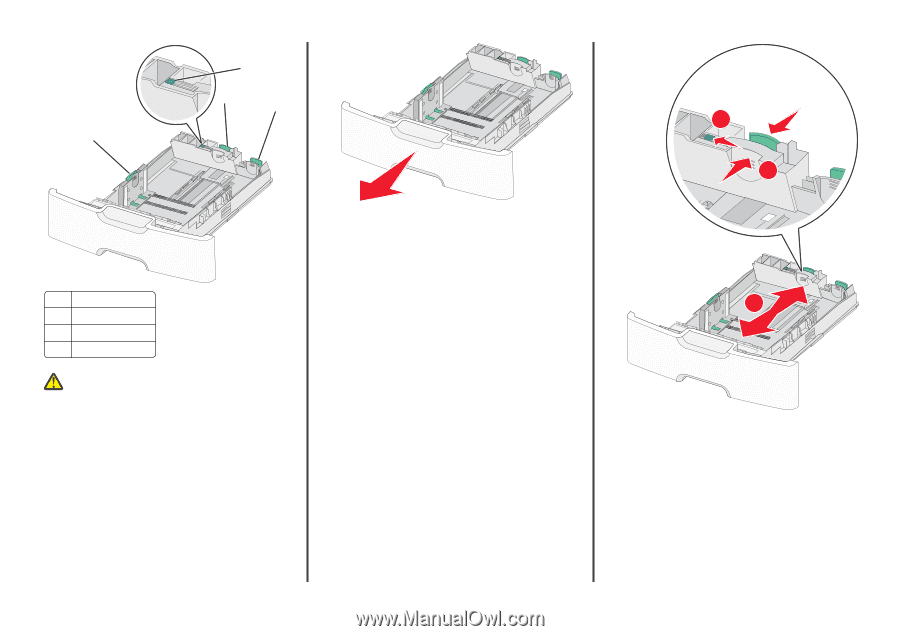
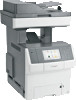
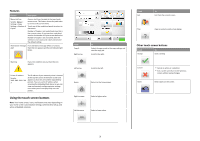
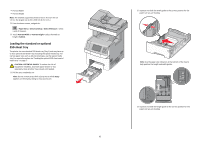
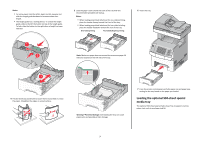
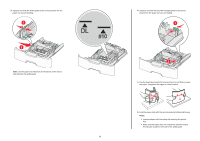
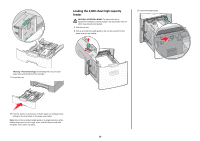
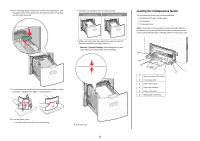
2 1 3 4 1 Primary length guide 2 Length guide lock 3 Secondary length guide 4 Width guide CAUTION-POTENTIAL INJURY: To reduce the risk of equipment instability, load each paper drawer or tray separately. Keep all other trays closed until needed. Notes: • For instructions on loading paper sizes larger than A6 and envelopes, see "Loading the standard or optional 550‑sheet tray" on page 6. • For a complete list of supported paper sizes, see the "Supported paper sizes, types, and weights" section in the User's Guide. Loading narrow paper sizes such as envelopes and A6 1 Pull the tray completely out. Note: Do not remove trays while a job prints or while Busy appears on the display. Doing so may cause a jam. 2 Squeeze and slide the primary length guide toward you until it stops. Notes: • The length has a locking device. To unlock the length guide, slide to the left the button on top of the length guide. To lock, slide the button to the right when a length has been selected. • You can only slide the secondary length guide when the primary length guide reaches the edge of the width guide. 8 1 2 3
-
 1
1 -
2
-
 3
3 -
 4
4 -
 5
5 -
 6
6 -
 7
7 -
 8
8 -
 9
9 -
 10
10 -
 11
11 -
 12
12 -
 13
13 -
14
-
15
-
16
-
17
-
18
-
19
-
20
-
21
-
22
-
23
-
24
-
25
-
26
 |
 |