Magnavox MBP5120F User manual, English (US) - Page 39
Wpa2-psk Tkip
 |
View all Magnavox MBP5120F manuals
Add to My Manuals
Save this manual to your list of manuals |
Page 39 highlights
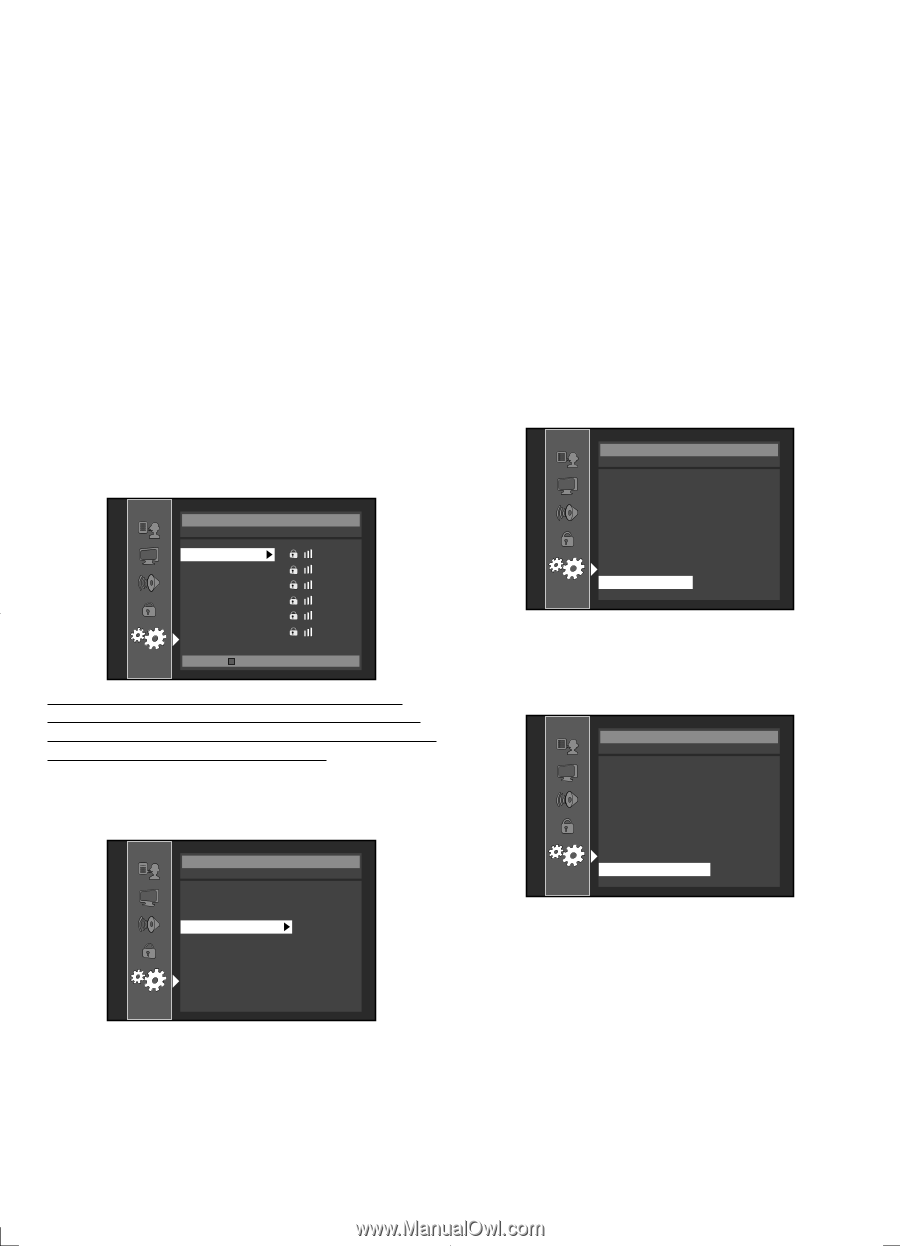
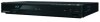
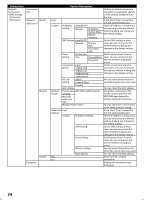
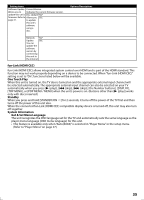
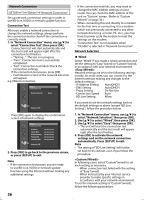
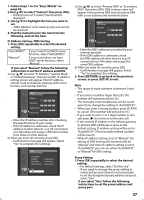
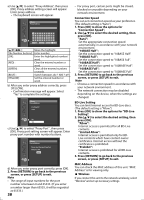
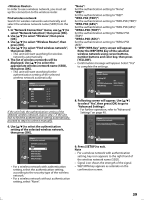
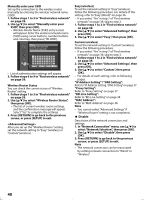
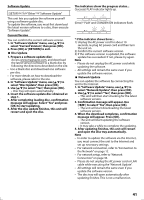
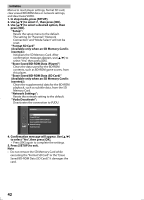
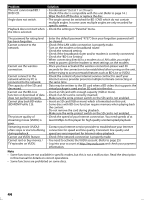
In order to use a wireless network, you must set up the connection to the wireless router. Find wireless network Search for wireless networks automatically and select the wireless network name (SSID) from the list. 1. In "Network Connection" menu, use [K/L] to select "Network Selection", then press [OK]. 2. Use [K/L] to select "Wireless", then press [OK]. 3. Use [K/L] to select "Wireless Router", then press [OK]. 4. Use [K/L] to select "Find wireless network", then press [OK]. • This unit will start searching for wireless networks automatically. 5. The list of wireless networks will be displayed. Use [K/L] to select the appropriate wireless network name (SSID), then press [OK]. • This unit will start searching for the authentication setting of the selected wireless network automatically. Others Find wireless network AP1 AP2 AP3 AP4 AP5 AP6_Test 1/ 2 Page Down If the unit finds the authentication setting of the selected wireless network, skip to step 7. If the unit fails to find the authentication setting automatically, proceed to step 6 to select it manually. 6. Use [K/L] to select the authentication setting of the selected wireless network, then press [OK]. Others Find wireless network WEP/WPA Authentication None WEP WPA-PSK (TKIP) WPA-PSK (AES) WPA2-PSK (TKIP) WPA2-PSK (AES) • For a wireless network with authentication setting, select the authentication setting, according to the security type of the wireless network. • For a wireless network without authentication setting, select "None". "None": Set the authentication setting to "None". "WEP": Set the authentication setting to "WEP". "WPA-PSK (TKIP)": Set the authentication setting to "WPA-PSK (TKIP)". "WPA-PSK (AES)": Set the authentication setting to "WPA-PSK (AES)". "WPA2-PSK (TKIP)": Set the authentication setting to "WPA2-PSK (TKIP)". "WPA2-PSK (AES)": Set the authentication setting to "WPA2-PSK (AES)". 7. "WEP/ WPA Key" entry screen will appear. Enter the WEP/WPA key of the selected wireless network using cursor buttons, number buttons and color key, then press [YELLOW]. • Confirmation message will appear. Select "Yes" to complete the settings. Others Wireless Router Is Setting OK? SSID API WEP/WPA Authentication WPA2-PSK(AES) WEP/WPA Key No Yes 8. Following screen will appear. Use [K/L] to select "Yes", then press [OK] to go to "Advanced Settings". • For further operation, refer to "Advanced Settings" on page 40. Others Find wireless network Wireless router settings are incomplete. Please use "Advanced Settings" to complete your setup. No Yes 9. Press [SETUP] to exit. Note • For a wireless network with authentication setting, key icon appears to the right hand of the wireless network name (SSID). • Signal icon shows the strength of the signal. • WEP/WPA key appears as asterisks on the confirmation screen. 39
-
 1
1 -
2
-
3
-
4
-
5
-
6
-
7
-
8
-
9
-
10
-
11
-
12
-
13
-
14
-
15
-
16
-
17
-
18
-
19
-
20
-
21
-
22
-
23
-
24
-
25
-
26
-
27
-
28
-
29
-
30
-
31
-
32
-
33
-
 34
34 -
 35
35 -
 36
36 -
 37
37 -
 38
38 -
 39
39 -
 40
40 -
 41
41 -
 42
42 -
 43
43 -
 44
44 -
45
-
46
-
47
-
48
 |
 |